Knowing how to turn off the light on a Liftmaster garage door opener is a great skill to have, especially if you want to conserve energy or just make sure that your garage stays dark when it’s not in use. Not only can it help save energy and money, but it also keeps your garage safe and secure at night. Plus, turning off the light can be a simple process that only takes a few minutes.

The advantage of learning how to turn off the light on a Liftmaster garage door opener is that it can help reduce energy usage in your home. Having the lights switched off when not in use helps conserve electricity and save money on your electric bill. Additionally, turning off the lights can also provide greater security to your home as criminals are less likely to target a well-lit area.
Learning how to turn off the lights on Liftmaster garage door openers is also beneficial in terms of safety, as leaving them on can be a major fire hazard. In this blog post, You will learn in detail how to turn off light on liftmaster garage door opener.
Summary: Turning off the light on a Liftmaster Garage Door Opener is a straightforward process that only requires the owner to have access to the control panel. From there, simply locate the button marked “Light” and press it until it is off. It is important to remember that this will only turn the light off–it will not actually disconnect any of the wires or cables connected to the system.
Step by Step Processes for How to Turn Off Light on Liftmaster Garage Door Opener
Step 1: Inspect the Back Panel
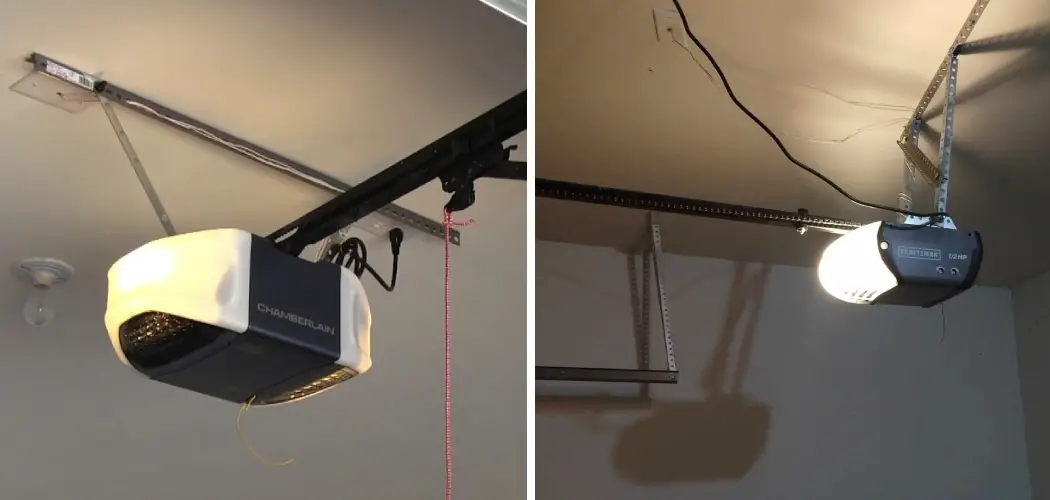
Check the back panel of the Liftmaster garage door opener for a small red button. If it is present, press and hold it until you hear a beep that confirms that the lights are off. If the red button is not in the back panel, then your Liftmaster garage door opener does not have a feature to turn off the lights.
In this case, you should refer to the manual provided with your unit and check whether there are any instructions mentioned to turn off the lights.
Step 2: Install a Wall Switch
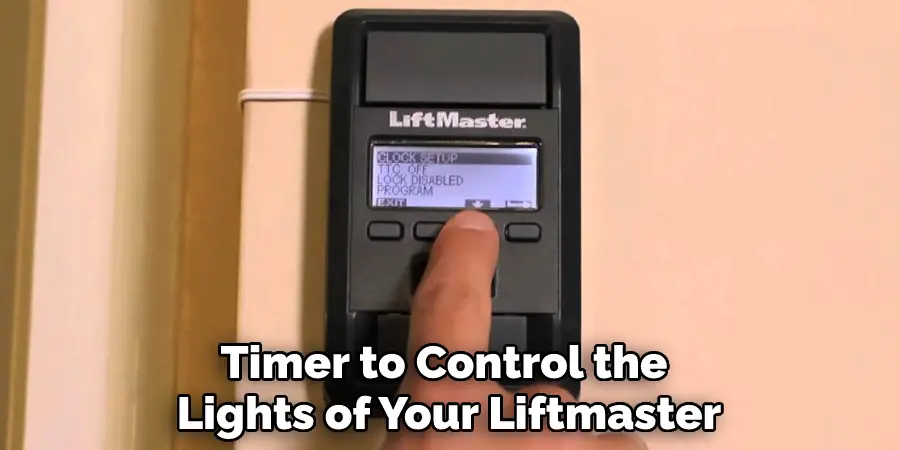
If there is no such instruction in the manual, then you should consider installing a wall switch or timer to control the lights of your Liftmaster garage door opener. This will enable you to easily switch off the lights when not required and also save energy.
If you cannot find a wall switch or timer that matches your model, then replacing the existing incandescent light bulbs with LED lights can be a great alternative. This will help save energy and give you better control over how much light is emitted from the opener.
Step 3: Place a Timer at the Opener Socket
Another option to turn off the lights of your Liftmaster garage door opener is to place a timer at the socket where the opener is plugged in. This will allow you to set a specific time for when the lights should be turned off, and it will automatically turn off the lights at that time.
Another way to control the lights of your Liftmaster garage door opener is to install an external motion sensor switch. This switch allows you to set specific times when the lights should be on or off, and it will automatically turn them on and off the lights, depending on the settings.
Step 4: Place a Light Dimmer Switch in Your Garage
If you don’t want to install an external motion sensor switch, then placing a light dimmer switch in your garage can be another option. This will allow you to adjust the intensity of the light and turn it off when not required. If you want to have complete control over the lights of your Liftmaster garage door opener, then using a remote control system can be very helpful.
This will allow you to access the lights from anywhere and turn them off when not required.
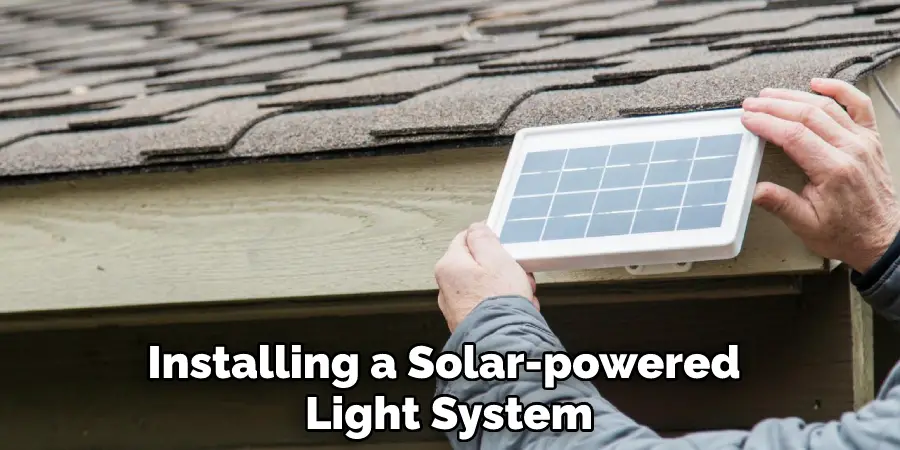
Step 5: Install a Solar-Powered Light System to Reduce Energy Costs
Installing a solar-powered light system is another great way to reduce energy costs and turn off the lights of your Liftmaster garage door opener. This will enable you to harness the sun’s power and use it to light up your garage while also saving energy.
Finally, it is important to regularly check and maintain your Liftmaster garage door opener to ensure that all its components are working properly. This includes checking for any loose or damaged parts, cleaning the opener regularly, and inspecting for any damage. This will help you prevent any unexpected surprises and ensure that your lights are always working properly.
Follow these steps to successfully turn off the lights on your Liftmaster garage door opener. By doing so, you can save energy and make sure that your garage is well-lit whenever you need it.
Safety Tips for How to Turn Off Light on Liftmaster Garage Door Opener
- Make sure that the power to the Liftmaster is turned off before attempting to turn off the light. It’s also a good idea to unplug it from the wall outlet.
- If you are using a remote control, be sure it is in the off position and not in running mode or any other setting.
- Check to ensure the light is not on when you press the button. If it does come on, immediately release the button and try again later.
- Make sure that the power switch is in the off position before attempting to turn off the light for safety reasons.
- Make sure to wear eye protection, such as safety glasses or a face shield, when working on your Liftmaster.
- Check the power source to ensure it’s off before attempting to turn off the light.
- If you are unsure how to operate the Liftmaster, consult the owner’s manual or contact a professional technician who can help.
- Never attempt to override the safety features on the Liftmaster, such as the light switch, without consulting an expert first. Doing so could damage the opener and cause serious injury.

By following these safety tips, you can safely turn off the light on your Liftmaster Garage Door Opener. Remember always to keep safety in mind when working with any power-driven device or machine.
Is There Any Way to Remotely Control the Light of Your Liftmaster Garage Door Opener?
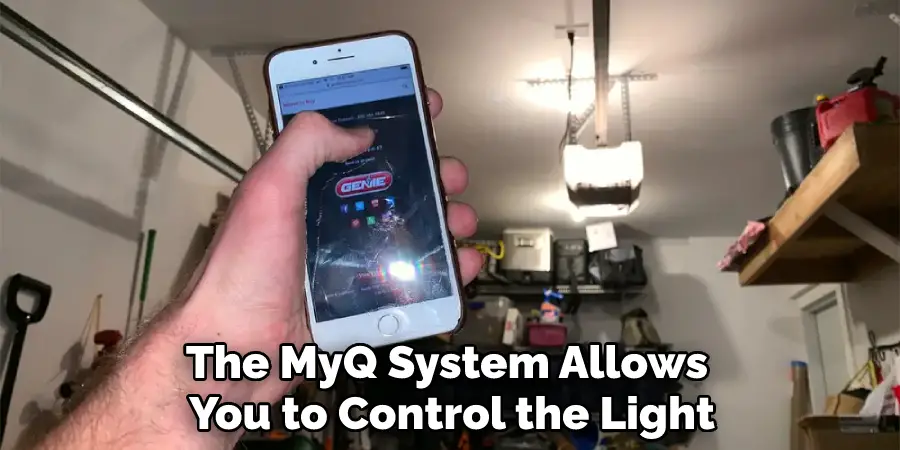
Yes, you can remotely control the light of your Liftmaster garage door opener. This is especially useful if you are away from home and must turn off the light when it gets late or when you forget to do it before leaving. To enable remote control for the lights, ensure your system includes a compatible MyQ-enabled garage door opener.
The MyQ system allows you to control the light from anywhere using an app on your mobile device or computer. To enable the remote control, open the Liftmaster MyQ app and log in with your username and password. Once logged in, select “Settings” and then “Light Access.” From there, you can enable the remote control of the light from your Liftmaster garage door opener.
Once enabled, you can turn off the lights remotely by either selecting “Light Off” in the app or sending a voice command through your mobile device or computer. This is very useful if you are away from home and must turn off the light when it gets late or when you forget to do it before leaving.
How Can You Prevent the Light From Turning Back on Once It Has Been Turned Off?
- Locate the Light Control Button on the Liftmaster Garage Door Opener’s control panel near the door opening/closing buttons.
- Push and hold down the Light Control Button for three seconds until it clicks off. The light will turn off immediately and stay off until manually turned back on.
- To prevent the light from turning back on, press and hold down the button for five seconds. The Liftmaster Garage Door Opener will now be in “Light Off” mode, meaning that it will not automatically turn the light back on once it has been switched off.
- To exit “Light Off” mode and return the Liftmaster Garage Door Opener to its normal settings, press and hold down the Light Control Button for three seconds. The light will turn back on after this, but it will no longer turn back on automatically once switched off.
With these steps, you can easily turn off and prevent the light from turning back on again on your Liftmaster Garage Door Opener. This can help save energy and prevent any inconvenience caused by an unexpected light being turned on.
Conclusion
In conclusion, turning off the light on a Liftmaster garage door opener is a simple and straightforward process. All you need to do is locate the “light switch” button, press and hold it for approximately three seconds, and then wait until the light turns off.
If you have any issues with this process or if your Liftmaster opener doesn’t have a light switch, you should contact the manufacturer’s customer service team for assistance. I hope this article has been beneficial in learning how to turn off light on liftmaster garage door opener. Make Sure the precautionary measures are followed chronologically.
I am Rick. I grew up helping my dad with his handyman service. I learned a lot from him about how to fix things, and also about how to work hard and take care of business. These days, I’m still into fixing things- only now, I’m doing it for a living.
I’m always looking for new ways to help people grow and develop. That’s why I have created this blog to share all my experience and knowledge so
that I can help people who are interested in DIY repair.