
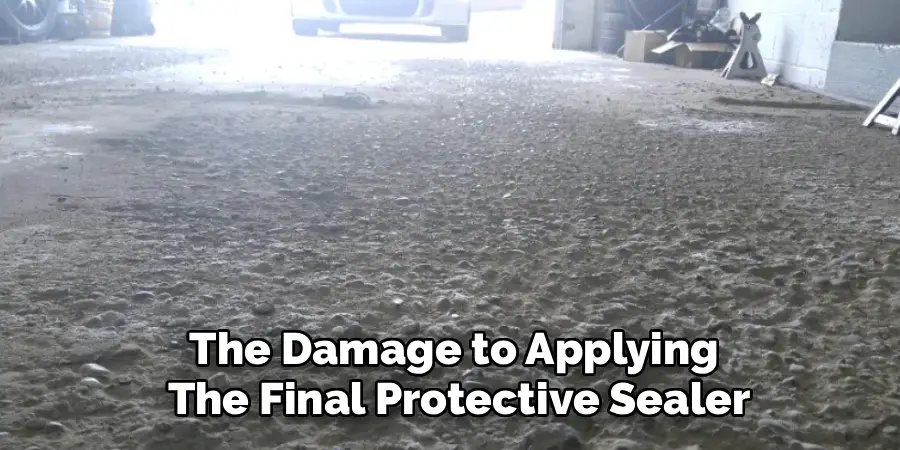
Walking into your garage and seeing a pitted, crumbling concrete floor can be incredibly frustrating. What was once a smooth, durable surface is now a dusty, pockmarked mess that is difficult to sweep and creates tripping hazards. This surface damage, often called pitting or spalling, is a common problem for homeowners, especially in colder climates. It not only looks terrible but also signals that the top layer of your concrete is failing, which can lead to more significant issues down the road if left unaddressed.
Fortunately, you do not have to live with an ugly and deteriorating garage floor, nor do you have to spend a fortune on a complete replacement. Learning how to repair pitted concrete garage floor surfaces is a highly manageable DIY project that can restore the look and function of your space, saving you thousands of dollars compared to pouring a new slab.
With the right preparation and materials, you can transform that crumbling surface back into a strong, smooth, and easy-to-clean floor. This comprehensive guide will walk you through every step of the process, from understanding the cause of the damage to applying the final protective sealer.
Understanding Why Concrete Pits and Spalls
Before you can effectively repair your garage floor, it is helpful to understand the forces that caused the damage in the first place. Pitting and spalling are rarely random; they are typically the result of environmental or installation-related issues. By identifying the root cause, you can not only fix the existing problem but also take steps to prevent it from happening again.
Freeze-Thaw Cycles
The most common culprit behind pitted concrete, particularly in regions with cold winters, is the freeze-thaw cycle. Concrete is a porous material, meaning it can absorb small amounts of water. When you drive your car into the garage covered in snow and ice, that moisture melts and soaks into the concrete’s surface.
As temperatures drop below freezing, the water trapped inside the pores expands with immense force. This expansion acts like a tiny wedge, popping off the top layer of the concrete and creating the characteristic pits and flakes of spalling.
Road Salts and De-icers
Compounding the damage from freeze-thaw cycles are the de-icing chemicals your car brings in from winter roads. Road salts, such as sodium chloride and calcium chloride, are corrosive to concrete. They can lower the freezing point of water, leading to more frequent freeze-thaw cycles. Furthermore, these chemicals can react with the cement paste in the concrete, weakening its structure and accelerating the deterioration of the surface layer.
Poor Installation
Sometimes, the problem dates back to the day the concrete was poured. If too much water is added to the concrete mix, the resulting slab will be weaker and more porous, making it highly susceptible to pitting. Another common installation error is finishing the concrete too early, while “bleed water” (excess water rising to the surface) is still present. This traps a weak layer of water and cement at the surface, which will almost certainly flake off over time under traffic and weather exposure.
Assessing the Severity of the Damage
Once you have identified the likely cause, the next step is to assess the extent of the damage. This will help you determine if a DIY repair is appropriate or if you are facing a more serious issue that requires professional intervention.
Surface vs. Structural Damage
Take a close look at the floor. Are the pits shallow, generally less than a quarter-inch deep, and affecting only the top surface? This is cosmetic pitting and is the perfect candidate for a DIY resurfacing project. However, if you see deep, wide cracks (wider than a pencil), or if one side of a crack is higher than the other, you may be looking at structural damage. This could indicate a problem with the sub-base or a sinking foundation, which a simple resurfacing compound cannot fix. In these cases, it is wise to consult a structural engineer.
Checking for Moisture Issues
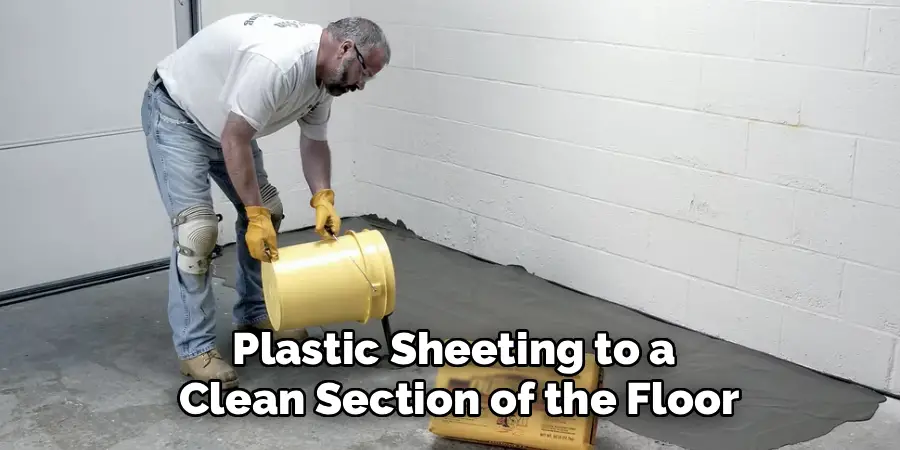
Before you apply any repair material, you need to check for underlying moisture problems. If groundwater is constantly pushing its way up through the concrete slab (a condition known as hydrostatic pressure), it will likely cause any new patch or resurfacer to fail. You can perform a simple test by taping a 2×2 square of plastic sheeting to a clean section of the floor.
Seal all four edges with duct tape and leave it for 24-48 hours. When you pull it up, if the concrete underneath is dark and damp, you have a moisture issue that needs to be addressed with a specialized vapor barrier sealer before you can proceed with cosmetic repairs.
Tools and Materials Needed for the Job
Gathering all your tools and materials before you begin is essential for a smooth and successful project. A mid-project run to the hardware store can be disastrous when you are working with fast-setting concrete products.
Essential Safety Gear
Working with concrete and power tools can be hazardous, so prioritize your safety. You will need safety glasses or goggles to protect your eyes from flying debris and chemical splashes. Heavy-duty work gloves will protect your hands from abrasive materials and the alkalinity of wet cement. Finally, a good pair of knee pads will save your joints during the hours you will spend working on the floor.
Surface Preparation Tools
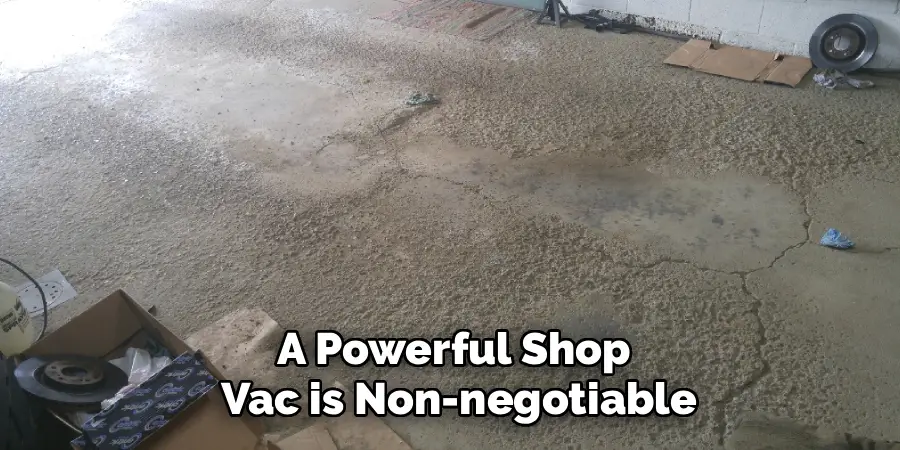
The success of your repair hinges almost entirely on preparation. You will need a pressure washer to deep-clean the floor. A stiff-bristled wire brush (or a grinder with a wire wheel attachment) is necessary for removing loose, flaky concrete. For profiling the surface, a handheld angle grinder with a diamond cup wheel is the most effective tool. To clean up all the dust and debris, a powerful shop vac is non-negotiable.
Resurfacing Compounds
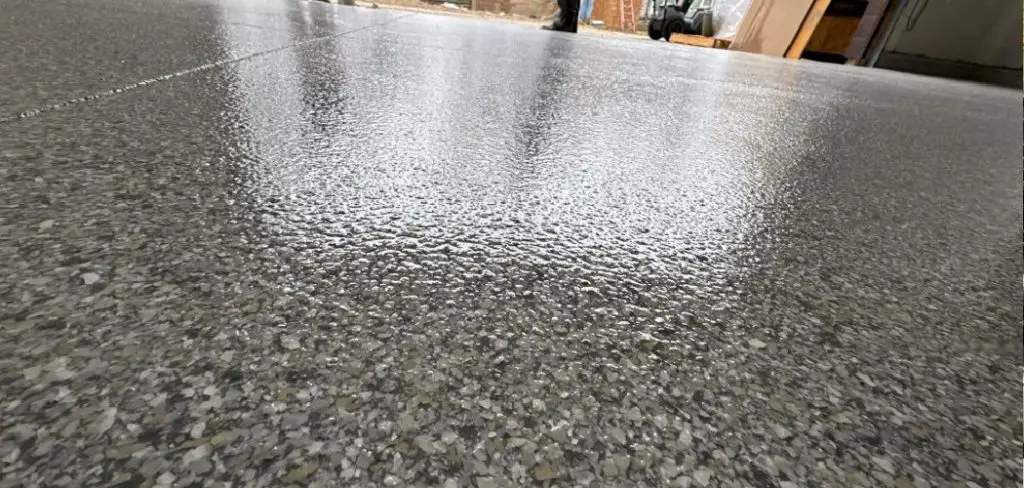
Choosing the right repair material is crucial. For this type of repair, you need a cement-based resurfacer, not a standard concrete patch. Look for a polymer-modified concrete resurfacer. These products contain special additives that allow them to be applied in very thin layers (from a featheredge up to 1/2 inch) while providing incredible strength and bonding capabilities. They are specifically designed to spread over large areas and restore a new “wear layer” to the entire floor.
Preparing the Surface for Repair
This is the most labor-intensive part of the project, but it is also the most critical. If you do not properly prepare the old concrete, the new resurfacing material will not bond correctly and will quickly peel or flake off. Do not cut corners here.
Cleaning and Degreasing
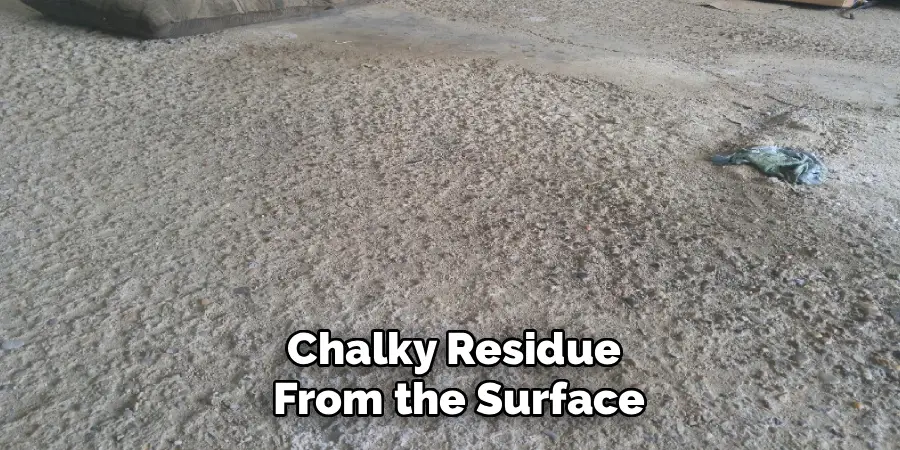
First, you must remove every trace of dirt, oil, and grease from the concrete. Start by sweeping the entire floor. Then, use a concrete degreaser and a stiff brush to scrub any oil stains or tire marks. Once the stains are treated, use a pressure washer to thoroughly clean the entire garage floor. This will remove ingrained dirt and weak, chalky residue from the surface.
Removing Loose Concrete
After cleaning, you must remove every bit of unsound concrete. Use a hammer and chisel, a stiff wire brush, or an angle grinder to chip and scrape away any loose, flaking, or crumbling sections. Your goal is to get down to a solid base. Tap the surface with a hammer; a solid, ringing sound indicates good concrete, while a dull thud means the concrete is weak and needs to be removed.
Acid Etching or Grinding
For the new resurfacer to bond, the old concrete needs a rough profile, similar to the texture of 100-grit sandpaper. If your floor is very smooth or was previously sealed, you must open up the pores. You can do this with an acid etching solution, but a more reliable and environmentally friendly method is mechanical grinding. Renting a walk-behind concrete grinder is ideal for large floors, but for a standard two-car garage, an angle grinder with a diamond cup wheel will work perfectly. Go over the entire surface to remove any remaining contaminants and create the necessary texture for a strong mechanical bond. Follow this with a thorough vacuuming to remove all the dust.
How to Repair Pitted Concrete Garage Floor: Step-by-Step Guide
With the hard work of preparation behind you, you are ready for the rewarding part: applying the new surface. Work quickly and methodically, as most resurfacing products begin to set within 20-30 minutes.
Step 1: Saturate Surface Dry (SSD)
Before mixing your resurfacer, you need to dampen the concrete floor. This is a technique known as “Saturate Surface Dry” (SSD). Use a garden hose to spray down the entire floor, letting the water soak into the pores. Then, use a squeegee or broom to remove all standing water. The surface should be visibly damp but not puddled. This prevents the dry, thirsty concrete from sucking the water out of your repair mix too quickly, which would weaken the bond and cause it to cure improperly.
Step 2: Mixing the Resurfacer
Follow the manufacturer’s instructions precisely. Pour the required amount of cool, clean water into a 5-gallon bucket first, then add the dry powder. Using a heavy-duty drill with a paddle mixer attachment is the best way to achieve a smooth, lump-free consistency. Mix for a few minutes until the material resembles a thick pancake batter or yogurt. Do not mix more than you can apply in about 15 minutes.
Step 3: Filling Deep Pits First
If you have some deeper pits (over 1/4 inch), it is a good idea to pre-fill them before applying the main coat. Mix a slightly thicker batch of the resurfacer and use a trowel to press the material firmly into the deeper holes. Smooth it off level with the surrounding floor. This ensures these areas are solid before you cover the entire surface.
Step 4: Pouring and Spreading
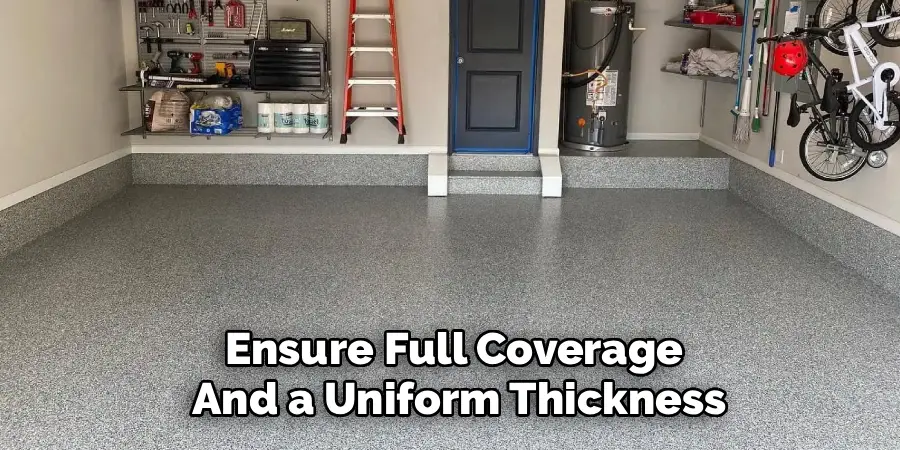
Pour the mixed resurfacer in long ribbons onto the floor. Start in a corner and work your way toward the main garage door. Use a long-handled squeegee to spread the material evenly across the surface. Apply firm, consistent pressure to work the material into the pores and pits of the old concrete. Overlap each pass slightly to ensure full coverage and a uniform thickness.
Step 5: Finishing the Texture
After spreading the material, you need to give it a final finish. The easiest and most common finish for a garage is a non-slip broom texture. Wait for the resurfacer to set up slightly, until the initial wet sheen has disappeared (usually 5-10 minutes). Then, gently drag a clean, soft-bristled push broom across the surface in one continuous direction. This will create fine grooves that provide excellent traction. Be sure to lift the broom completely at the end of each pass to avoid leaving marks.
Curing and Drying Times
Patience is a virtue after you have applied the new surface. The curing process is a chemical reaction that gives the concrete its strength, and it should not be rushed.
Foot Traffic vs. Vehicle Traffic
Refer to the product’s data sheet for specific curing times, as they can vary. Generally, the new surface will be hard enough for foot traffic within 4-6 hours. However, you must wait much longer before driving a car on it. Most manufacturers recommend a minimum of 24 to 72 hours before subjecting the floor to the weight and stress of vehicle traffic.
Preventing Rapid Drying
In hot, windy, or low-humidity conditions, the new surface can dry out too quickly, which can lead to cracking and a weak finish. If you are working in these conditions, you may need to lightly mist the surface with a garden sprayer every few hours for the first day to slow down the evaporation and allow the concrete to cure properly.
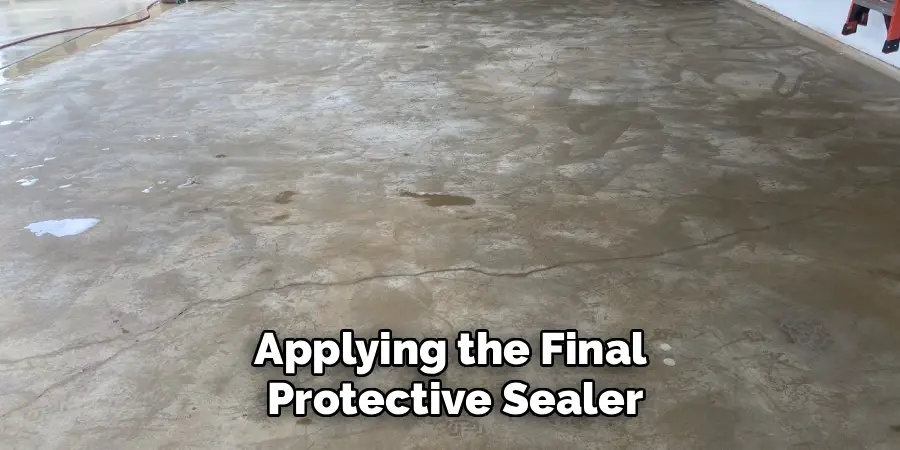
Sealing and Protecting Your New Surface
After all your hard work, the final step is to protect your newly restored floor. Applying a good quality sealer will lock in your repair, protect against future stains, and make the floor much easier to clean. Wait at least 72 hours after applying the resurfacer before sealing.
Choosing the Right Sealer
You have several options for sealing. A penetrating sealer (silane/siloxane) soaks into the concrete and provides excellent protection against water and salt damage without changing the look or texture of the floor. For a more robust, high-gloss finish, you can use a topical sealer like an acrylic or a two-part epoxy coating. Epoxies provide the ultimate protection against oil, chemicals, and abrasion.
Application Techniques
Most sealers are applied with a simple roller. Use a 3/8-inch nap roller and apply the sealer in thin, even coats. Work in manageable sections and maintain a “wet edge” to avoid roller marks. Apply two coats for the best protection, following the manufacturer’s instructions for drying time between coats.
Maintenance Tips to Prevent Future Pitting
Your newly restored floor should last for years with a little bit of preventative maintenance.
Regular Cleaning Routine
Make a habit of regularly sweeping the garage floor. During the winter, wash away road salts and de-icers as often as possible. A simple rinse with a hose can prevent these corrosive chemicals from sitting on the surface and causing damage.
Using Garage Mats
Consider placing containment mats under your vehicles during the winter months. These heavy-duty rubber mats have a raised lip that traps snow, ice, and chemicals, preventing them from ever touching your concrete. This is one of the most effective ways to protect your investment and prevent pitting from recurring.

Conclusion
A pitted and spalling garage floor can detract from your home’s value and usability, but it is a problem you can solve. By dedicating a weekend to this project, you can completely transform the look and feel of your garage. The key to a successful and long-lasting repair is meticulous preparation. Do not rush the cleaning and grinding phase, as it provides the foundation for the new surface.
Reiterate that knowing how to repair pitted concrete garage floor damage allows homeowners to reclaim their space, adding function and value back to their homes. A smooth, sealed floor is not just about aesthetics; it is about creating a more durable, safer, and cleaner environment. With the right tools and a methodical approach, you can stop the damage from spreading and enjoy a garage floor that looks and performs like new for years to come.
I am Rick. I grew up helping my dad with his handyman service. I learned a lot from him about how to fix things, and also about how to work hard and take care of business. These days, I’m still into fixing things- only now, I’m doing it for a living.
I’m always looking for new ways to help people grow and develop. That’s why I have created this blog to share all my experience and knowledge so
that I can help people who are interested in DIY repair.