Programming the universal garage door opener in your Wagoneer is one of those small tasks that delivers a huge upgrade in daily convenience. Instead of fumbling for a separate remote that can get lost or have its battery die, you can integrate this function directly into your vehicle.
This streamlines your arrival and departure, adding a touch of modern luxury and enhancing your home’s security. By linking your garage door to your Wagoneer, you eliminate the need for an easily stolen remote, making your property safer.
This guide on how to program wagoneer garage door opener will walk you through the entire process, ensuring a smooth and successful setup.

What are the Benefits?
Syncing your Wagoneer with your garage door opener offers more than just the ability to open a door. It’s about simplifying your routine and bolstering your peace of mind.
- Enhanced Security: A built-in opener means you no longer need to leave a clip-on remote in your car. These remotes are a common target for thieves, as they provide a direct key to your home. Integrating the control into your vehicle’s system removes this vulnerability.
- Unmatched Convenience: The process of arriving home becomes seamless. With the simple press of a button conveniently located on your overhead console or visor, you can open the garage door without having to stop, search for a remote, or wait. This is especially useful during poor weather.
- Reduced Clutter: Say goodbye to another gadget sliding around your car. The built-in system declutters your cabin, keeping the interior clean and organized. The fewer loose items you have, the more focused and enjoyable your driving experience becomes.
- Broad Compatibility: The universal system in your Wagoneer is designed to work with the vast majority of modern garage door openers, including those with rolling code technology. This ensures that you can likely pair it with your existing setup without needing to purchase new hardware.
What Will You Need?
Before you begin, gathering a few essential items will make the process much quicker and easier.
- Your Wagoneer key fob
- A sturdy step ladder to safely reach your garage door opener motor
- The original remote control for your garage door opener
10 Easy Steps on How to Program Wagoneer Garage Door Opener
Follow these detailed steps carefully to pair your Wagoneer’s built-in universal transceiver with your home’s garage door opener. This process is designed to be straightforward, but attention to detail is key for success.
Step 1: Prepare Your Vehicle
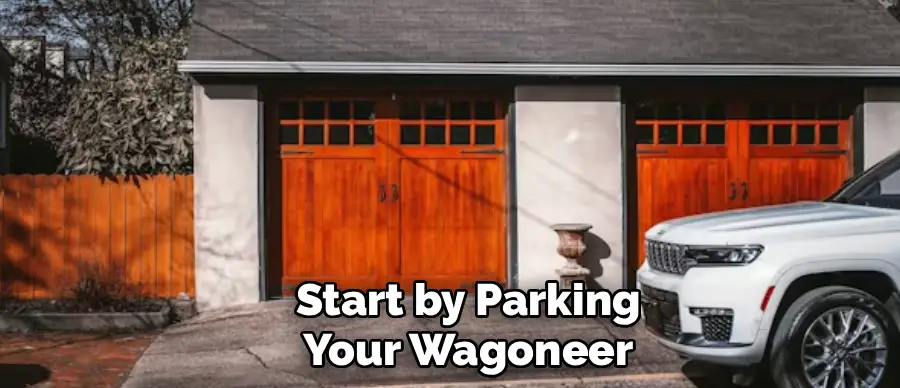
Start by parking your Wagoneer outside of the garage, but ensure it is facing the garage door. This positioning is crucial because it ensures a strong, uninterrupted signal between your vehicle’s transmitter and the garage door opener’s receiver. Turn your vehicle’s ignition to the “ON” or “ACC” position. You don’t need to start the engine, but the vehicle’s electrical system must be active for the universal transceiver to have power. This allows the system to enter programming mode and send the necessary signals to the garage door motor.
Step 2: Clear Existing Codes
For a clean setup, it’s best to erase any previously programmed codes from your Wagoneer’s universal transceiver. This is especially important if you bought the vehicle used or if a previous programming attempt failed. To do this, locate the universal opener buttons, typically found on the overhead console. Press and hold the two outer buttons simultaneously. Continue holding them for about 20 seconds. The indicator light on the transceiver will usually turn solid and then begin to flash. Once it starts flashing, you can release the buttons. This action confirms that all stored codes have been cleared, giving you a blank slate to work with.
Step 3: Hold the Original Remote
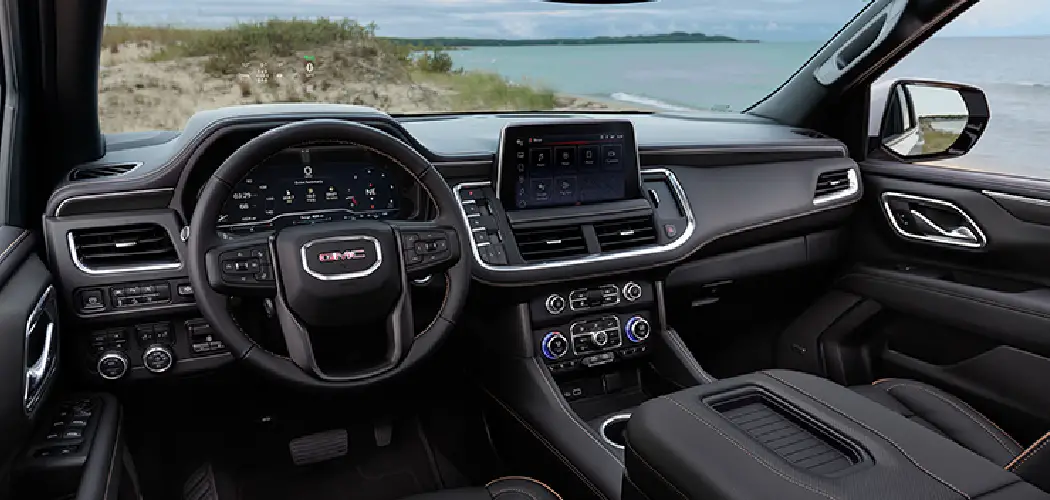
Now, take the original, functional remote for your garage door opener. You will need this to “teach” your Wagoneer the correct frequency. Sit inside your vehicle. Hold the garage door remote approximately one to three inches away from the universal transceiver buttons in your Wagoneer. The exact location of the transceiver can vary, so consult your owner’s manual if you’re unsure. Keeping the remote close ensures a clear and strong signal transmission, which is vital for the next step. Make sure the remote has a fresh battery for optimal signal strength.
Step 4: Train the Transceiver
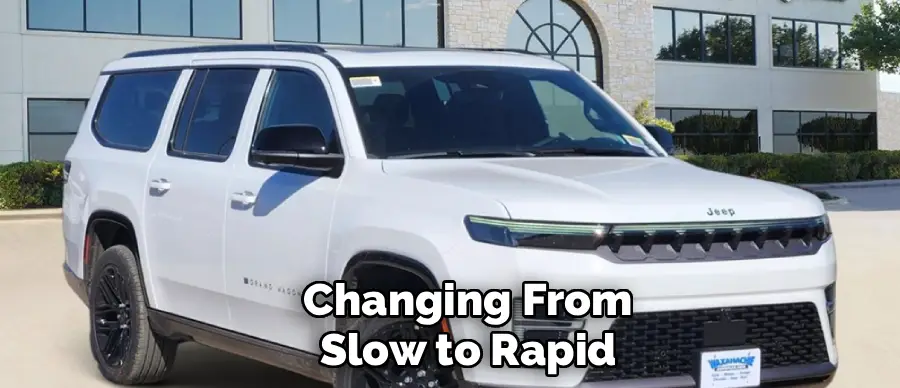
This is the core “training” step. Simultaneously press and hold the button on your original remote that opens the garage door and the universal transceiver button in your Wagoneer that you wish to program. Keep holding both buttons down. The indicator light on the Wagoneer’s transceiver will begin to flash slowly. Continue holding both buttons. After several seconds, the light’s flashing pace will increase, changing from slow to rapid. This rapid flashing signifies that the transceiver has successfully learned the frequency from your original remote. Once you see the light flashing quickly, you can release both buttons.
Step 5: Locate the Learn Button on the Motor
For the next phase, you will need to access the garage door opener motor unit itself, which is mounted on the ceiling of your garage. Use your step ladder to get close to the unit safely. Look for a “Learn,” “Smart,” or “Program” button on the motor housing. This button is often a small, square button and may be located near a small LED indicator light. The color of the button can sometimes indicate the brand (e.g., purple, red, orange, or green). You may need to remove a light cover or panel on the motor to find it.
Step 6: Press the Learn Button
Once you have located the “Learn” button on the garage door motor, press and immediately release it. Do not hold it down. A quick press is all that is needed to put the motor into pairing mode. An adjacent LED light will typically begin to blink or turn on and stay solid, indicating that the receiver is now actively searching for a signal from a new remote or transceiver. This pairing mode is timed, usually lasting for only 30 to 60 seconds. Therefore, you must complete the next step quickly.
Step 7: Return to Your Wagoneer
You now have a limited time to complete the pairing process. Safely and quickly descend the ladder and return to the driver’s seat of your Wagoneer. You need to be ready to press the button you programmed in Step 4. Having the car door open and being prepared to act swiftly is essential. If you take too long, the garage door motor will exit pairing mode, and you will have to repeat Step 6. Efficiency is key here to finalize the connection between your vehicle and the garage door.

Step 8: Press the Programmed Button
Inside your vehicle, firmly press and release the universal transceiver button that you trained in Step 4. Press it for about two seconds, then release. You may need to repeat this process two or three times. Press, hold for two seconds, release. Wait a moment, then press again. Watch the garage door for a response. A successful pairing is usually confirmed when the garage door opener lights flash or when you hear an audible click from the motor. In most cases, the garage door itself will begin to move. This confirms the link is established.
Step 9: Test the Connection
After receiving a confirmation from the motor (lights flashing, door moving), the programming should be complete. To verify, press the newly programmed button in your Wagoneer one more time. The garage door should now operate as commanded, either opening or closing. If it works correctly, you have successfully programmed the system. If it does not work, don’t worry. Sometimes the timing can be tricky. You may need to repeat the process starting from Step 5, paying close attention to the 30-second window in Step 6.
Step 10: Repeat for Other Doors (If Applicable)
If you have more than one garage door, or wish to program the other buttons in your Wagoneer to control other devices like a gate opener, you can repeat the process. Simply choose a different universal transceiver button for each new device. Follow the same sequence from Step 3 through Step 9 for each button you wish to program. You do not need to clear the codes again unless you want to start everything over from scratch.

5 Things You Should Avoid
To ensure a successful programming experience, avoid these common mistakes:
- Holding the “Learn” Button Too Long: Only press and release the “Learn” button on the motor unit. Holding it down can erase all paired remotes, including existing ones you still use.
- Ignoring the 30-Second Window: The motor’s pairing mode is brief. Be prepared to return to your car and press the button immediately after pressing “Learn.”
- Parking Inside the Garage: Programming while parked inside can cause signal interference. Always park outside, facing the door.
- Using a Weak Remote Battery: Ensure the battery in your original garage door remote is strong. A weak signal will fail to train your Wagoneer’s transceiver properly.
- Skipping the Code-Clearing Step: If you have a used vehicle or failed a previous attempt, always clear the old codes first to prevent conflicts.
Conclusion
How to program wagoneer garage door opener is a simple yet rewarding task that blends convenience with modern security.
By following these steps, you can eliminate remote clutter and create a seamless transition from the road to your home. Take your time, follow the instructions carefully, and enjoy the ease of opening your garage with a single, integrated button.
This small integration makes a big difference in your daily driving experience.
I am Rick. I grew up helping my dad with his handyman service. I learned a lot from him about how to fix things, and also about how to work hard and take care of business. These days, I’m still into fixing things- only now, I’m doing it for a living.
I’m always looking for new ways to help people grow and develop. That’s why I have created this blog to share all my experience and knowledge so
that I can help people who are interested in DIY repair.