Upgrading your home with smart technology offers new levels of convenience and security. One of the most practical and popular upgrades is a smart WiFi garage door opener.
This simple device connects your existing garage door opener to your home’s wireless network, allowing you to open, close, and monitor your garage door from anywhere using your smartphone. Imagine being able to let a delivery driver in while you’re at work, or checking to make sure you remembered to close the garage door after leaving home.
This guide on how to install smart wifi garage door opener will walk you through everything you need to know to complete this valuable home improvement project.

What are the Benefits?
Installing a smart WiFi garage door opener brings a host of advantages that go beyond just opening and closing the door.
- Unmatched Convenience: The primary benefit is remote access. You can control your garage door from anywhere with an internet connection. This means no more turning the car around to check if the door is closed or fumbling for a remote in the dark.
- Enhanced Security: Most smart openers send real-time alerts to your phone whenever the garage door is opened or closed. This provides an extra layer of security, letting you know immediately about any unexpected activity. You can also set schedules to ensure the door is always closed at night.
- Access Sharing: Easily grant temporary or permanent access to family members, friends, or service providers without needing to give them a physical key or remote. You can revoke access just as easily, giving you complete control over who enters your garage.
- Integration with Smart Home Ecosystems: Many smart garage door openers integrate with popular platforms like Amazon Alexa, Google Assistant, and Apple HomeKit. This allows you to control the door with voice commands and include it in your automated home routines.
What Will You Need?
Before you begin, gather the following tools and materials to ensure a smooth installation process.
Kit Contents (usually included):
- Smart Hub/Controller Unit
- Door Sensor
- Mounting Brackets and Hardware (screws, adhesive strips)
- Power Adapter
- Connecting Wires
Tools You’ll Need:
- Ladder or Step Stool
- Drill with Phillips Head and various drill bits
- Screwdriver (Phillips and flathead)
- Wire Strippers/Cutters
- Pliers
- Level
- Pencil or Marker
- Safety Goggles
10 Easy Steps on How to Install Smart WiFi Garage Door Opener
Follow these detailed steps to get your smart opener up and running. While the process is generally similar across different brands, always consult your specific model’s instruction manual.
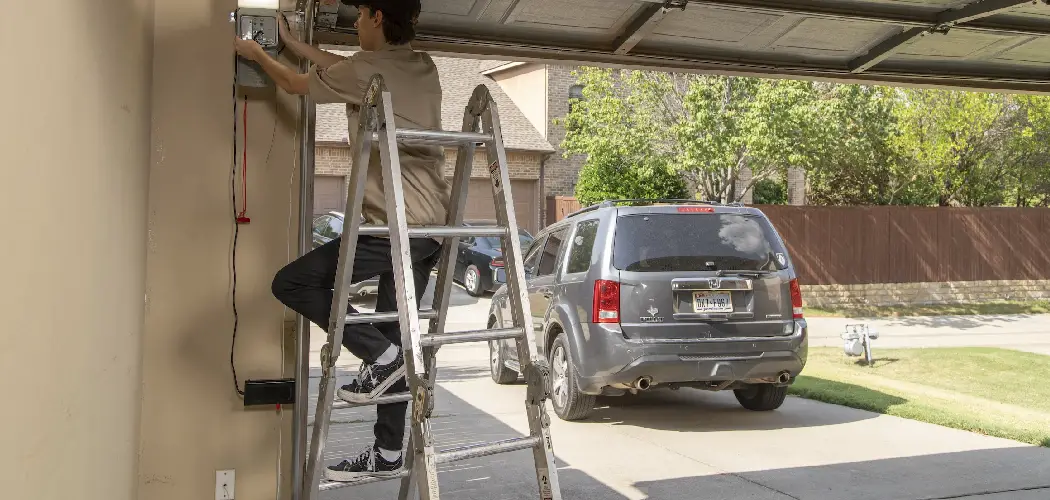
Step 1: Prepare Your Garage Door
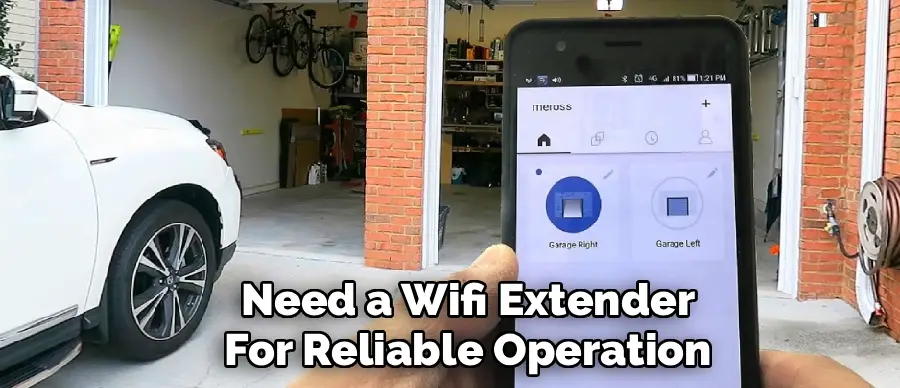
First, ensure your existing garage door opener is in good working order. Manually open and close the door to check that it moves smoothly and is properly balanced. Disconnect the power to the garage door opener motor by unplugging it from the ceiling outlet. This is a critical safety step to prevent accidental activation or electric shock during installation. Finally, check the WiFi signal strength in your garage. Stand near the motor unit with your smartphone and ensure you have at least two bars of signal. If the signal is weak, you may need a WiFi extender for reliable operation.
Step 2: Choose a Mounting Location for the Smart Hub
The smart hub is the brain of the system. It needs to be mounted near your garage door opener motor. The ideal location is on the ceiling next to the motor unit or on the motor unit itself, if space and the manufacturer’s instructions permit. Hold the mounting bracket for the hub in your chosen location and use a pencil to mark where the screw holes will go. Make sure the location allows the power cord to comfortably reach the outlet and the connection wires to reach the motor’s terminals without being stretched.
Step 3: Install the Mounting Bracket
Using your drill and the appropriate drill bit, create pilot holes on the marks you made in the previous step. Be careful not to drill into any electrical wiring. Secure the mounting bracket to the ceiling or motor unit using the screws provided in your kit. Use a level to ensure the bracket is straight. A secure mounting bracket is essential for keeping the hub stable and preventing it from falling or vibrating loose over time.
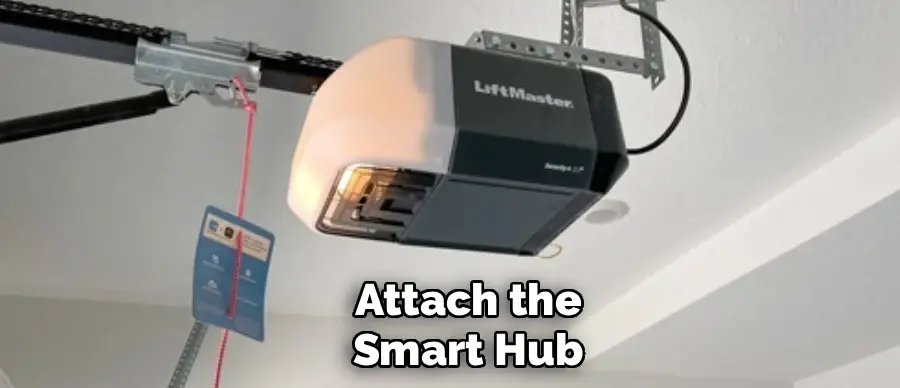
Step 4: Mount the Smart Hub
Once the bracket is secure, attach the smart hub to it. Most hubs either clip or slide into place. Ensure it is firmly seated in the bracket. This unit contains the WiFi antenna and the processor that communicates with your phone and the door sensor. Keeping it securely mounted prevents connectivity issues and potential damage from the vibrations of the garage door motor operating.
Step 5: Install the Door Sensor
The door sensor is a two-part device that tells the hub whether the garage door is open or closed. The larger piece typically attaches to the top panel of your garage door, and the smaller piece is stationary. Clean the area on your garage door where you plan to install the sensor with a cloth to remove any dust or grease. Most sensors attach with strong double-sided adhesive strips. Peel the backing off the adhesive and press the sensor firmly onto the door. Some kits may also provide screws for a more permanent installation. The sensor must be placed according to the manual, usually within a specific distance of the top edge.
Step 6: Connect Wires to the Motor Unit
This is the most technical part of the installation. You will need to connect two small wires from the smart hub to the same terminals on your motor unit that your wall-mounted button uses. These terminals are usually labeled “wall control,” “push button,” or something similar and are often color-coded (e.g., red and white). Use a screwdriver to loosen the terminal screws slightly. Strip a small amount of insulation from the ends of the wires coming from the smart hub. Insert one wire into each terminal and tighten the screws. The polarity usually doesn’t matter, but check your manual to be certain.
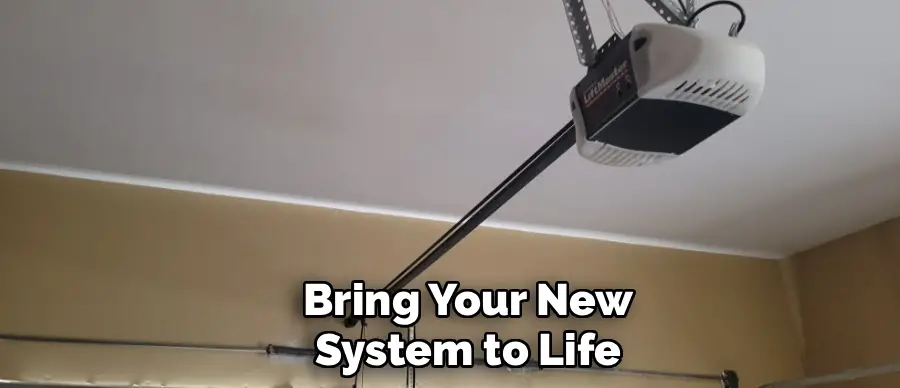
Step 7: Power Up the System
Now it’s time to bring your new system to life. Plug the smart hub’s power adapter into the unit and then into the same ceiling outlet your garage door opener uses. You may need a power strip if you don’t have a free outlet. Once plugged in, an indicator light on the hub should turn on or start blinking, indicating it has power and is ready for setup. At this point, you can also plug your main garage door opener motor back into the outlet.
Step 8: Configure the Device with the App
Download the manufacturer’s companion app onto your smartphone from the Apple App Store or Google Play Store. Create an account and follow the in-app instructions to connect the smart hub to your home’s WiFi network. This process typically involves selecting your home network from a list and entering your WiFi password. The app will guide you through pairing the hub with your phone. This may take a few minutes as the device connects and potentially downloads firmware updates.
Step 9: Pair and Calibrate the Door Sensor
After connecting the hub to WiFi, the app will prompt you to pair and calibrate the door sensor. This step teaches the system the difference between the open and closed positions. The app will usually ask you to open and close the garage door once or twice using your existing wall button or remote. This allows the hub to recognize the signals from the sensor and accurately report the door’s status. Follow the on-screen prompts carefully to complete the calibration.
Step 10: Test Everything
The final step is to test the full system. With the garage door closed, use the app on your smartphone to open it. The door should open smoothly. Then, use the app to close it. Watch to ensure it closes completely and that the app’s status updates correctly from “Open” to “Closed.” Also, test your existing remotes and the wall-mounted button to ensure they still work as expected. Check the notification settings in the app to make sure you are receiving alerts for door activity.

5 Things You Should Avoid
- Skipping the Safety Check: Never work on the opener without first unplugging the motor unit. This prevents any risk of electric shock or accidental door movement.
- Ignoring WiFi Strength: Don’t assume your WiFi will reach the garage. Test the signal before you start. A weak signal will lead to a frustrating and unreliable experience.
- Incorrect Wire Connections: Attaching the control wires to the wrong terminals can prevent the device from working or, in rare cases, damage the motor’s circuit board. Double-check your opener’s manual.
- Improper Sensor Placement: Placing the door sensor too far from its corresponding piece or in a location that gets knocked around will cause false readings and unreliable status updates.
- Forgetting to Test Old Remotes: Don’t pack up your tools without confirming that your original remotes and wall buttons still function correctly after the installation.
Conclusion
Installing a smart WiFi garage door opener is a straightforward project that adds immense value to your daily life. With remote access, enhanced security features, and smart home integration, it’s an upgrade that blends convenience with peace of mind.
By following these steps and avoiding common pitfalls, you can successfully bring your garage into the 21st century in just an afternoon. You’ll soon wonder how you ever managed without it.
Hopefully, this guide on how to install smart wifi garage door opener has provided you with the necessary knowledge and confidence to install your own smart WiFi garage door opener.
I am Rick. I grew up helping my dad with his handyman service. I learned a lot from him about how to fix things, and also about how to work hard and take care of business. These days, I’m still into fixing things- only now, I’m doing it for a living.
I’m always looking for new ways to help people grow and develop. That’s why I have created this blog to share all my experience and knowledge so
that I can help people who are interested in DIY repair.