
A garage is more than just a place to park your car. It’s often a workshop, a storage area, and a gateway to your home. Yet, many garages suffer from poor, inadequate lighting, making them difficult and even unsafe to use.
A single, dim bulb in the center of the ceiling rarely provides the visibility needed for projects or finding stored items. The Garage Buddy Light Kit is designed to solve this problem, transforming your gloomy garage into a bright, functional space.
This guide on how to install garage buddy light kit will walk you through everything you need to know for a simple and successful installation.

What are the Benefits?
Upgrading your garage lighting offers more than just the ability to see better. The Garage Buddy Light Kit provides several key advantages that enhance both the functionality and value of your space.
- Vastly Improved Visibility: This is the most immediate benefit. The multi-point LED design eliminates shadows and dark corners, flooding your entire garage with bright, clear light. This makes it easier to work on projects, find tools, and safely navigate the space.
- Enhanced Safety: A well-lit area is a safer area. Good lighting reduces the risk of tripping over unseen objects, mishandling tools, or other common garage accidents. You can move with confidence, knowing your path is clear.
- Energy Efficiency: The Garage Buddy Light Kit uses modern LED technology, which consumes significantly less energy than traditional incandescent or fluorescent bulbs. You get superior brightness while lowering your electricity bill and reducing your environmental footprint.
- Simple Installation: You don’t need to be an expert electrician to install this kit. It’s engineered for a straightforward, DIY-friendly setup that plugs directly into your existing light bulb socket. This means no complicated wiring or expensive professional help is required.
- Long-Lasting Performance: LED lights have an exceptionally long lifespan, often lasting for tens of thousands of hours. Once installed, your Garage Buddy Light Kit will provide reliable, maintenance-free lighting for years to come.
What Will You Need?
Before you begin, gather the necessary tools and ensure all kit components are present. This will make the installation process smooth and efficient.
Tools:
- Ladder or step stool
- Pencil or marker
- Drill with a small pilot bit (optional, for pilot holes)
- Screwdriver (usually a Phillips head)
- Tape measure
Materials (Included in the Kit):
- Main hub with screw-in base
- LED light pods
- Connecting wires
- Mounting screws and anchors
- Cable management clips
10 Easy Steps on How to Install Garage Buddy Light Kit
Follow these detailed steps to transform your garage lighting. Always prioritize safety by turning off the power before you begin.
Step 1: Safety First – Turn Off the Power
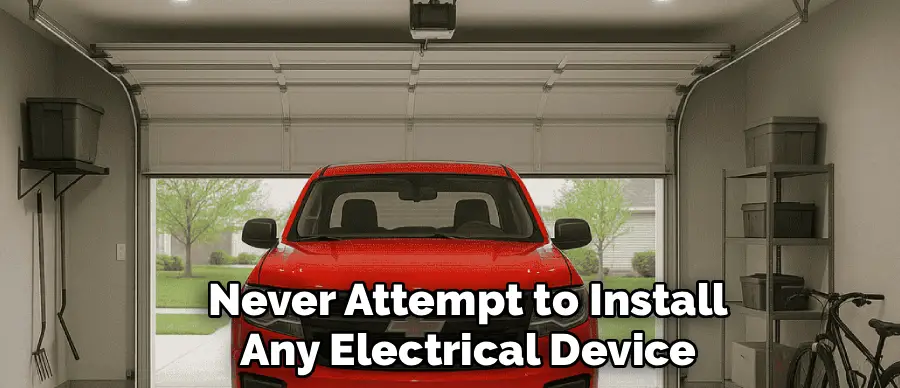
Before you touch any electrical fixture, your first and most crucial step is to disable the power. Go to your home’s circuit breaker panel and find the breaker that controls your garage lighting. Flip it to the “OFF” position. To confirm the power is off, go back to the garage and try flipping the light switch. The light should not turn on. This simple action prevents the risk of electric shock and ensures a safe working environment. Never attempt to install any electrical device with the power still active.
Step 2: Prepare Your Workspace
Clear the area directly below your existing garage light fixture. Move your car, any tool chests, or storage bins out of the way. This gives you ample space to safely position your ladder and move around without tripping over hazards. Lay out all the components of your Garage Buddy Light Kit on a clean, flat surface. Unpack the main hub, the LED light pods, connecting wires, and the hardware packet. A quick inventory check ensures you have everything you need before you climb the ladder, saving you trips up and down.
Step 3: Remove the Old Light Bulb
With the power off and your workspace clear, position your ladder securely under the existing light fixture. Climb the ladder carefully and unscrew the old light bulb from its socket. If you have been using the light recently, be aware that the bulb may still be hot. Handle it with a cloth or glove to avoid burns. Once removed, place the old bulb somewhere safe where it won’t roll away and break. You now have an empty socket ready for the Garage Buddy hub.
Step 4: Install the Main Hub
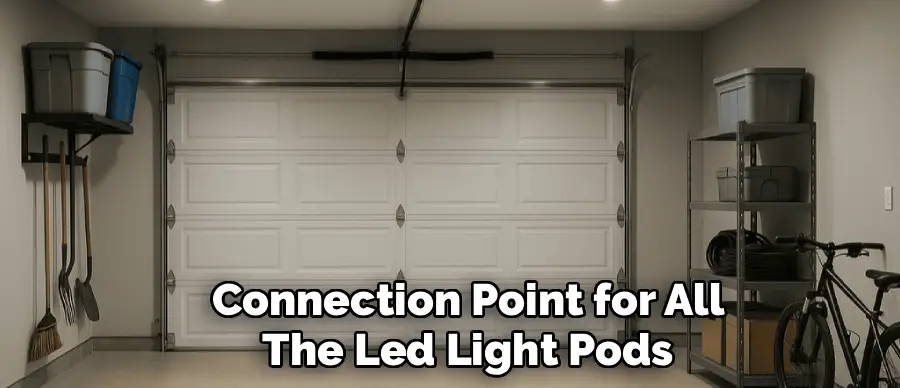
The central hub of the Garage Buddy Light Kit is designed to be as easy to install as a standard light bulb. Take the main hub and carefully screw it into the empty light socket. Turn it clockwise until it is snug and secure. Do not overtighten it, as this can damage the socket or the hub’s threading. The hub should feel firm and not wobble. This hub now acts as both the power source and the central connection point for all the LED light pods.
Step 5: Plan Your Light Pod Placement
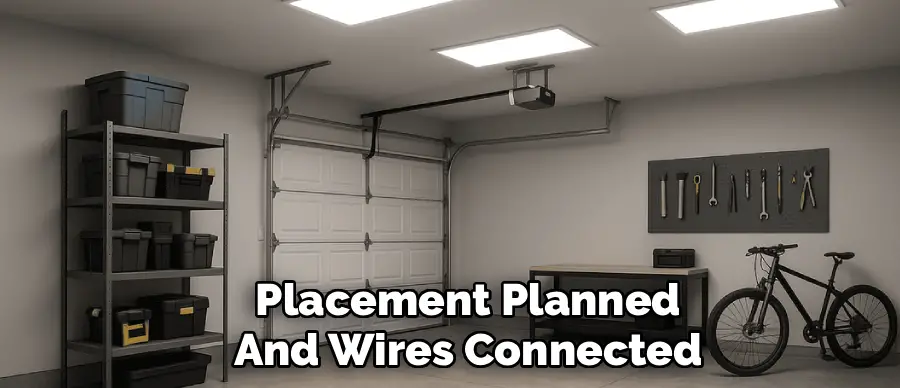
Before you start mounting, take a moment to plan where each LED light pod will go. The goal is to achieve even, widespread light coverage. Use a tape measure to find the center points between the main hub and the garage walls or corners. Consider the layout of your garage. If you have a workbench on one side, you might want to position more pods over that area for task-specific lighting. A good general strategy is to create a large “X” or square pattern extending from the central hub to provide balanced illumination across the entire space. Use a pencil to lightly mark the mounting locations for each pod on the ceiling.
Step 6: Connect the Wires to the Hub
Now it’s time to connect the light pods to the power source. Take the connecting wires for each LED pod and plug one end into the designated ports on the main hub. These ports are typically simple plug-and-play connectors that click securely into place. Make sure each wire is fully inserted. Let the wires hang down for now. This step powers up the entire system, and connecting them while you are on the ground (or before mounting the pods) can be easier than trying to do it from the top of a ladder.
Step 7: Mount the First Light Pod
With your placement planned and wires connected, you can begin mounting. Take one of the LED light pods and the corresponding connecting wire. Climb the ladder and position the pod over the first pencil mark you made on the ceiling. Use a screwdriver or drill to fasten the pod to the ceiling with the provided mounting screws. If you are mounting into drywall, it is a good practice to use the included wall anchors for a more secure fit. Drill a small pilot hole, insert the anchor, and then screw the pod into the anchor.
Step 8: Connect the Wire and Mount the Remaining Pods
Once the first pod is mounted, plug the free end of its connecting wire into the port on the pod itself. Now, repeat the process from Step 7 for all remaining light pods. Move your ladder to each marked location, securely mount the pod to the ceiling using the screws, and then connect its power wire. Work your way around the garage systematically. Taking the time to mount each pod securely ensures they will stay in place and provide consistent lighting for years to come.
Step 9: Manage the Cables
With all the pods mounted and connected, you will have wires running across your ceiling. To create a clean, professional-looking installation, use the provided cable management clips. Secure the wires neatly along the ceiling, running them in straight lines from the hub to each pod. The clips usually have an adhesive back or a small nail. Simply press them into place over the wire or tap them in gently. This prevents wires from sagging and keeps them out of the way, contributing to the overall tidy appearance of your upgraded garage.
Step 10: Restore Power and Test Your New Lights
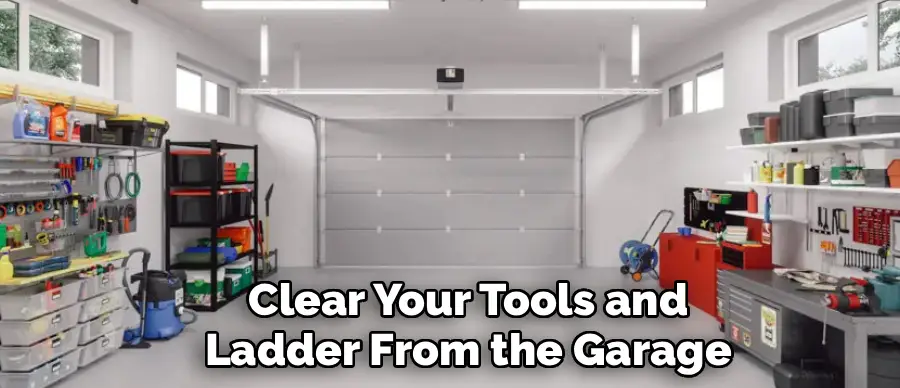
The installation is complete. It’s time for the final and most rewarding step. Clear your tools and ladder from the garage. Go back to your circuit breaker panel and flip the breaker for the garage back to the “ON” position. Return to the garage and flip the light switch. Your garage should instantly be filled with bright, brilliant light from every corner. Take a moment to admire your work and the dramatic improvement in visibility.
5 Things You Should Avoid
To ensure a flawless installation, steer clear of these common mistakes:
- Skipping the Power-Off Step: Never work on any electrical fixture without first turning off the power at the circuit breaker. This is the most critical safety rule.
- Over-tightening the Hub: Screwing the main hub into the socket too forcefully can crack the plastic housing or damage the threads of the socket, leading to a poor connection.
- Ignoring Cable Management: Leaving wires dangling looks messy and can create a snag hazard. Use the included clips for a clean and safe finish.
- Poor Light Pod Placement: Don’t just place the pods randomly. Poor planning can result in uneven lighting with remaining dark spots, defeating the purpose of the upgrade.
- Not Using Drywall Anchors: If you’re mounting into drywall and not a ceiling joist, skipping the anchors can cause the screws to pull out over time, leading to a sagging or fallen light pod.
Conclusion
Upgrading your garage lighting is one of the most impactful and simple improvements you can make to your home. The Garage Buddy Light Kit offers a brilliant solution that eliminates dark corners, enhances safety, and saves energy.
With a straightforward, no-fuss installation process, you can completely transform your garage in under an hour. Stop fumbling in the dark and start enjoying a bright, functional, and welcoming space for all your projects and activities.
Hopefully, this guide on how to install garage buddy light kit has provided you with all the information you need to upgrade your garage lighting and take advantage of the many benefits it offers.
I am Rick. I grew up helping my dad with his handyman service. I learned a lot from him about how to fix things, and also about how to work hard and take care of business. These days, I’m still into fixing things- only now, I’m doing it for a living.
I’m always looking for new ways to help people grow and develop. That’s why I have created this blog to share all my experience and knowledge so
that I can help people who are interested in DIY repair.