
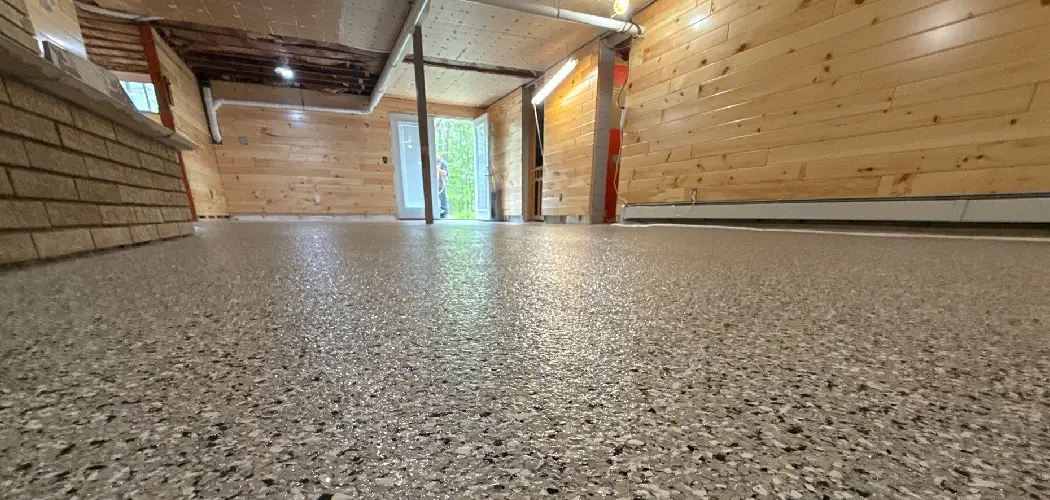
A fresh coat of paint does more for a garage than most homeowners expect. It brightens the space, makes surfaces easier to clean, and turns a dull utility area into somewhere you actually want to spend time. If your garage walls look dingy, stained, or just plain neglected, this project is well within reach — even without professional help.
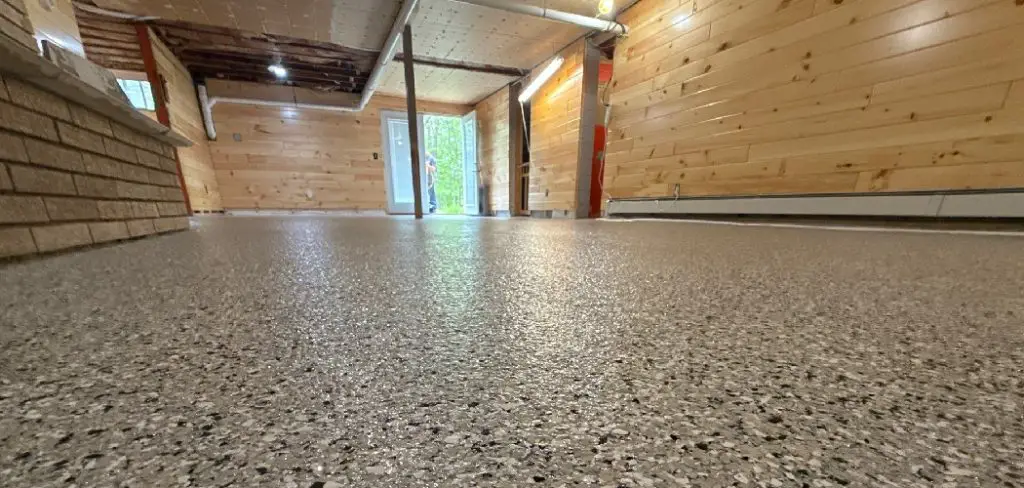
Knowing how to paint a garage correctly starts with understanding that this guide covers walls and ceilings, not floor coating. Epoxy floor systems are a separate project with their own preparation process and materials. Here, you’ll learn what type of paint to choose for your specific surfaces, how to prepare properly, and how to apply paint in the right order so you get clean, lasting results the first time.
Why Paint Matters
Most garages take a beating. Dust, moisture, exhaust fumes, and temperature swings all wear on walls and ceilings over time. Unpainted or peeling surfaces don’t just look bad — they’re harder to clean, more prone to moisture damage, and less reflective, which keeps the space darker than it needs to be.
A properly painted garage also adds real value to your home. Buyers notice finished, well-maintained spaces. Even if you’re not selling, a clean garage encourages better organization and makes the space more usable year-round.
Step-By-Step Guide To How To Paint A Garage
Step 1: Identify Your Wall Surface Type Before Buying Anything
Not all garage walls are the same, and the surface you’re working with determines the products you’ll need. Common types include drywall, bare concrete block or masonry, previously painted surfaces, and OSB or plywood panels. Each one requires a different primer and may need a different paint formulation.
Run your hand along the wall. Rough, porous surfaces like concrete block absorb paint quickly and need a masonry-specific primer. Smooth drywall needs a standard drywall primer if it’s bare. Previously painted surfaces in good condition may only need light cleaning before topcoating. Getting this step right saves you money and prevents adhesion failures later.

Step 2: Clear The Space And Protect What Stays Behind
Move as much out of the garage as possible before you start. Paint mist travels farther than you expect, and anything left in the space — cars, tools, storage shelves — needs protection. Cover stationary items with plastic sheeting and secure edges with tape.
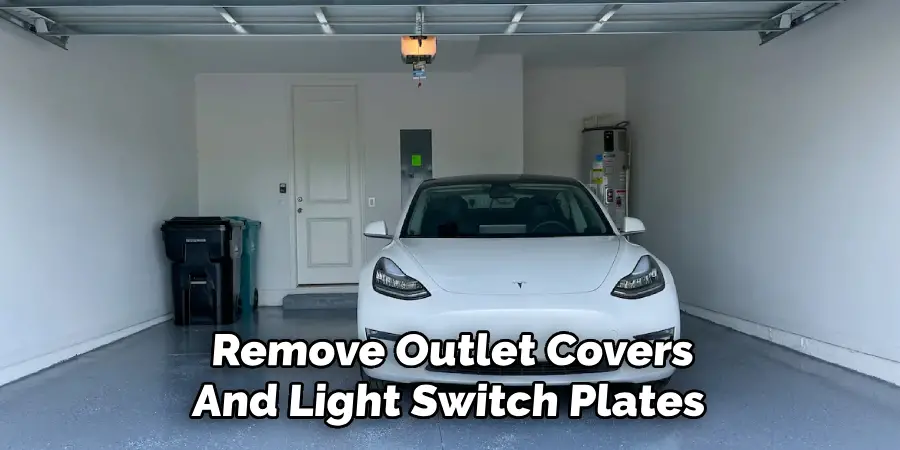
Remove outlet covers and light switch plates, and tape off door trim, window frames, and the garage door tracks. Lay drop cloths on the floor along the walls. Taking thirty minutes to protect the space properly saves hours of cleanup and prevents overspray damage to things that aren’t supposed to get painted.
Step 3: Clean Surfaces Thoroughly Before Any Repairs
Dirty surfaces are one of the most common reasons paint peels prematurely. Garage walls collect grease, dust, cobwebs, and sometimes mildew — all of which prevent paint from bonding properly. Wipe down walls with a damp cloth or sponge and use a degreaser on any areas near the garage door or where vehicles park.
For mildew spots, clean with a diluted bleach solution and let the surface dry completely before proceeding. Pay close attention to corners, the ceiling perimeter, and areas around any vents or openings. The surface doesn’t need to be spotless enough to eat off — it just needs to be clean enough that paint can grip it.
Step 4: Patch Holes, Fill Cracks, And Sand Smooth
Once surfaces are clean and dry, address any damage before you prime. Small nail holes and dents in drywall can be filled with lightweight spackling compound. Larger cracks in masonry may need hydraulic cement or a masonry patching compound, especially if moisture has been getting through.
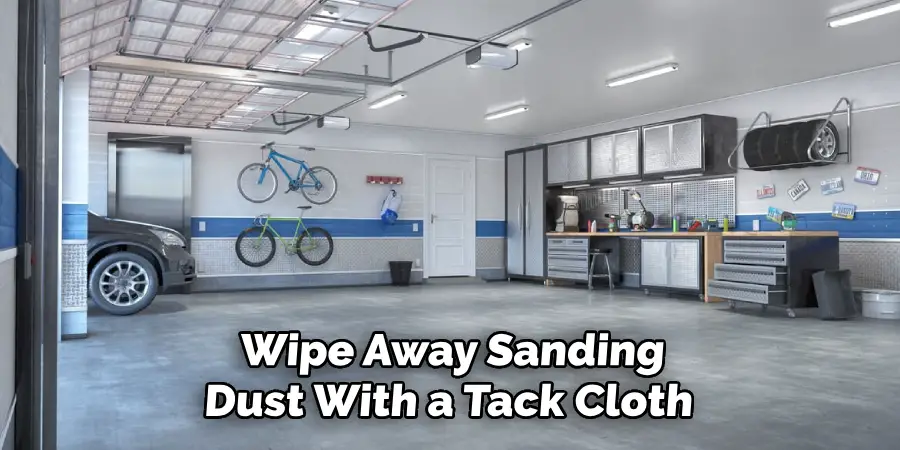
Apply filler with a putty knife, let it dry fully according to the product instructions, then sand smooth with 120-grit sandpaper. Feather the edges so there’s no raised border around the patch. Wipe away sanding dust with a tack cloth or damp rag before moving on. Skipping this step means every imperfection will be more visible once paint goes on, not less.
Step 5: Prime According To Your Surface And Paint Choice
Primer is not optional on bare surfaces, and it’s often worth applying even on previously painted walls if the old paint is chalky, stained, or in questionable condition. Use a drywall primer for new or bare drywall, and a masonry primer for bare concrete block. On previously painted surfaces in good shape, a bonding primer adds insurance without being strictly required.
Apply primer with a roller for large flat areas and a brush for edges and corners. Let it dry fully — typically two to four hours for latex primers — before topcoating. Priming correctly means your finish coats go on more evenly, use less paint overall, and hold up better against the demands a garage puts on its walls.
Step 6: Right Order For Best Results
Always paint in a top-down sequence: ceiling first, then walls, then any trim last. Starting at the ceiling keeps drips off finished wall surfaces. Use a brush to cut in along edges and corners, then follow with a roller on the broad open areas. A 3/8-inch nap roller works well for smooth drywall, while a 3/4-inch nap roller handles rough masonry more effectively.
Work in sections and maintain a wet edge — meaning you overlap each new roller pass into paint that hasn’t dried yet. This prevents lap marks and uneven sheen. Keep the garage well-ventilated with the door open and a fan running, both for faster drying and to prevent buildup of fumes from latex or alkyd paint products.
Step 7: Apply A Second Coat When Necessary
One coat of paint rarely gives full, even coverage — especially over porous masonry or fresh primer. Once the first coat is dry to the touch, usually two to four hours for latex paint, evaluate the coverage. If you can see the underlying surface or primer showing through unevenly, a second coat is necessary and not optional.
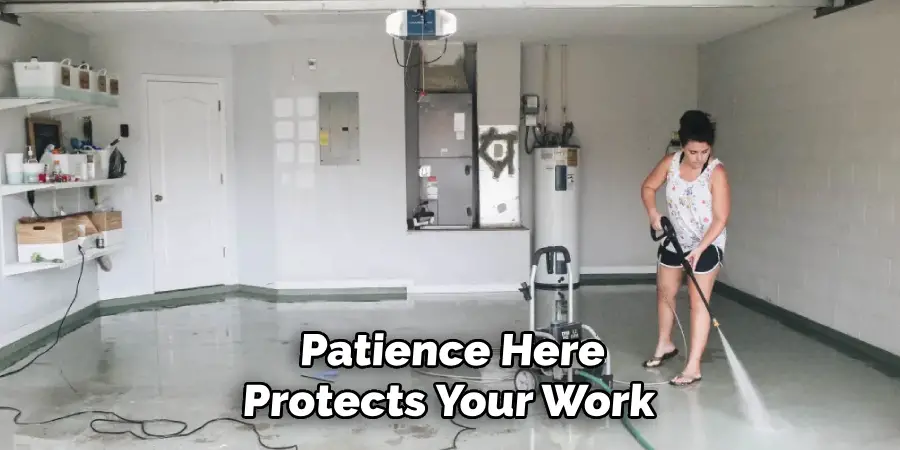
Apply the second coat using the same top-down method. After the final coat is dry to the touch, avoid pressing items against the walls or hanging anything for at least 24 hours. Full cure — when the paint reaches its maximum hardness and durability — typically takes seven to thirty days depending on temperature and humidity. Patience here protects your work.
Frequently Asked Questions
What Type Of Paint Works Best For Garage Walls?
Latex-based paint with a satin or semi-gloss finish is the most practical choice for garage walls. It cleans up easily, resists moisture and staining, and holds up to the temperature fluctuations common in garages. Semi-gloss is especially useful in high-traffic areas because it’s more durable and easier to wipe down than flat finishes.
Do I Need To Prime A Garage Wall Before Painting?
Yes, if the surface is bare drywall, raw masonry, or has visible stains, priming is necessary. Primer improves paint adhesion, seals porous surfaces so you use less topcoat, and prevents stains from bleeding through. On previously painted walls in good condition, a bonding primer is still worthwhile — skipping it risks peeling within a season.
How Much Paint Do I Need For A Two-Car Garage?
A standard two-car garage with walls and ceiling typically requires two to three gallons of paint per coat, depending on ceiling height and surface porosity. Rough masonry absorbs significantly more paint than drywall. Always account for two coats in your estimate, and buy a little extra — having leftover paint is useful for future touch-ups.
Can I Paint A Garage In Winter Or Cold Weather?
Most latex paints require temperatures above 50°F (10°C) for proper application and curing. Painting in cold conditions causes the paint to dry too slowly, sag, or fail to cure correctly. If your garage is unheated, wait for warmer weather or use a space heater to bring the temperature up before and during painting — and keep it warm through drying.
How Long Does A Garage Paint Job Typically Last?
A properly prepared and painted garage interior can last seven to ten years before needing a full repaint, depending on use and conditions. Heavy moisture, vehicle exhaust, and frequent contact with tools or equipment accelerate wear. Touching up scuffs and chips promptly when they happen extends the life of the full paint job significantly.
Conclusion
A painted garage is more functional, more comfortable, and more valuable than an unpainted one — and the process is manageable when you follow the right steps in the right order. Surface preparation consistently determines whether the result holds up or peels within a year. Clean thoroughly, patch what needs patching, prime when the surface calls for it, and paint top-down with adequate ventilation and dry conditions.
Understanding how to paint a garage also means knowing your limits. If walls have significant moisture intrusion or structural damage, address those issues before picking up a brush. Start with a weekend, gather the right materials, and work through each step without rushing the dry times. The results last years — and the effort is worth every hour.

I am Rick. I grew up helping my dad with his handyman service. I learned a lot from him about how to fix things, and also about how to work hard and take care of business. These days, I’m still into fixing things- only now, I’m doing it for a living.
I’m always looking for new ways to help people grow and develop. That’s why I have created this blog to share all my experience and knowledge so
that I can help people who are interested in DIY repair.