
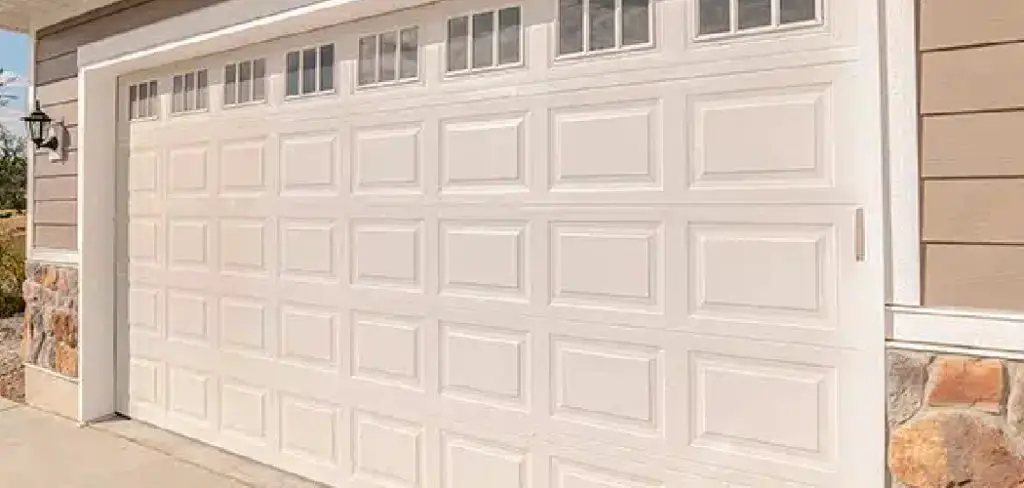
A freshly painted garage door is one of the highest-return investments you can make for your home’s curb appeal. It occupies a massive amount of visual real estate, and a faded, peeling, or rusted door can make even the most pristine house look neglected.
We have all heard the horror stories. You spend all weekend prepping and painting, the door looks fantastic, and you finally close it for the night. The next morning, you hit the opener button, and—crunch. The paint has acted like glue, tearing off strips of your hard work or, worse, damaging the motor.
This guide on how to paint garage door without sticking walks you through exactly how to execute a flawless garage door makeover that opens smoothly every time.
What Will You Need?
To ensure the job is done right, gather the following supplies before you start. Do not skimp on the quality of the paint or primer; these are the primary defenses against sticking.
- Premium Exterior Paint: Look for 100% acrylic latex paint. It is flexible, durable, and resistant to fading. Avoid oil-based paints for metal doors as they can crack over time.
- Bonding Primer: Essential for ensuring the topcoat adheres to the surface rather than peeling off.
- Cleaning Supplies: Trisodium Phosphate (TSP) or a heavy-duty degreaser, a scrub brush, and a sponge.
- Abrasives: Fine-grit sandpaper (220-grit) or a sanding sponge.
- Application Tools: A 2-inch angled nylon/polyester brush and a roller with a 3/8-inch nap.
- Protection: Painter’s tape, drop cloths, and old sheets to cover the driveway.
- Step Ladder: To reach the top panel comfortably.
10 Easy Steps on How to Paint Garage Door Without Sticking
Follow this detailed process to ensure a smooth finish that won’t seal your garage shut.
Step 1: Check the Forecast and Pick the Right Day
The single biggest cause of tacky, sticky paint is poor drying conditions. Before you even buy your supplies, look at the weather forecast for the next three days. You are looking for a specific window of opportunity: temperatures between 50°F and 80°F and, crucially, low humidity.
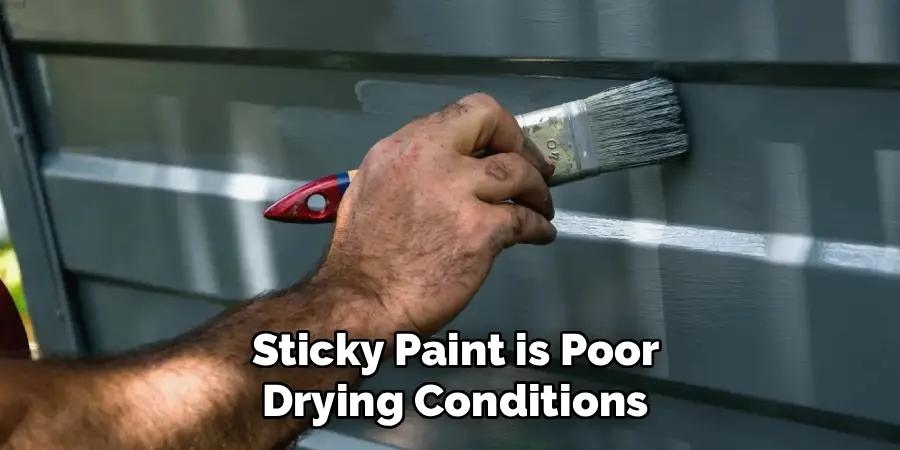
High humidity prevents the water in acrylic latex paint from evaporating efficiently. If the water cannot escape, the paint remains soft and gummy for days, significantly increasing the risk of the panels sticking together when the door rolls up. Avoid painting in direct, blazing sunlight as well. If the surface is too hot, the paint will “flash dry” on the surface but remain wet underneath, leading to blistering and peeling later. An overcast day with low humidity is your ideal scenario.
Step 2: Deep Clean the Surface
Garage doors are magnets for dirt, pollen, road salt, and subtle layers of grease from the door mechanism. If you paint over this grime, the paint will adhere to the dirt rather than the door, leading to immediate peeling and sticking issues at the seams.
Mix a solution of TSP (Trisodium Phosphate) and warm water. Using a stiff-bristled brush, scrub every inch of the door. Pay special attention to the bottom panel, which collects the most splash-back from the driveway. If you have a power washer, use it on a low setting to rinse the door, but be careful not to force water behind the weatherstripping or into the motor mechanism. Allow the door to dry completely before moving to the next step.
Step 3: Remove Rust and Sand for Adhesion
If you have a steel door, inspect it closely for rust spots. Any oxidation needs to be sanded down to bare metal, or the rust will continue to grow beneath your new paint. For wood doors, look for loose or flaking paint.
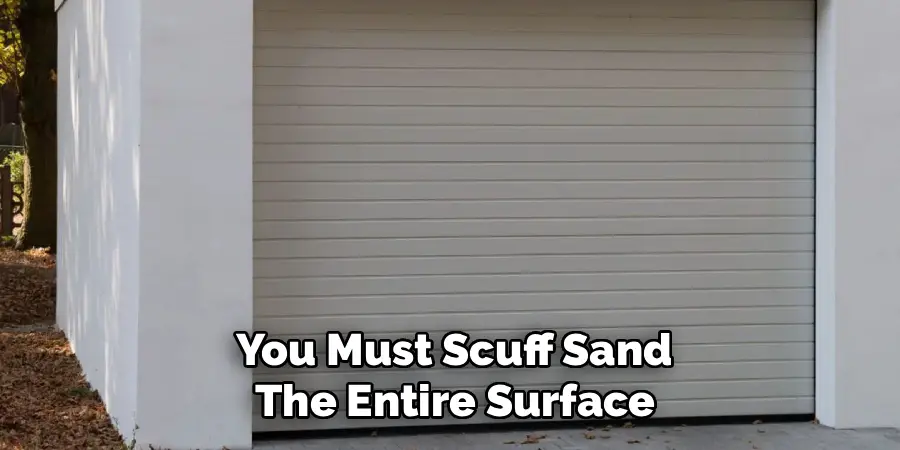
Even if your door is in good condition, you must “scuff sand” the entire surface. Use a fine-grit sandpaper or a sanding sponge to lightly rough up the old finish. You aren’t trying to remove the old paint entirely; you are creating microscopic grooves that give the new primer something to grab onto. This mechanical bond is vital. Without it, the pressure of the door panels rubbing against each other during operation will strip the new paint right off. Wipe away all sanding dust with a tack cloth or a damp rag.
Step 4: Tape Off Hardware and Weatherstripping
Proper taping is the difference between a professional job and a messy DIY attempt. Use high-quality painter’s tape to cover handles, locks, and windows. However, the most critical area to tape is the weatherstripping—the rubber seal that runs along the sides and top of the door frame.
If you get paint on the rubber weatherstripping, it will almost certainly bond to the door face when it dries. This is a primary cause of sticking. If possible, loosen the brackets and pull the weatherstripping away from the door slightly. If you cannot move it, tape over the rubber flange completely so that no paint touches it. This ensures a clean break between the door and the jamb.
Step 5: Disengage the Opener and Position the Door
Here is the trick to painting without sticking: You cannot paint the door while it is completely closed, nor can you paint it when it is fully open. You need to manipulate the door manually.
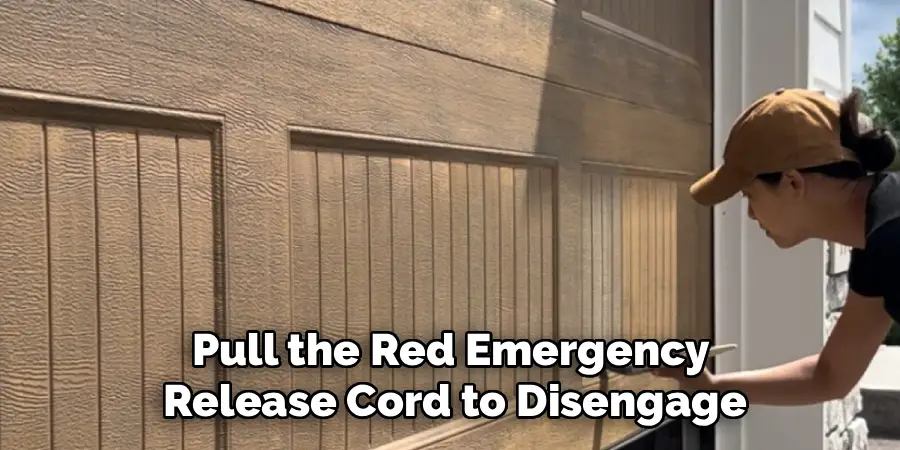
Pull the red emergency release cord to disengage the automatic opener. This allows you to lift the door by hand. To paint effectively, you need to access the “lips” of the panels—the top and bottom edges that disappear when the door folds as it opens. Lift the door slightly until the seams between the panels separate or “break.” This exposes the hidden edges. You may need to paint the door in sections, lifting or lowering it manually to keep the wet edge accessible while ensuring panels don’t touch while wet.
Step 6: Apply a High-Quality Bonding Primer
Unless your door is already painted with a compatible paint in pristine condition, do not skip primer. A bonding primer is formulated to stick to difficult surfaces like baked-on enamel (common on metal doors) or weathered wood.
Apply the primer using the same method you will use for the paint (detailed in the next steps). The primer creates a uniform surface that seals the old material and prevents it from soaking up the topcoat. This ensures your topcoat dries with a consistent sheen and hardness. A harder finish is less likely to feel “blocking” (sticky) when cured. Let the primer dry for the full time recommended on the can before applying paint.
Step 7: Paint the Recessed Areas and Corners First
Start with your 2-inch angled brush. Most garage doors have raised panels with recessed borders. You want to paint these detailed areas first. Dip your brush and paint the inside edges of the frame surrounding the panels.
Be careful not to overload the brush, as drips will collect in the corners. Brush out any heavy buildup immediately. By cutting in these areas first, you allow yourself to roll over the brush marks on the flat surfaces later, creating a smoother, more sprayed-on appearance. Work from the top panel down to the bottom panel to catch any drips that might fall.
Step 8: Roll the Flat Surfaces
Once the detail work on a section is done, switch to your roller. A 3/8-inch nap roller is usually perfect for garage doors—thick enough to hold paint but short enough to leave a smooth finish.
Roll the flat face of the panels and the stiles (the vertical flat spaces between panels). Use long, even strokes. Do not overwork the paint; acrylic latex sets up quickly, and going back over tacky paint will pull it up, creating a rough texture. Feather out the edges where the roller meets the brushed areas to blend the textures. Ensure you are painting the “lips” between the panels that you exposed in Step 5.
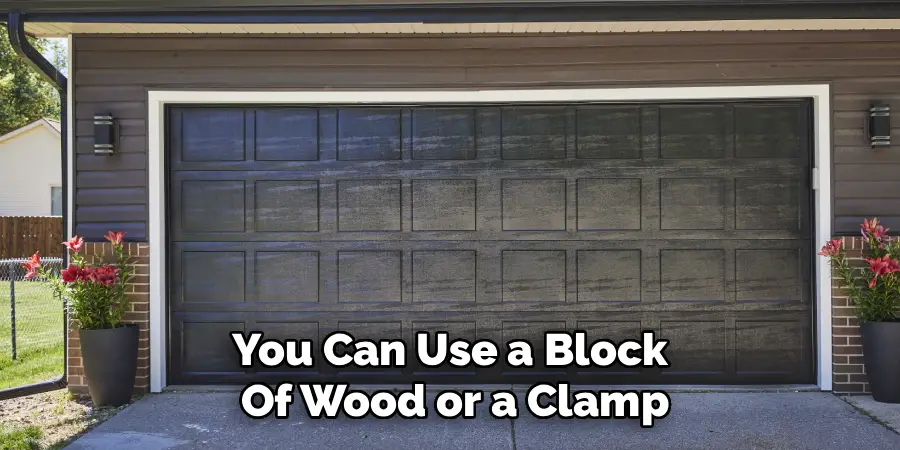
Step 9: The “Gap” Drying Technique
This is the most crucial step to prevent sticking. Do not close the door completely immediately after painting. If the panels are compressed against each other while the paint is drying, they will fuse.
Leave the door slightly raised so the panel seams remain separated. You can use a block of wood or a clamp on the track to hold the door in a position where the panels are angled and not touching. If you must close the door for security reasons overnight, wait until the paint is dry to the touch, and then lightly dust the seams with talcum powder or place wax paper between the touching surfaces. However, the best method is to leave the seams separated for at least 4-6 hours.
Step 10: Allow for a Full Cure Before Normal Use
“Dry to the touch” is not the same as “cured.” Paint might feel dry in an hour, but it can take days or even weeks to fully harden. During this curing phase, the paint is susceptible to “blocking”—sticking to itself or other surfaces.
For the first 24 to 48 hours, try to minimize opening and closing the door. If you can park in the driveway, do so. When you do operate the door for the first time, watch it closely. If you hear a tearing sound or see resistance, stop immediately. It means the paint hasn’t cured. Applying a thin layer of clear silicone spray or lubricant to the weatherstripping (once the paint is fully dry) can also help the door slide rather than stick.
5 Things You Should Avoid
- Painting in Direct Sun: Surface heat causes the paint to skin over too fast, trapping solvents underneath. This leads to blistering and a gummy finish that never truly hardens.
- Using Cheap Paint: Bargain paints contain fewer binders and high-quality resins. They stay soft and sticky longer, leading to immediate blocking issues when the weatherstripping touches them.
- Painting the Rubber Seal: Never paint the flexible weatherstripping at the bottom or sides of the door. Paint dries rigid; weatherstripping needs to flex. The paint will crack and flake off immediately.
- Closing the Door Too Soon: Patience is your best friend. Closing the door while the paint is “green” (uncured) is the number one reason garage doors stick.
- Thick Layers: Two thin coats are infinitely better than one thick coat. Thick coats take exponentially longer to cure and remain soft in the center, causing major sticking problems.
Conclusion
How to paint garage door without sticking is a transformative project that boosts curb appeal and protects your home’s exterior. The fear of a sticking door shouldn’t deter you from tackling this upgrade.
By meticulously cleaning the surface, choosing the right weather conditions, and—most importantly—managing the drying process by keeping the panels separated, you can achieve a flawless, durable finish.
With patience and the right technique, your garage door will not only look brand new but will continue to operate smoothly for years to come.
I am Rick. I grew up helping my dad with his handyman service. I learned a lot from him about how to fix things, and also about how to work hard and take care of business. These days, I’m still into fixing things- only now, I’m doing it for a living.
I’m always looking for new ways to help people grow and develop. That’s why I have created this blog to share all my experience and knowledge so
that I can help people who are interested in DIY repair.