If you use your garage for anything other than parking your car—like a workshop, a home gym, or a laundry room—you know exactly how uncomfortable it can get during the winter. Concrete is a master at absorbing cold from the ground and radiating it upward, turning the room into an icebox. Even with a space heater running full blast, a cold floor can make the entire space feel impossible to heat.
Insulating your garage floor is the most effective way to break that thermal bridge. It transforms a cold, damp utility area into a comfortable extension of your home. While it might sound like a massive construction project, it is a manageable DIY task if you have the right plan and materials.
This guide on how to insulate garage floor will walk you through the process, ensuring your garage stays warm, dry, and usable year-round.
Benefits of Insulating a Garage Floor
Taking the time to insulate isn’t just about comfort; it brings practical benefits to the longevity of your home and your wallet.
- Thermal Efficiency: The most obvious benefit is heat retention. By adding a layer of insulation, you stop the ground from sucking the heat out of the room. This makes heating the space significantly cheaper and faster.
- Moisture Control: Concrete is porous. Moisture from the earth often seeps up through the slab, leading to dampness, mold, and rust on your tools or car. A proper insulation system includes a vapor barrier, keeping the room dry.
- Sound Reduction: If you use power tools or have a band practicing in the garage, insulation combined with a subfloor acts as a sound dampener, reducing the noise transfer to the rest of the house or the neighbors.
- Enhanced Comfort: Standing on concrete for long periods is hard on your joints and back. An insulated floor system usually involves a wood subfloor, which provides a softer, more forgiving surface to walk and work on.
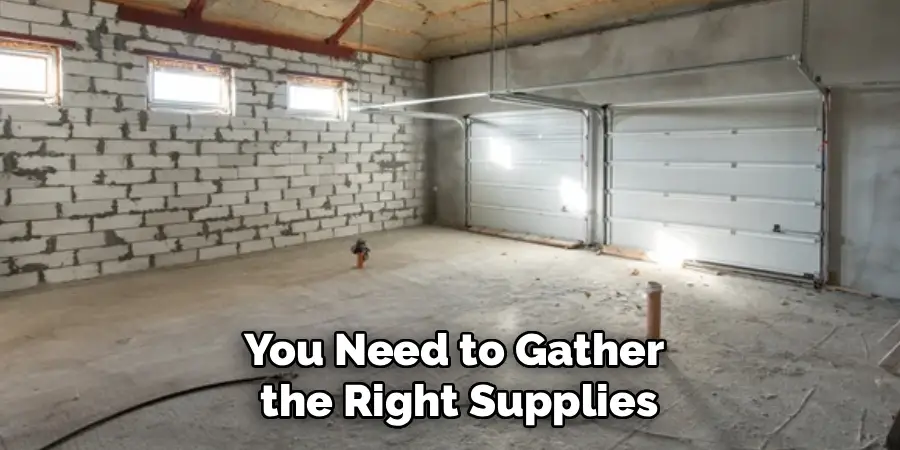
What Will You Need?
Before you head to the hardware store, you need to gather the right supplies. This project typically involves building a “sleeper” system (a wooden frame) filled with rigid foam, topped with plywood.
Materials:
- Vapor Barrier: 6-mil polyethylene plastic sheeting.
- Lumber: 2x4s (pressure-treated is best since they sit near concrete).
- Insulation: Rigid foam insulation boards (XPS or EPS). Do not use fiberglass batts, as they compress and absorb moisture.
- Subfloor: 3/4-inch tongue-and-groove plywood or OSB.
- Fasteners: Concrete screws (Tapcons) or construction adhesive, and wood screws.
- Sealing: Duct tape or vapor barrier tape, and spray foam (Great Stuff).
Tools:
- Circular saw, or miter saw
- Drill with masonry bits and driver bits
- Utility knife
- Measuring tape and chalk line
- Caulk gun
- Hammer
- Level
10 Easy Steps on How to Insulate a Garage Floor
Follow this step-by-step process to create a warm, durable floor.
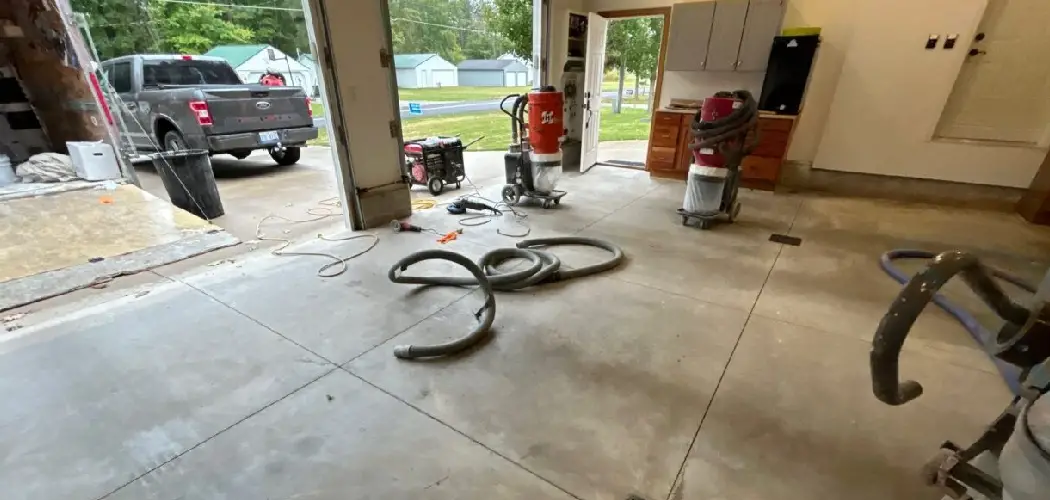
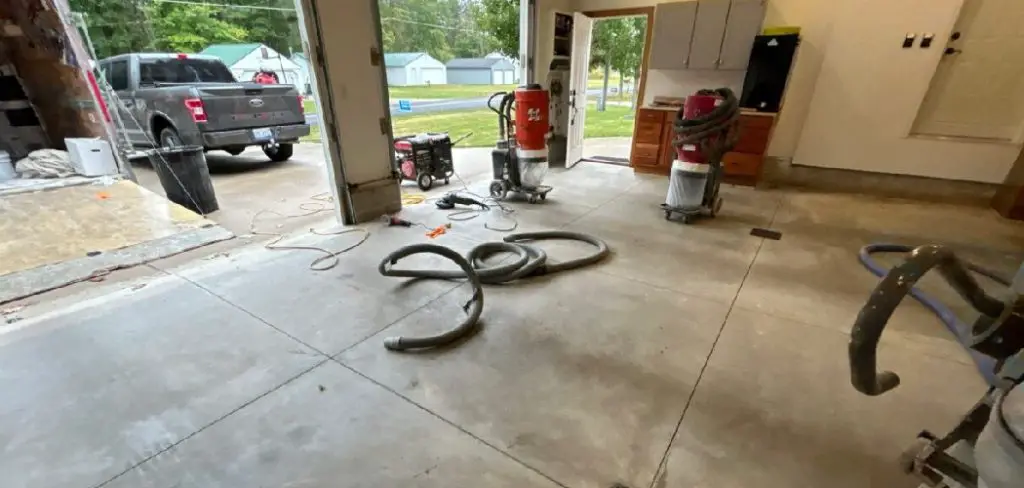
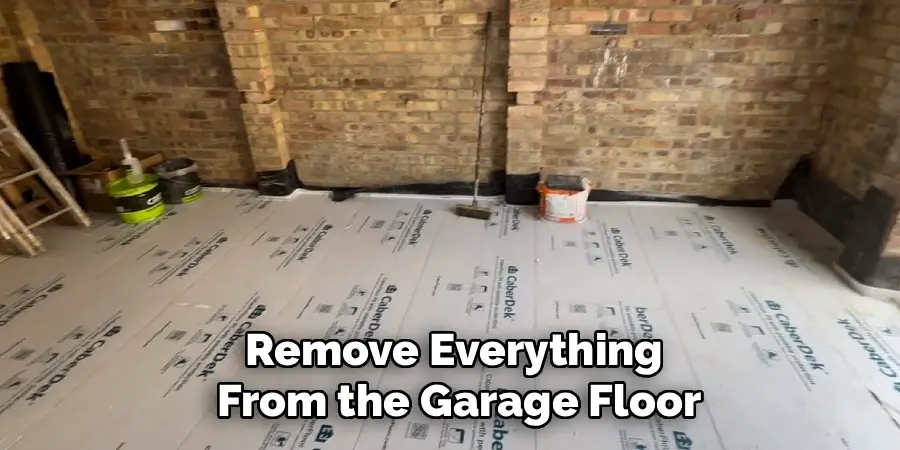
Step 1: Clear and Clean the Concrete
Start with a blank canvas. Remove everything from the garage floor, including shelving units that aren’t bolted to the wall. Once clear, sweep the floor thoroughly and use a shop vac to pick up fine dust. If there are oil stains, clean them with a degreaser. The adhesive and tape need a clean surface to stick to, and you don’t want to trap organic debris under your new floor.
Step 2: Inspect and Repair Cracks
Before covering the concrete, check its condition. Small hairline cracks are normal, but large cracks or heaving sections need attention. Use a concrete filler or masonry caulk to seal these gaps. If moisture is seeping through active cracks, you must address the drainage issue outside your home before laying insulation; otherwise, you risk trapping water and causing rot.
Step 3: Lay the Vapor Barrier
Concrete acts like a hard sponge, wicking moisture from the ground. Roll out your 6-mil polyethylene plastic sheeting across the entire floor. Overlap the seams by at least 6 inches and seal them tightly with waterproof tape. Run the plastic up the walls about 4 to 6 inches; you can trim the excess later. This is your primary defense against mold.
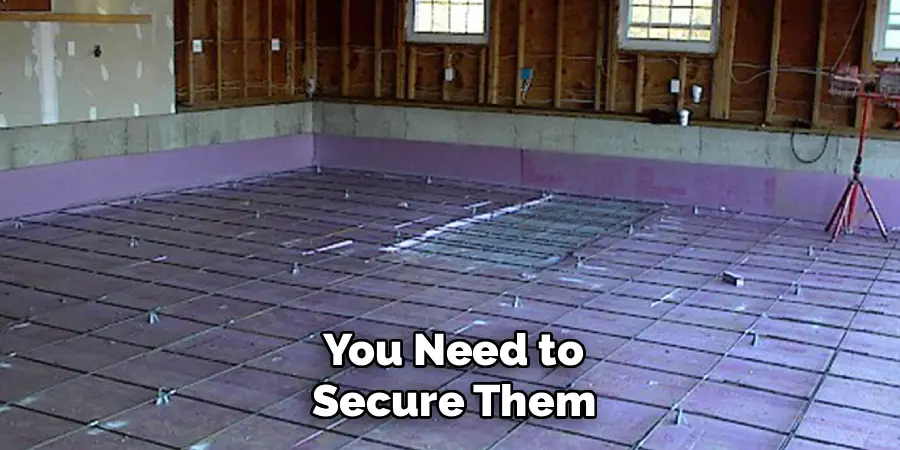
Step 4: Install the Sleeper System
Cut your 2x4s to fit the length of the garage. Lay them flat on top of the vapor barrier. These are your “sleepers.” Space them 16 inches apart (on center) to provide adequate support for the plywood subfloor. If you plan to park a heavy vehicle, you might consider spacing them 12 inches apart for extra rigidity.
Step 5: Secure the Sleepers
Once your 2x4s are positioned correctly, you need to secure them. You can use construction adhesive if you want to avoid drilling into the floor, but mechanical fasteners are more secure. Using a hammer drill and masonry bit, drill pilot holes through the wood and into the concrete, then secure them with concrete screws. Check that the sleepers are level; use shims if necessary.
Step 6: Measure and Cut Rigid Foam
Measure the distance between your sleepers. It should be roughly 14.5 inches if you spaced your 2x4s at 16 inches on center. Using a utility knife or a table saw, cut your rigid foam insulation boards to fit snugly into these bays. The tighter the fit, the better the insulation performance.
Step 7: Place Insulation Between Sleepers
Press the cut foam boards into the spaces between the 2×4 sleepers. They should sit flat against the vapor barrier. If you are using thick foam (matching the 1.5-inch actual thickness of a 2×4), it should be flush with the top of the wood. If your foam is thinner, that’s fine, but do not use foam that is thicker than the sleepers, or your floor will be uneven.
Step 8: Seal the Gaps
Even with precise cutting, there will be small gaps between the foam and the wood. These gaps allow air to circulate, which reduces R-value (insulation power). Take a can of expanding spray foam and fill any cracks or crevices along the edges of the rigid foam. Let it cure, and then trim any excess that bubbles up above the sleepers.
Step 9: Install the Subfloor
Lay your sheets of 3/4-inch plywood or OSB perpendicular to the sleepers. Stagger the joints so they don’t all line up in a row (like bricklaying); this increases the structural strength of the floor. Leave a roughly 1/4-inch expansion gap around the perimeter of the walls to allow the wood to expand and contract with humidity changes.
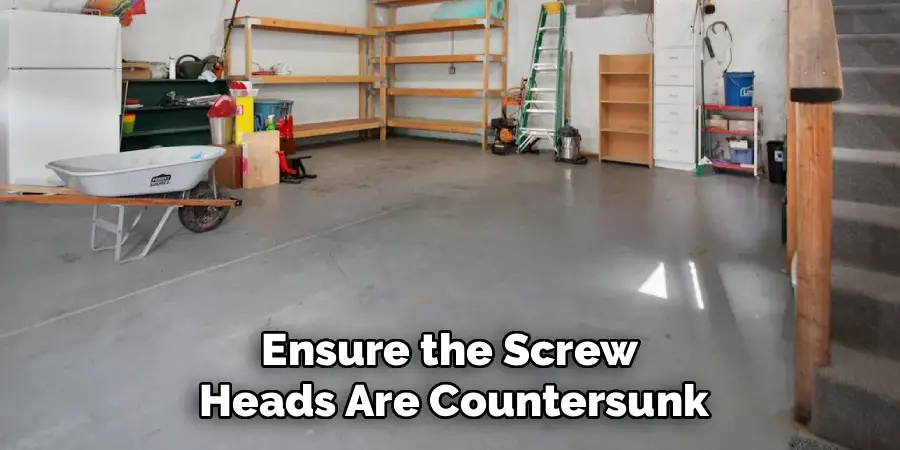
Step 10: Secure the Plywood
Screw the plywood down into the sleepers using wood screws. Ensure the screw heads are countersunk (driven slightly below the surface) so they don’t interfere with your final flooring finish. Once secured, you can trim the excess vapor barrier sticking up the walls and install baseboards to hide the expansion gap. You now have a fully insulated subfloor ready for paint, vinyl, or carpet tiles.
5 Things You Should Avoid
- Ignoring Door Clearance: Adding sleepers and plywood raises the floor height by at least 2.5 inches. Ensure your garage door, entry door to the house, and any storage cabinets can still open freely. You may need to trim doors or adjust the garage door tracks.
- Using Fiberglass Batts: Never use fluffy fiberglass insulation for a floor project. It compresses easily, losing its insulating properties, and holds onto moisture like a sponge, which creates a perfect breeding ground for mold.
- Skipping the Vapor Barrier: Even if your concrete looks dry, moisture vapor is constantly moving through it. Skipping the plastic sheeting puts your wood sleepers and plywood at high risk of rot.
- Leaving Thermal Bridges: If you just lay plywood on concrete, the cold transfers straight through. You need the thermal break provided by the foam and wood sleepers. Ensure the foam fits tightly to maximize efficiency.
- Not Leveling the Floor: Garages are often sloped toward the door for drainage. While you don’t need to make the floor perfectly flat (which would require tapering every sleeper), you should shim low spots so the plywood doesn’t bounce or squeak when you walk on it.
Frequently Asked Questions
1. Can I Park My Car on This Insulated Floor?
Yes, but you must ensure the subfloor is robust enough to handle the weight. Using pressure-treated 2×4 sleepers spaced 12 inches apart and covering them with high-quality 3/4-inch exterior-grade plywood will generally support a standard vehicle. However, driving wet, snowy cars onto a wood subfloor can lead to rot over time, so consider a vinyl floor mat or epoxy finish for protection.
2. How Much R-value Will This Add to My Garage?
The R-value depends on the type and thickness of the rigid foam you choose. Generally, a 1.5-inch thick XPS foam board provides an R-value of about R-7.5. While this might seem low compared to wall insulation, eliminating the direct contact with the freezing concrete slab makes a massive difference in perceived temperature and comfort.
3. Is It Cheaper to Use Spray Foam Instead of Rigid Boards?
Generally, no. Hiring a professional to spray closed-cell foam between the sleepers is faster and provides an excellent air seal, but it is significantly more expensive than buying rigid foam boards and cutting them yourself. For the average DIYer, rigid foam offers the best balance of cost, ease of installation, and performance.
Conclusion
Insulating your garage floor is a project that pays immediate dividends. The first time you step into the garage on a freezing morning and don’t feel the chill radiating through your shoes, you will know it was worth the effort.
By following these steps, you have effectively added square footage to your home, creating a space that is versatile, comfortable, and energy-efficient. Whether you are building the ultimate man cave, a home office, or just a warmer place to park, a solid thermal barrier is the foundation of a great garage.
Hopefully, this guide on how to insulate garage floor has given you the knowledge and inspiration to take on your own garage insulation project.
I am Rick. I grew up helping my dad with his handyman service. I learned a lot from him about how to fix things, and also about how to work hard and take care of business. These days, I’m still into fixing things- only now, I’m doing it for a living.
I’m always looking for new ways to help people grow and develop. That’s why I have created this blog to share all my experience and knowledge so
that I can help people who are interested in DIY repair.