
For many homeowners, the garage serves as a catch-all storage unit rather than a place to park cars. Between lawnmowers, holiday decorations, and sports equipment, finding floor space can be a challenge. Bicycles are often the biggest culprits when it comes to clutter. They are awkwardly shaped, prone to falling over, and difficult to stack.
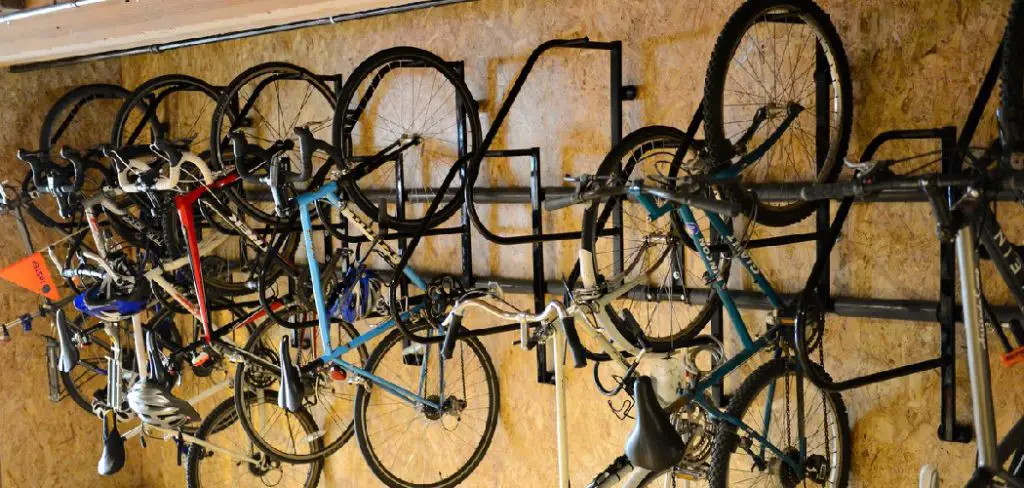
Leaving bikes leaning against walls or piled in corners creates a tripping hazard and risks damage to the bicycle (and your car). The most effective solution is to utilize the vertical space in your garage. Installing a wall-mounted bike rack organizes your gear and frees up valuable floor space.
This guide on how to hang bike rack in garage will walk you through everything you need to know to safely and securely hang a bike rack in your garage.
What Will You Need?
Before you begin, gather the necessary tools and materials. Having everything within arm’s reach will make the installation process smoother.
Tools:
- Stud finder
- Power drill
- Drill bits (specifically a pilot bit suitable for your mounting hardware)
- Tape measure
- Pencil or marker
- Level (torpedo level or a standard 2-foot level)
- Socket wrench or screwdriver (depending on your fasteners)
- Ladder or step stool
- Safety glasses
Materials:
- Wall-mount bike rack (ensure it is rated for your bike’s weight)
- Heavy-duty wood screws or lag bolts (usually included with the rack, but upgrade them if they look flimsy)
- Washers (if using lag bolts)
10 Easy Steps on How to Hang Bike Rack in Garage
Step 1: Choose the Ideal Location
The first step is critical: determining exactly where the bikes will live. You need a spot that allows for easy access but doesn’t interfere with the garage door tracks, the opening of the garage door itself, or your parked vehicle.
Park your car in the garage exactly where you usually keep it. Open the car doors to see how much swing room you need. Look for a section of the wall that allows you to walk past the bikes without brushing against greasy chains. If you have high ceilings, you might consider hoisting them higher, but for standard wall racks, aim for a spot where you can lift the bike down without straining your back.

Step 2: Measure Your Bikes and Wall Space
Don’t rely on guesswork. Measure the handlebar width of your widest bike. If you are hanging multiple bikes next to each other, you need to ensure the handlebars won’t overlap or fight for space.
Measure the distance from the ceiling to the floor to ensure you have enough vertical clearance. If you are installing a vertical hook style (where the bike hangs by one tire), measure the total length of the bike from the front tire to the back tire. You want the rear tire to rest against the wall, ideally on a protective plate or a stud, rather than hanging loose where it can mark up the drywall.
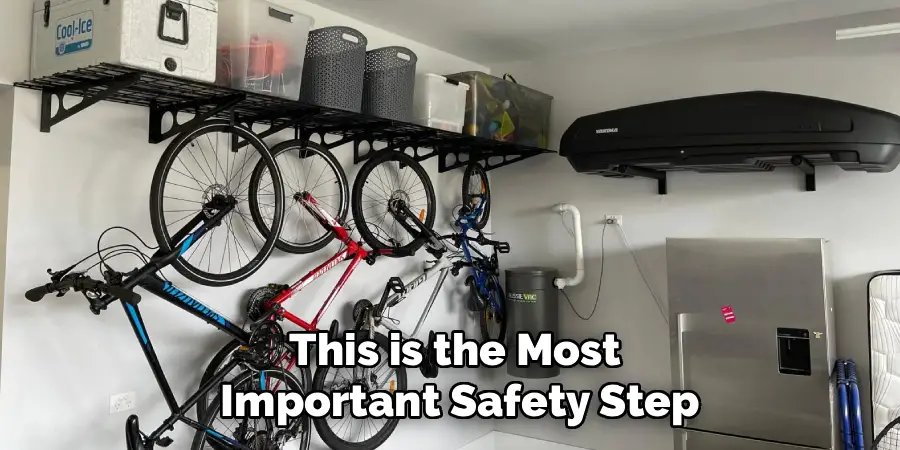
Step 3: Locate the Wall Studs
This is the most important safety step. You cannot hang a bike rack directly into drywall; the weight of the bike will eventually rip the anchors out, causing damage to the wall and the bike. You must anchor the rack into the wooden studs behind the drywall.
Use a high-quality stud finder to locate the studs in your chosen area. Move the device slowly across the wall until it lights up or beeps. Mark the left edge and the right edge of the stud to find the true center. If you don’t have a stud finder, you can look for rows of nails in the baseboards or drywall screws, which indicate a stud, but a digital finder is far more accurate.
Step 4: Determine the Hanging Height
Hold the bike rack up to the wall to visualize the height. For a vertical rack, the hook should be high enough that the rear tire clears the floor, but low enough that you don’t have to perform an overhead press to rack the bike.
A good rule of thumb is to lift the bike to a comfortable height—usually with the front wheel about shoulder level—and mark that spot. If you have kids who need to access the bikes, you will need to mount the rack lower. If the bikes are for long-term winter storage, you can mount them higher to maximize floor space.
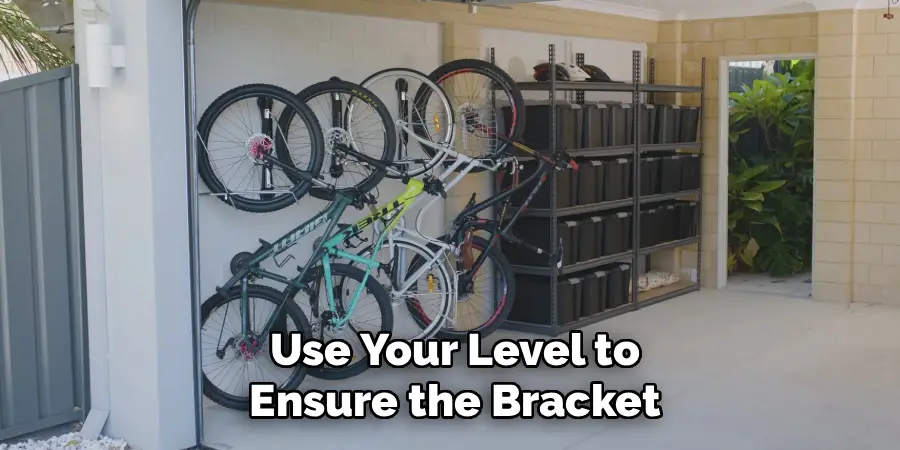
Step 5: Mark Your Pilot Holes
Once you have the height and the horizontal stud location identified, place the bike rack bracket against the wall. Use your level to ensure the bracket is perfectly straight. If the rack is crooked, the weight distribution will be uneven, putting unnecessary stress on the screws.
While holding the bracket level and centered over the stud marks, use your pencil to color in the mounting holes on the wall. Double-check these marks with your tape measure to ensure they are still centered on the stud. Accuracy here prevents you from splitting the wood or missing the stud entirely.
Step 6: Check for Hidden Hazards
Before you drill, take a moment to inspect the area for electrical wiring or plumbing. While you can’t see through walls, you can look for clues. Are there outlets directly below where you are drilling? is there a light switch nearby? Is this wall shared with a bathroom or laundry room?
Some advanced stud finders have built-in wire detection. If you are unsure, it is safer to shift the location of the rack to a different stud than to risk drilling into a live wire or a water pipe.
Step 7: Pre-drill the Pilot Holes
Never drive a thick lag bolt directly into a stud without pre-drilling. Doing so can split the wood, which significantly weakens the holding power of the stud.
Select a drill bit that is slightly smaller in diameter than the shank (the solid shaft) of your mounting screw or lag bolt. You want the threads of the screw to bite into the wood, not the shaft to wedge it apart. Drill into your marked spots, keeping the drill perpendicular to the wall. Ensure you drill deep enough to accommodate the full length of the screw.
Step 8: Position the Rack and Hardware
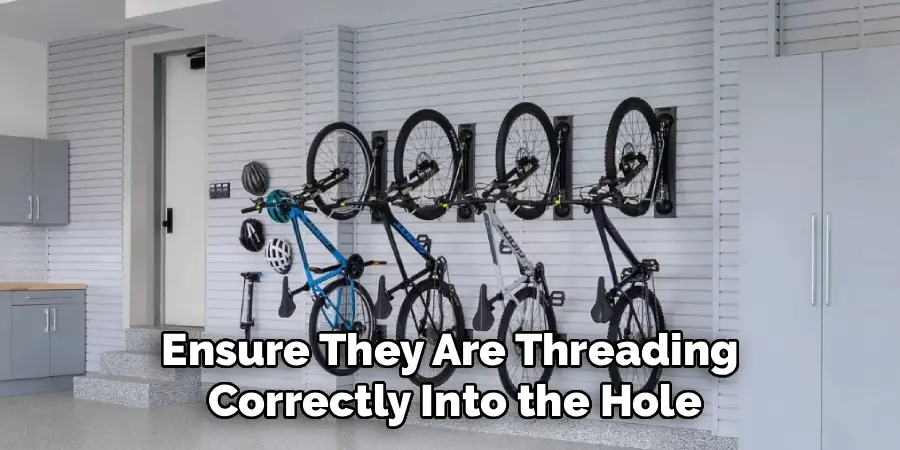
Align the bike rack mounting holes with the pilot holes you just drilled. If you are using lag bolts, slide a washer onto the bolt before inserting it through the rack. Washers help distribute the pressure and prevent the bolt head from digging into the metal of the rack.
Insert the screws or bolts by hand first to ensure they are threading correctly into the hole. This prevents cross-threading.
Step 9: Secure the Rack to the Wall
Using your socket wrench (for lag bolts) or power drill (for screws), tighten the fasteners. Drive them in until the rack is pulled tight against the wall.
Be careful not to over-tighten. If you use an impact driver and go full throttle, you risk stripping the wood threads in the stud. Tighten until snug and secure, but stop before you hear the wood cracking or feel the screw spin freely.
Step 10: Test Stability and Hang the Bike
Before trusting your expensive bicycle to the rack, test it with your own strength. Grab the rack and give it a firm pull. Wiggle it up and down. It should feel solid, with no movement between the rack and the wall.
Once you are confident in the installation, lift your bike and hang it on the rack. Step back and inspect. Does the bike hang straight? Is it touching the car? Is the rear tire marking the wall (if so, add a small piece of plexiglass or wood where the tire touches)? Make any final adjustments to the bike’s position, and you are done.
5 Things You Should Avoid
- Using Drywall Anchors: Plastic toggles or expansion anchors are designed for pictures and light shelving, not dynamic loads like bicycles. Always mount to a stud.
- Mounting Too High: If you have to struggle to lift the bike, you will likely stop using the rack or drop the bike on yourself. Keep it within a comfortable lifting range.
- Blocking Access Panels: Avoid installing racks over electrical panels, crawl space entrances, or outlets that you need frequent access to.
- Using the Wrong Fasteners: Drywall screws are brittle and can snap under shear weight. Use the heavy-duty screws provided with the rack or buy lag bolts.
- Ignoring Weight Limits: E-bikes are significantly heavier than road bikes. Ensure the rack you buy is rated for the specific weight of your bicycle.
Conclusion
Installing a bike rack is one of the most rewarding afternoon projects you can undertake for your garage. It requires minimal tools and investment but offers a massive return in terms of organization and floor space.
Hopefully, this guide on how to hang bike rack in garage has provided you with the necessary information to choose and install a bike rack that is perfect for your needs.
By following these steps and ensuring you are anchored safely into the studs, you can protect your cycling gear and reclaim your parking spot. Don’t let clutter dictate how you use your home—get your tools out and get those bikes on the wall.
I am Rick. I grew up helping my dad with his handyman service. I learned a lot from him about how to fix things, and also about how to work hard and take care of business. These days, I’m still into fixing things- only now, I’m doing it for a living.
I’m always looking for new ways to help people grow and develop. That’s why I have created this blog to share all my experience and knowledge so
that I can help people who are interested in DIY repair.