
A flaking, pitted garage floor isn’t just an eyesore — it’s a sign that your concrete surface is breaking down and needs attention before the damage spreads. Spalling happens when the top layer of concrete deteriorates and separates, leaving rough, uneven patches that collect dirt, trap moisture, and worsen over time.
Knowing how to patch a spalled garage floor gives you the tools to stop that cycle early, protect the underlying slab, and restore a clean, functional surface without calling in a contractor. The causes are common — deicing salts, moisture infiltration, freeze-thaw cycles, or a weak surface mix during the original pour — but most cases respond well to a careful DIY repair.

This guide walks you through every step, from assessing the damage to finishing the cure, so you can approach the job with confidence and realistic expectations.
Why Spalled Garage Floor Matters
Spalling rarely stays contained on its own. Once the surface layer begins to break apart, moisture works its way deeper into the concrete with every rain, snow melt, or hose rinse. That moisture expands when it freezes, forcing more of the surface to lift and flake away. What starts as a small rough patch can grow into a broad, unstable surface in just a few seasons.
Repairing spalling early protects the structural integrity of the slab beneath. A solid slab supports your vehicle, your tools, and everything else in that space — and replacing a full slab costs significantly more than patching surface damage. Beyond function, a repaired floor is safer underfoot, easier to clean, and more resistant to future moisture penetration. Acting while the damage is still limited gives you the most affordable, durable outcome.
Step-By-Step Guide To How To Patch A Spalled Garage Floor
Step 1: Assess The Extent Of The Damage
Before purchasing materials or picking up a chisel, take a good look at the full floor and understand what you’re dealing with. Spalling that covers a few isolated spots is a strong candidate for patching. Spalling that covers more than a third of the floor, or areas where the concrete has crumbled more than an inch deep, may point to a resurfacing project or a conversation with a concrete professional.
Press firmly on the edges of affected areas with your foot or a screwdriver handle. If the surrounding concrete sounds hollow or crumbles easily, the damage extends beyond the obvious surface. Mark those areas with chalk so you know the full scope before you start, and adjust your material estimate accordingly.
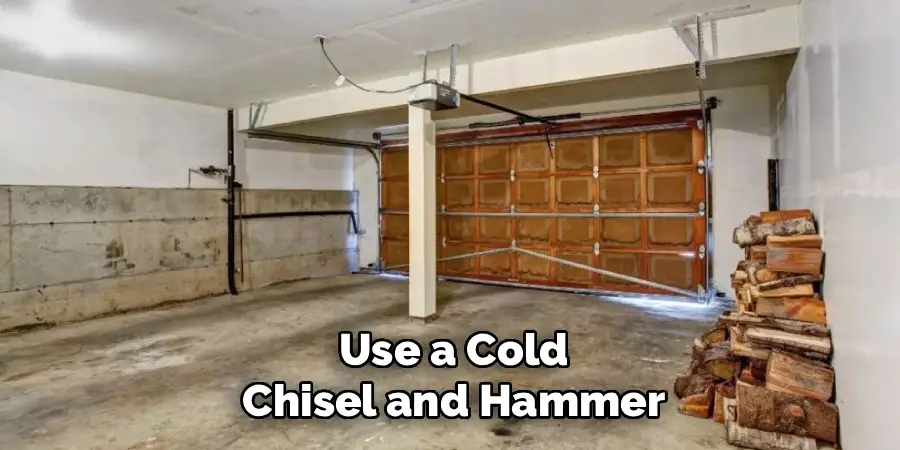
Step 2: Remove All Loose And Deteriorating Concrete
Patching over weak or unstable material is one of the most common mistakes in concrete repair — and it guarantees early failure. Use a cold chisel and hammer, or an angle grinder with a concrete blade, to chip away every piece of concrete that isn’t firmly bonded to the slab beneath. Work the edges of each damaged area until you reach solid, sound concrete on all sides.
Aim for a patch depth of at least a quarter inch across the repair zone. Shallow, feathered edges don’t hold patch material well, so undercut the edges slightly if possible to give the repair product something to grip. Wear safety glasses and a dust mask throughout this step — concrete dust is a lung irritant and debris can fly unpredictably.
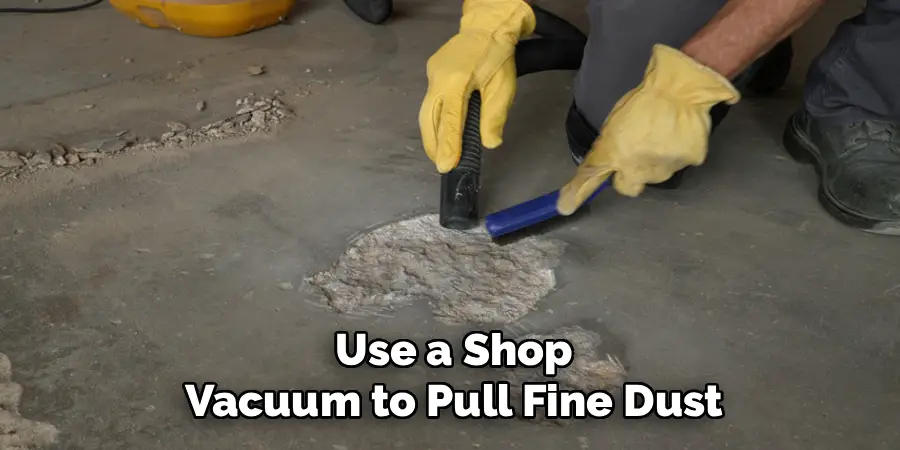
Step 3: Clean The Repair Area Thoroughly
Concrete patch products bond to clean surfaces, not to dust, oil, or loose particles. Once you’ve removed all deteriorating material, sweep the area and use a shop vacuum to pull fine dust out of every crevice. If there are oil stains from vehicle leaks within the repair zone, scrub them with a concrete degreaser and rinse thoroughly.
Allow the area to dry completely before moving forward — or, if you’re using a cement-based patch product, dampen the area slightly just before application as directed by the manufacturer. A clean, prepared surface is what separates a repair that holds for years from one that pops loose in the first winter. Don’t rush this step, even though it feels like prep work rather than progress.
Step 4: Choose The Right Concrete Patch Product
Not all concrete repair products perform the same way, and choosing the right one for your specific damage makes a significant difference in durability. For spalling repairs, look for a polymer-modified concrete patching compound or a fast-setting concrete resurfacer designed for horizontal surfaces. These products are formulated to bond to existing concrete and resist the moisture and temperature swings that caused the damage in the first place.
For shallow surface damage up to half an inch deep, a premixed vinyl concrete patcher works well and is easy to find at hardware stores. For deeper voids, use a product rated for the depth of your repair or build up the repair in layers. Read the product data sheet before buying — it will specify minimum and maximum application thickness, which matters for achieving a lasting result.
Step 5: Mix And Apply The Patch Material
Follow the manufacturer’s mixing instructions precisely — too much water weakens the final product, and too little makes it unworkable. Mix only as much material as you can apply within the product’s working time, which typically ranges from 10 to 30 minutes depending on the formula and temperature. Work in cooler, shaded conditions when possible to extend that window.
Press the mixed patch firmly into the repair area using a margin trowel or putty knife, working it into corners and crevices to eliminate air pockets. Overfill the area slightly rather than underfilling — you’ll level it down in the next step. This is where learning how to patch a spalled garage floor pays off most directly: firm, even application with solid contact at every edge is what prevents shrinkage cracks and edge separation as the material cures.
Step 6: Level, Smooth, And Finish The Surface
Once the patch is applied and slightly overfilled, use a straight edge or screed board to level it flush with the surrounding concrete. Draw the tool across the repair in a single, steady pass to create an even surface. Follow that with a magnesium or wood float to smooth the texture and close the surface slightly.
For a finish that blends with the existing floor, use a stiff-bristled brush to add a light broom texture across the repair before it sets — this matches the typical texture of a garage slab and reduces the visual contrast between the patch and the original concrete. Avoid overworking the surface, which can bring excess water to the top and weaken the finished layer.

Frequently Asked Questions
What Causes Concrete Spalling On A Garage Floor?
Spalling is most often caused by moisture penetrating the surface and expanding during freeze-thaw cycles, which breaks the concrete apart from within. Deicing salts accelerate this process by drawing moisture deeper into the slab. A weak surface layer from the original concrete pour — often caused by overworking or adding excess water — also makes floors more vulnerable to early spalling.
How Deep Does Spalling Damage Typically Go?
Most surface spalling affects only the top quarter to half inch of the concrete slab. However, if the damage is severe or has been left untreated for several years, it can extend an inch or more into the surface. Damage that reaches the reinforcing steel inside the slab is a structural concern and should be evaluated by a concrete professional before any DIY repair is attempted.
Can I Use Regular Concrete Mix To Fill A Spalled Area?
Standard bagged concrete mix is not ideal for patching spalling because it doesn’t bond reliably to existing cured concrete and can shrink as it cures. A polymer-modified concrete patching compound or a bonding-agent-enhanced repair mortar is the better choice. These products are specifically formulated to adhere to existing surfaces and resist the cracking that standard concrete mix is prone to in thin applications.
How Long Before I Can Drive On A Patched Garage Floor?
Most concrete patch products allow light foot traffic within a few hours but require at least 24 hours before driving on the repair. Some fast-setting products reach drive-on strength in as little as one hour, while standard cement-based patchers may need 48 to 72 hours for full vehicle load. Always follow the specific curing timeline on the product label for best results.
When Should I Resurface Instead Of Patch?
Patching makes sense when spalling is limited to a few isolated areas. If more than 25 to 30 percent of your floor is affected, or if the damage is shallow but widespread, a concrete resurfacer applied over the entire floor produces a more consistent, durable result than multiple individual patches. Widespread deep damage or signs of slab movement or heaving call for a professional assessment before any surface repair.

Conclusion
A spalled garage floor is a fixable problem when you catch it at the right stage and approach the repair methodically. The most important steps happen before you open a bag of patching compound — removing all unstable material, cleaning the surface properly, and choosing a product matched to your specific damage depth are what give any repair its staying power.
Following through on how to patch a spalled garage floor correctly, including proper curing and sealing afterward, gives you a result that holds through seasonal temperature swings and daily use. If you assess the damage and find it’s more extensive than surface patching can address, don’t push forward anyway — a professional evaluation at that point protects the long-term value of your home and the structural integrity of the slab itself. Start with what’s in front of you, repair it well, and seal it to slow the next round of wear.
I am Rick. I grew up helping my dad with his handyman service. I learned a lot from him about how to fix things, and also about how to work hard and take care of business. These days, I’m still into fixing things- only now, I’m doing it for a living.
I’m always looking for new ways to help people grow and develop. That’s why I have created this blog to share all my experience and knowledge so
that I can help people who are interested in DIY repair.