
Have you ever noticed how cold your concrete garage floor feels during winter? Not only is it unconducive to do many of the projects and activities that can take place in a garage, but colder floors can also lead to condensation, resulting in an increased risk for mold and damage.
If you’re looking for an easy, cost-effective way to make your concrete garage floor more comfortable year-round, our guide on How to Heat an Existing Concrete Garage Floor will give you all the details needed to get started!
From understanding different heating methods, choosing between electric vs. hydronic systems, insulation options, and much more – we’ve got everything you need to know about heating an existing concrete garage floor!
What Will You Need?
Before you begin installation, you must understand what materials and tools you will need. Generally speaking, you will need:
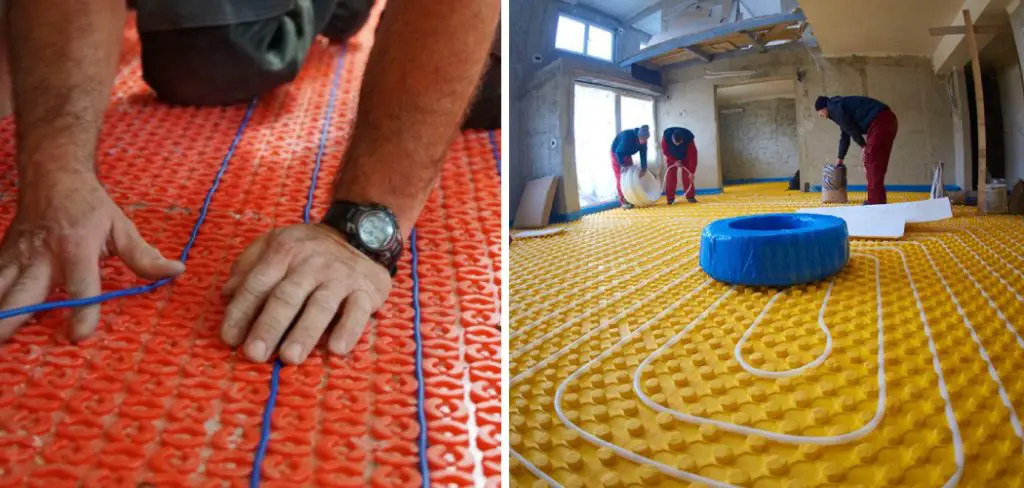
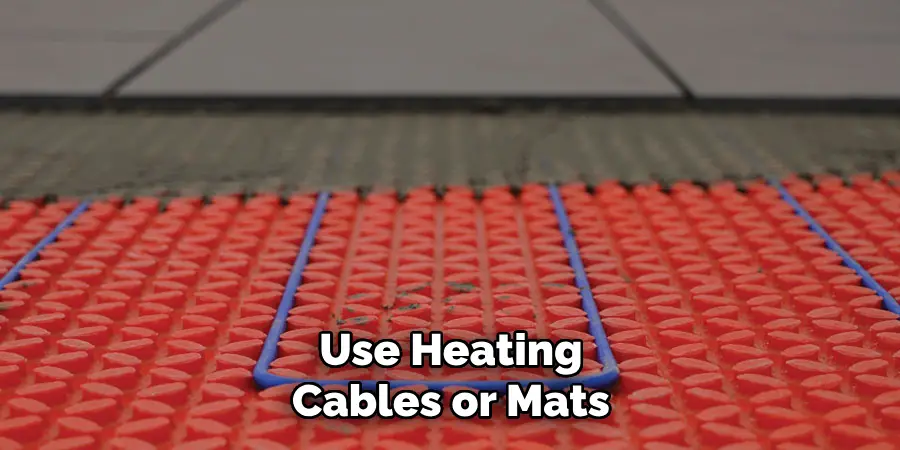
- Heating cables or mats (depending on the type of heating system chosen)
- Insulation material (if applicable)
- Cable clips/holders (for electric systems)
- A power outlet or hydronic system components (depending on the type of heating system chosen)
- A thermostat or temperature control device
- Installation materials such as adhesive, screws, and caulking
Once you have all the necessary materials and tools, it’s time to start!
10 Easy Steps on How to Heat an Existing Concrete Garage Floor
Step 1: Assess your Garage Floor
Start by inspecting the condition of your concrete garage floor. Check for any cracks, uneven surfaces, or signs of moisture. These issues need to be addressed before you install any heating system.
If your floor is cracked or uneven, consider repairing or leveling it first. If moisture is present, it may be necessary to use a waterproofing sealer. Remember to measure the total square footage of your garage floor – this will help you determine how much heating cable or mat you will need.
Step 2: Choose a Heating System
Deciding between an electric and a hydronic heating system is a crucial step in the process. Electric systems, which use heating cables or mats, are generally easier to install and less expensive upfront but may have higher operating costs.
On the other hand, hydronic systems, which circulate hot water through tubing embedded in the floor, can be more energy-efficient and provide consistent heat but have higher installation costs. Consider your long-term energy costs, installation budget, and the climate in your area before deciding.
Step 3: Purchase and Prepare the Materials
The next step involves gathering all the materials listed earlier, which will largely depend on the type of heating system you’ve chosen. If you’re going with an electric system, ensure that the heating cables or mats are the correct size for your garage and that you have a reliable thermostat.
For a hydronic system, in addition to the tubes, you’ll need a boiler to heat the water and a pump to circulate it. Make sure also to have all your installation tools and materials at hand. Preparing everything in advance will make the installation process smoother and faster.
Step 4: Install Insulation
Before laying down the heating system, consider installing an insulation layer. This step, while optional, can be instrumental in enhancing the efficiency of your floor heating system. Insulation acts as a thermal barrier, directing the heat upwards into the room instead of letting it dissipate into the ground.
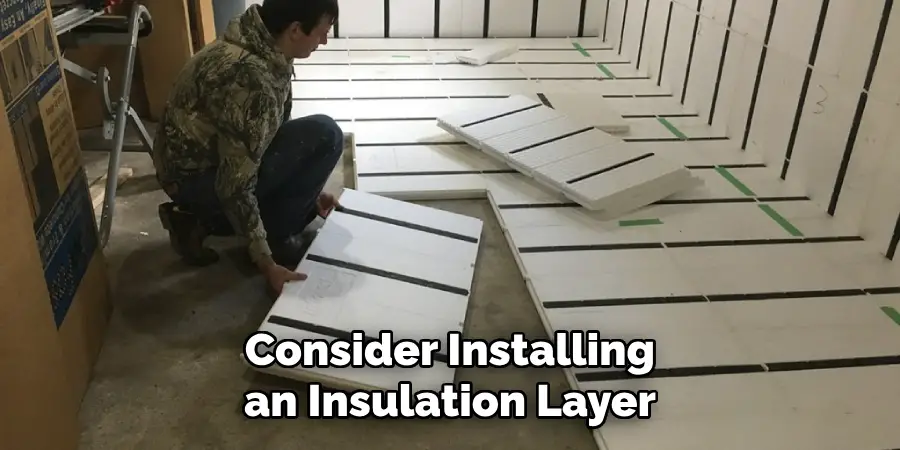
The insulation material can be laid down over the entire floor, ensuring the edges are snug against the walls. Remember to use an insulation type suitable for underfloor heating and that meets the thermal resistance recommended for your specific heating system.
Step 5: Lay Down the Heating System
After your insulation is in place, installing the heating system is time. If you choose an electric system, start by laying down the heating cables or mats according to the manufacturer’s instructions. Ensure even coverage across the floor, avoiding areas where you plan to place heavy appliances or storage units.
Secure the cables or mats with cable clips or adhesive to prevent them from moving. If you chose a hydronic system, lay the tubes in a serpentine pattern to ensure even heat distribution, securing them with clips or ties. Be careful not to kink or damage the tubes, as this could affect the system’s performance. Once the tubing is laid down, connect it to the boiler and pump system.
Step 6: Connect the Thermostat
After setting up your heating system, it’s time to connect the thermostat. This device controls the temperature of your floor, turning the system on and off as needed to maintain your desired temperature.
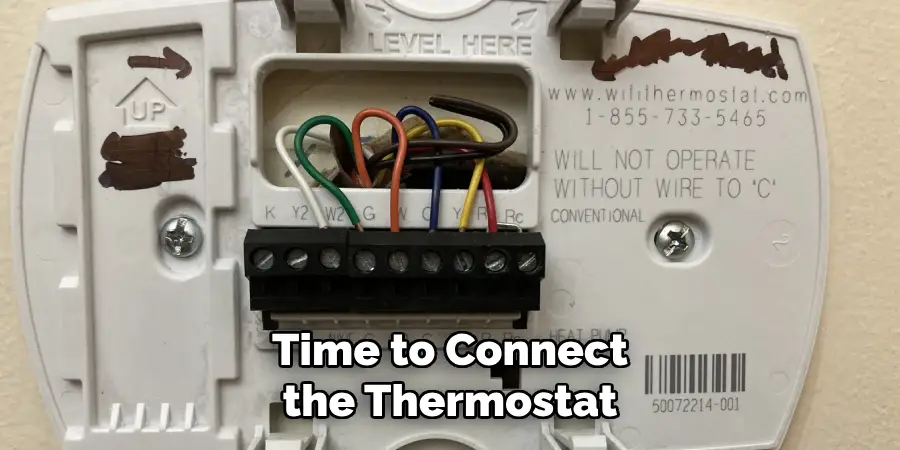
For an electric system, connect the sensor cable to the thermostat and lay it between two heating cables, ensuring it doesn’t touch either one. For a hydronic system, you’ll need to install a temperature sensor in the supply line of the tubing. Once the thermostat is installed, connect it to the power supply.
Step 7: Test the System
Before moving on, testing your heating system to ensure everything is working properly is crucial. For an electric heating system, use a multimeter to check the resistance of the heating cables and ensure it match the manufacturer’s specifications.
If using a hydronic system, fill the tubes with water and check for leaks. You should also turn on the system briefly to confirm it’s working as expected and the heat is evenly distributed across the floor.
Step 8: Cover the Heating System
Once you’ve confirmed that your heating system is working properly, the next step is to cover it. This usually involves applying a self-leveling compound or mortar layer directly over the heating system to protect it and provide a smooth surface for your final flooring.
Remember to evenly spread the compound and remove any air bubbles that may form. Allow this layer to dry completely; the drying time can vary based on the product you use and the environmental conditions in your garage. Avoid walking on the floor or placing heavy objects on it during this time, as this could damage the heating system.
Step 9: Install the Final Flooring
After dehydrating the compound layer, it’s time to install the final flooring. You can finish the floor with an epoxy coating for a polished look or install tiles, vinyl, or even wood, depending on your preference and the intended use of the garage. Ensure that the flooring material you choose is suitable for heated floors.

Step 10: Conduct Final Testing
Once your floor is all set and your final flooring is laid, it’s time to conduct a final test. Turn on the heating system and let it run for a while. Monitor the floor temperature and ensure the system maintains your desired temperature efficiently.
Check for any unusual noises or signs of malfunction. Also, monitor your energy consumption during this initial test run. If everything runs smoothly, congratulations! You have successfully heated your existing concrete garage floor.
By following these steps, you can turn your cold concrete floor into a warm and comfortable space perfect for working in or entertaining. Remember that the installation process may vary slightly depending on the heating system you choose, and it’s important always to follow the manufacturer’s instructions.
5 Additional Tips and Tricks
- Consider installing insulation if you’re looking for a cost-effective, energy-efficient way to heat your garage. This will help keep the area warm without using too much energy.
- Another alternative is to use an electric floor heating system, which can be installed directly beneath the concrete slab. This will provide more even heat than traditional methods such as space heaters.
- Consider installing a radiant heat system, which uses hot water from your home’s boiler to heat the floor. This is a great way to keep your garage warm without worrying about electric bills.
- If you’re looking for a more permanent solution, several options are available, including in-slab heating mats and in-floor radiant heating systems. These systems offer more consistent and energy-efficient heating but can be expensive.
- Finally, it’s important to keep an eye on the temperature of your garage throughout the year. Limiting the space’s temperature fluctuations is best to prevent damage to stored items such as equipment and tools. This will help ensure that your heating system runs efficiently and your garage stays warm all year round.
These tips let you keep your existing concrete garage floor warm and comfortable. Remember to check the insulation levels or invest in an electric or radiant heating system if necessary.
Conclusion
Several options are available if you consider giving your existing concrete garage floor a facelift. By opting for a professional heating system installation, you can maximize the performance and efficiency of your garage floor for years to come. With a wide array of designs, patterns, colors, and materials, you can create the perfect custom heating solution that fits your budget and home aesthetic.
However, even when done correctly by a professional installer—ensure that proper maintenance is taken throughout the year to keep the system running properly. The investment into heating an existing concrete garage floor may be slightly higher than other typical concrete floor solutions, but the returns on comfort and lifestyle will be worth it.
Hopefully, the article on how to heat an existing concrete garage floor has been helpful and informative. With the right heating system, you can enjoy a warm garage space all year long. Happy Heating!