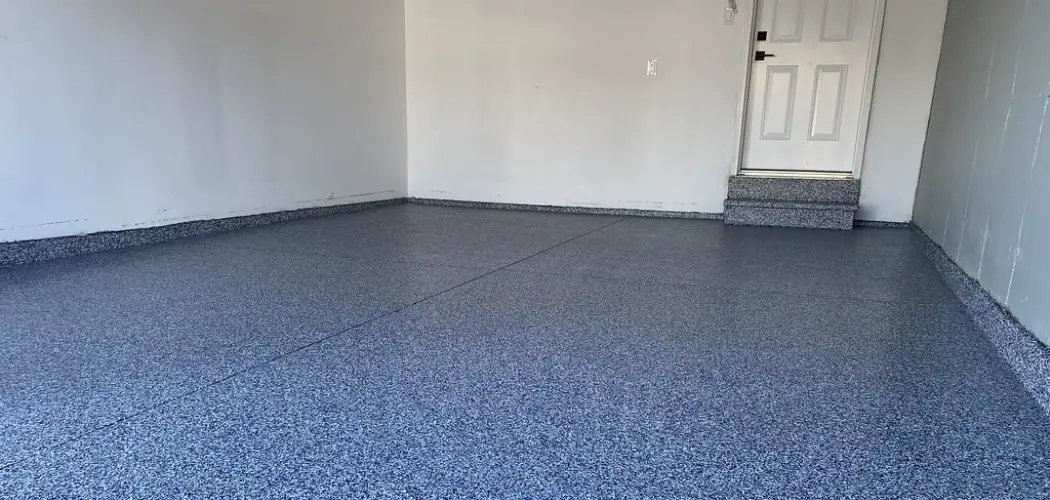
Are you looking to revitalize the look of your garage space? Applying an epoxy coating is a great way to upgrade a tired or worn-out floor quickly. This gives your space a sleek, professional appearance and adds value to your home at minimal cost and effort.
Whether you’re tackling this project yourself or hiring out for the job, there are many factors to consider when deciding how best to redo existing epoxy garage flooring.
If you plan to add a new epoxy coating to an existing epoxy floor, just know it’s more complex than applying a new layer.
This blog post discusses all aspects of prepping and upgrading old epoxy floors and some design ideas for those wanting to add style or personality. Read on for everything you need to know about how to redo epoxy garage floor!
What Will You Need?
Before you start any project, it’s important to have all the necessary materials on hand. Luckily for those redoing epoxy garage floors, the list is fairly simple. Here’s a quick checklist:
- Epoxy Coating
- Cleaner/Degreaser
- Sandpaper
- Floor Stripper
- Floor Grinder or Buffer
- Paint Roller and Brush
- Safety Gear (gloves, goggles, dust mask)
Once you have the supplies ready, it’s time to begin prepping your floor for coating.
10 Easy Steps on How to Redo Epoxy Garage Floor
Step 1. Preparing Your Floor
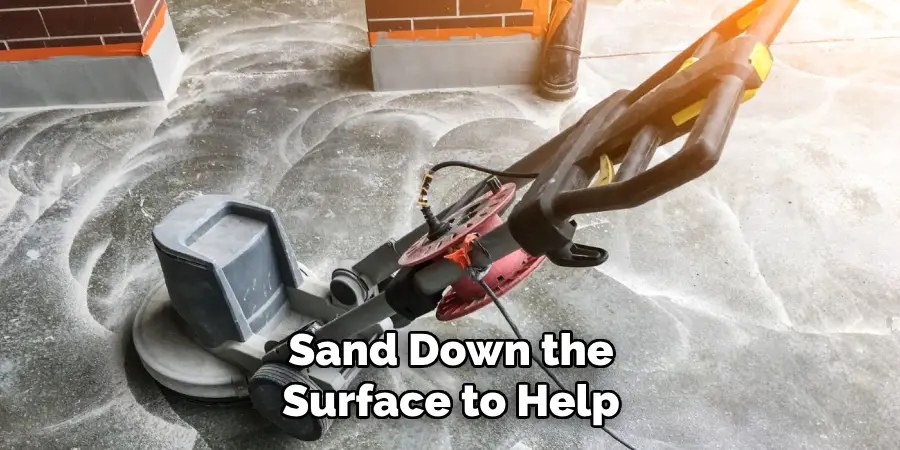
The amount of work required to prepare a floor for epoxy will depend on its condition and age. If an old layer of epoxy is in good shape with minimal wear and tear, then all you need do is sand down the surface to help the new coating adhere and apply a degreaser to remove any dirt or stains.
However, if there are more severe issues, such as peeling, flaking, or large cracks in the epoxy, then you may want to consider renting a floor grinder or buffer to help smooth out the surface.
Step 2. Applying The Degreaser
Once you have smoothed out the surface with sandpaper or a buffer, it’s time to apply a degreaser. This will help remove any dirt and oil that may be present on the floor. Cover any nearby walls or objects in plastic sheeting, as this product can cause staining.
Step 3. Scrubbing The Floor
Next, scrub the degreaser into the floor with a stiff, bristled brush and thoroughly rinse it off. Make sure to get any hard-to-reach corners or crevices, as these are spots where dirt and oil can build up over time. If the floor still looks dirty, repeat this step.
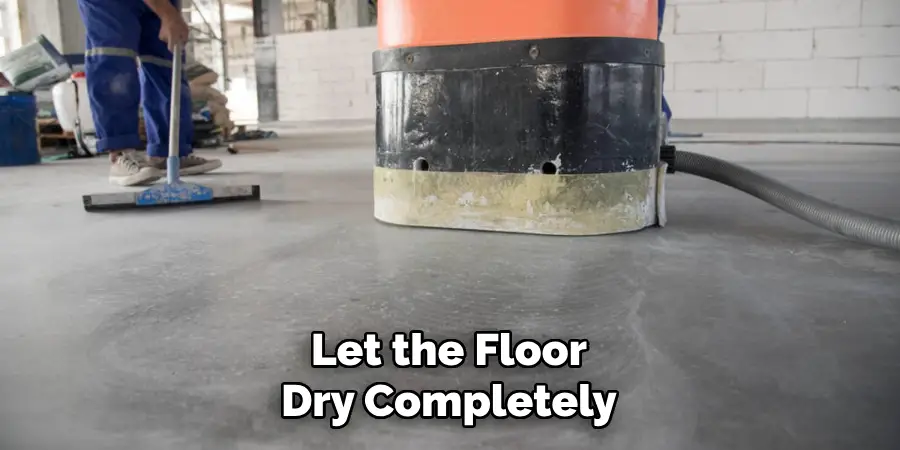
Step 4. Drying The Floor
After thorough scrubbing and rinsing, it’s crucial to let the floor dry completely before proceeding to the next step. Any leftover moisture can affect the adherence to the new epoxy coating. Depending on the weather and ventilation, this could take 24 to 48 hours. Make sure to check the floor for any damp spots before moving forward.
Step 5. Applying the Epoxy Coating
Now that the floor is arid and prepped, it’s time to apply the new epoxy coating. First, mix your epoxy coating according to the manufacturer’s instructions. Often, this involves combining a resin and a hardener. Make sure to mix thoroughly for the best results.
Next, begin painting the epoxy onto the floor. Start in one corner of the room and work your way towards the exit to avoid painting yourself into a corner. Use a paint roller for large areas and a paintbrush for smaller corners and edges. Apply the epoxy in thin, even layers to avoid any clumping or pooling.
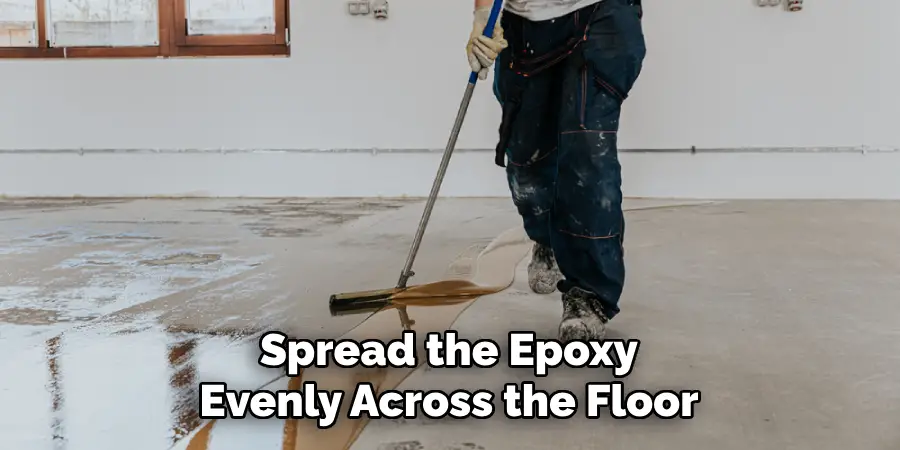
Step 6. Spreading the Epoxy Coating
After the initial application, use a squeegee or roller to spread the epoxy evenly across the floor. It’s essential to cover the whole surface, paying particular attention to corners or hard-to-reach areas. To avoid marks or lines in the final finish, try to maintain a wet edge. Remember, it’s better to apply multiple thin layers rather than one thick one.
Step 7. Allow the Epoxy to Cure
Once you’ve successfully applied the epoxy, it’s time to let it cure. This process can take anywhere from 24 to 72 hours, depending on the specific product and the conditions of your garage. Avoid walking on or using the garage during this time to ensure a smooth and durable finish.
Step 8. Apply a Second Coat (Optional)
For additional durability and a more polished look, consider applying a second coat of epoxy. If you choose to do this, allow the first coat to fully cure before applying the second. Follow the same steps as before and ensure even coverage.
Step 9. Check for Imperfections
Once the second coat is dry, check over your work to ensure no imperfections, such as bumps or discoloration. If you notice any areas that require touching up, use a paintbrush to apply a thin layer of epoxy in those spots. Be careful not to over-apply, as this could cause an uneven surface.
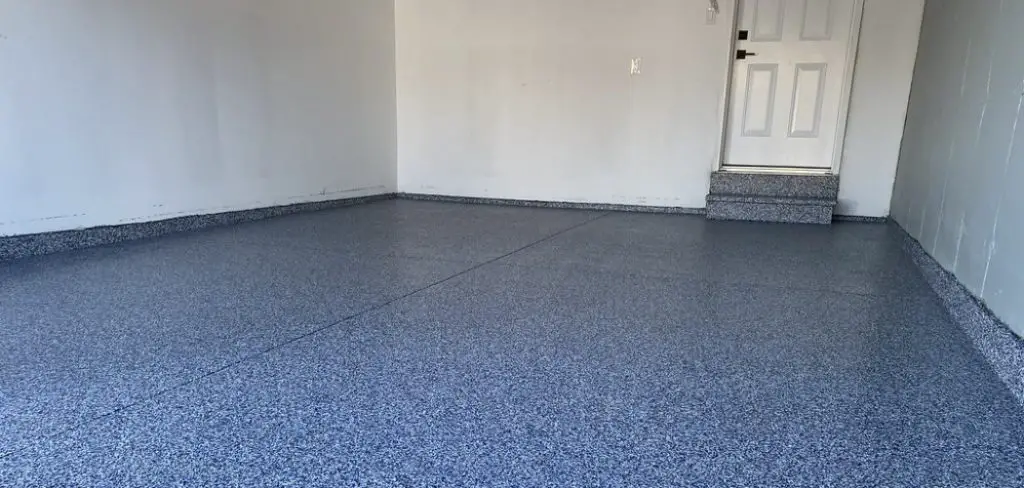
Step 10. Enjoy Your New Floor!
After the epoxy has fully cured, your new garage floor is ready to use! Epoxy floors are durable, easy to clean, and can greatly improve the appearance of your garage. Enjoy your newly redone epoxy garage floor’s fresh, professional look and easy maintenance!
By following these ten easy steps, you can enjoy a long-lasting epoxy floor that will dramatically improve the look and feel of your garage. Whether you’re looking for a simple update or something more stylish, redoing an epoxy garage floor is a great way to upgrade your space without breaking the bank.
5 Additional Tips and Tricks
- If you are applying a new epoxy coating over an existing one, thoroughly clean and prepare the surface first.
- Following the manufacturer’s instructions for application is essential for achieving the best results with a new epoxy coating.
- Ensure proper ventilation while applying the epoxy to help avoid contact with any hazardous fumes or vapors.
- Always check your local climate and humidity levels before starting this project, as they can affect how well your epoxy adheres to the flooring surface.
- Make sure to read the labels on any cleaning products you use to make sure they are safe and suitable for use with your epoxy coating. This will help you avoid damaging the surface of your garage floor.
With these tips in mind, you can be well on your way to creating a beautiful new epoxy garage floor that will last for years.
5 Things You Should Avoid
- Avoid using acid-based cleaners on your epoxy floor, as they can cause the epoxy to become discolored or otherwise damaged.
- Resist the temptation to rush the process. The preparation and curing stages are critical to the end result. Hastening can lead to poor adhesion and premature peeling of the epoxy coating.
- Remember to check the floor for moisture. Epoxy doesn’t adhere well to damp surfaces. If the concrete absorbs water, it’s not ready for epoxy.
- Avoid applying the epoxy coating at extreme temperatures. Both overly cold and hot conditions can affect the performance of the epoxy, making it harder to apply and less likely to adhere properly.
- Never skip wearing personal protective equipment (PPE). While applying the epoxy coating, make sure to wear gloves, goggles, and a respirator mask. This will protect you from harmful fumes and potential skin irritations.

Avoiding these mistakes can help ensure your epoxy coating job is done right the first time. With the proper preparation and care, you’ll be able to enjoy a beautiful and durable surface for years to come.
How Do You Remove Epoxy?
If the epoxy coating on your garage floor is worn, chipped, or otherwise damaged, you may need to remove it and start from scratch. The best way to do this is to use a high-quality concrete grinder with diamond blades.
This will help break up any existing epoxy and remove the residue without damaging the underlying concrete. Once the grinder has removed the epoxy, you can prepare and apply a new coating.
If you don’t have access to a concrete grinder or would prefer not to use one, other methods are available for removing the epoxy. You can use an angle grinder with a diamond blade, sandpaper, or chemical strippers, but be sure to wear protective gear and follow the manufacturer’s instructions when using these tools.
No matter which method you choose, removing epoxy from your garage floor can be a time-consuming process. Patience and care are key to making sure it is done correctly.
Conclusion
How to redo epoxy garage floor is a great way to improve the condition and aesthetics of an old, dull garage floor. With the right materials, preparation steps, and application techniques, you can successfully restore your garage floor to something beautiful and long-lasting. The key is to plan carefully and ensure proper safety precautions are taken during all steps.
Be sure to research additional tips and instructions before beginning the project so that you understand exactly what’s involved in redoing an epoxy garage floor. Don’t be discouraged if it takes time—the hard work you put in will pay off with a lasting garage floor you can be proud of.
Hopefully, these guidelines and tips will help you successfully complete your epoxy garage floor project. Good luck!