Adding a dedicated shelter for your vehicle is one of the most rewarding home improvement projects you can undertake. Whether you need protection from harsh weather, extra storage for tools, or a workspace for your hobbies, constructing a garage adds significant value and functionality to your property. While the prospect of major construction might feel intimidating at first, breaking the project down into manageable phases makes it entirely achievable for a motivated homeowner.
You don’t need to be a professional contractor to understand the process, though you will need patience and careful planning. This guide is designed to walk you through the essential stages of construction, from the initial paperwork to the final coat of paint. By understanding how to build a car garage properly, you can avoid common pitfalls, save money on labor costs, and create a durable structure that enhances your home’s curb appeal and utility for years to come.
Why Building a Garage Matters
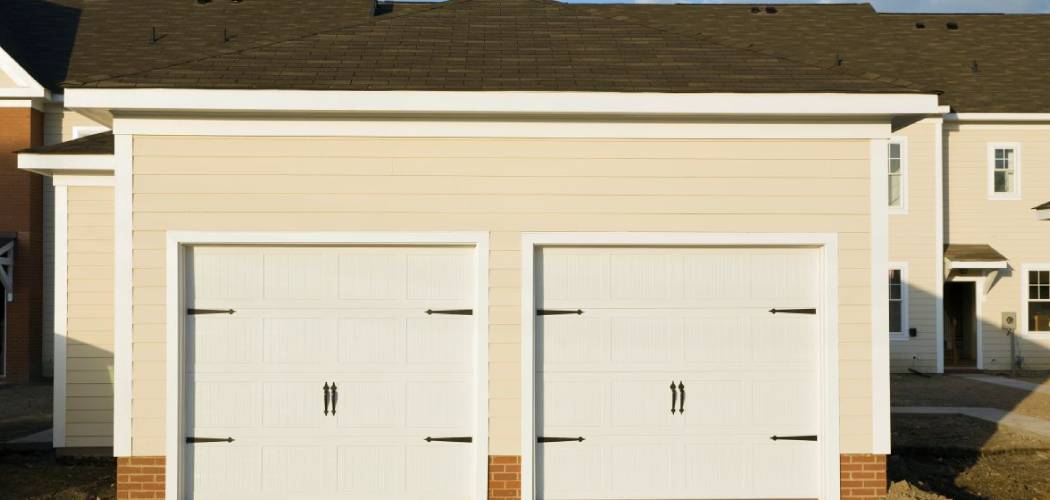
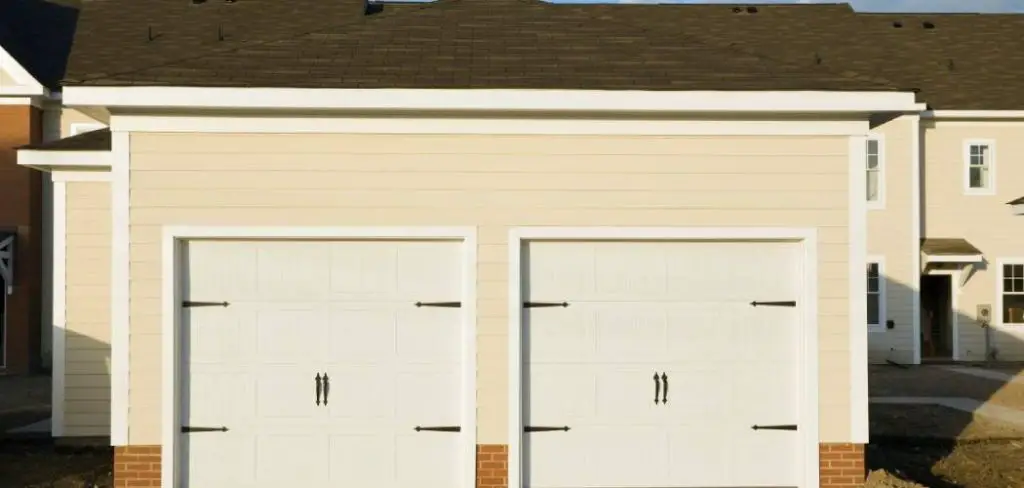
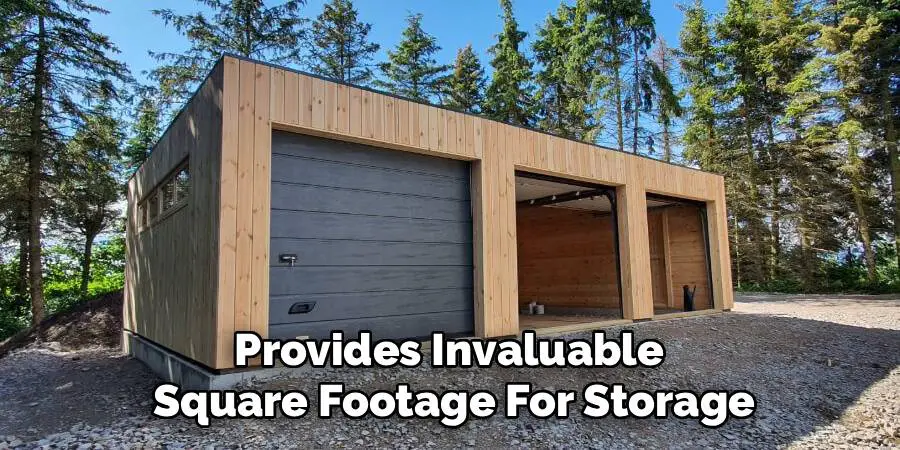
A garage is far more than just a place to park your car. It serves as a critical barrier against the elements, protecting your vehicle’s paint from UV damage, its engine from freezing temperatures, and its body from hail or falling branches. Beyond vehicle protection, a well-built garage provides invaluable square footage for storage, helping to declutter your main living spaces. It offers a secure environment for lawn equipment, bicycles, and seasonal decorations.
From a financial perspective, a garage is a smart investment. Real estate data consistently shows that homes with garages sell faster and for higher prices than those without. Ideally, it also serves as a versatile workspace. For DIY enthusiasts, woodworkers, or mechanics, having a dedicated, enclosed area to work on projects year-round is a game-changer. Ultimately, building a garage enhances your lifestyle by providing security, convenience, and extra room to grow.
Step-by-Step Guide on How to Build a Car Garage
Constructing a garage requires precision and adherence to local codes. This guide outlines the fundamental steps to take your project from a blueprint to a finished building.
Step 1: Planning and Obtaining Permits
The journey begins long before you pick up a shovel. You must first create a detailed plan that outlines the size, location, and design of your structure. Consider whether you want a detached unit or an extension of your current home. Once your design is finalized, visit your local building department to apply for the necessary permits. This step is non-negotiable; building without a permit can lead to fines or forced demolition. You will need to submit your blueprints and site plan for approval. This process ensures your project complies with zoning laws, property setbacks, and safety codes, setting a legal foundation for your work.
Step 2: Preparing the Site and Foundation
Once you have the green light, it is time to break ground. Clear the construction area of all vegetation, rocks, and debris. You will need to excavate the soil to the depth required by your local frost line regulations to prevent the foundation from heaving during winter. After excavation, pour the concrete footing and slab. This is the most critical structural component, as it supports the entire weight of the building. Ensure the concrete is level and smooth, with appropriate reinforcement mesh or rebar installed. Allow the concrete to cure completely before moving on to framing, which typically takes several days depending on the weather.
Step 3: Framing the Walls
With a solid foundation in place, you can begin the vertical construction. Framing involves building the skeleton of your garage using lumber, typically 2×4 or 2×6 studs. You will construct the walls flat on the ground and then raise them into position, securing them to the foundation with anchor bolts. This stage requires careful measurement to ensure all corners are square and walls are plumb. If the frame is even slightly crooked, it will cause headaches later when installing drywall or roofing. Install headers over window and door openings to distribute weight properly. This skeleton gives your garage its shape and structural integrity.

Step 4: Installing the Roof Trusses and Sheathing
After the walls are secure, turn your attention upward to the roof. You will likely use pre-fabricated roof trusses, which are engineered for strength and easier installation than hand-cut rafters. Lift the trusses onto the top plates of your walls and space them according to your building plan, usually every 24 inches. Secure them with metal hurricane ties for added stability. Once the trusses are braced and fastened, cover them with plywood or OSB sheathing. This sheathing ties the trusses together and provides a solid deck for your roofing materials. This step essentially “closes in” the top of your structure, defining the garage’s silhouette.
Step 5: Roofing and Exterior Finishing
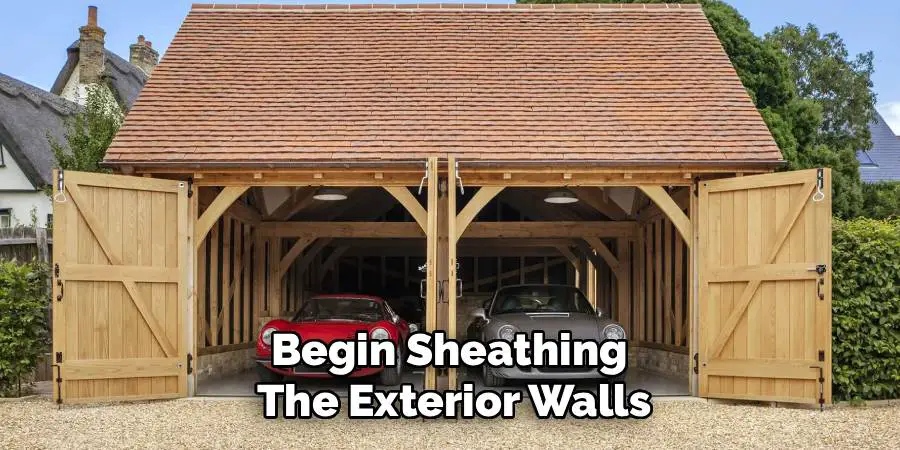
Now you must make the structure weather-tight. Install roofing felt or underlayment over the roof sheathing to provide a moisture barrier. Follow this with your chosen roofing material, such as asphalt shingles or metal panels. Simultaneously, you can begin sheathing the exterior walls and wrapping them with a weather-resistant barrier like Tyvek. This barrier prevents water from infiltrating the wall cavity while allowing moisture vapor to escape. After the wrap is on, install your siding—whether vinyl, wood, or fiber cement—and your exterior trim. This phase transforms the skeleton into a recognizable building and protects the interior framing from rain and wind.

Step 6: Installing Windows and Doors
With the shell protected, you can install the access points. Place your windows and the pedestrian entry door into their framed openings, ensuring they are level and shimmed correctly for smooth operation. Seal around the flanges with flashing tape to prevent leaks. The largest opening, the overhead garage door, requires special attention. You will need to install the tracks and the door panels carefully, following the manufacturer’s specific instructions. This is often a job where a helper is essential due to the weight and bulk of the door sections. Proper installation ensures security and thermal efficiency for the entire space.
Step 7: Electrical and Insulation Rough-In
Before finishing the interior walls, you need to run your utilities. Hire a licensed electrician to install the wiring for outlets, overhead lights, and the garage door opener. If you plan to heat or cool the space, now is also the time to run any necessary ductwork or gas lines. Once the mechanical rough-ins are inspected and approved, install insulation in the wall cavities and between the roof trusses. Insulation is vital for temperature control and sound dampening. It makes the garage comfortable to work in during extreme weather and improves the energy efficiency of your adjacent home if the garage is attached.
Step 8: Understanding How to Build a Car Garage Interior
The final construction phase involves finishing the interior surfaces. Hang drywall sheets over the insulation on the walls and ceiling. Tape and mud the seams to create a smooth, fire-resistant surface. Sand the joint compound smooth and apply a coat of primer and paint to brighten the space. If you prefer a more durable workshop finish, you might use plywood paneling instead of drywall. Finally, install your electrical fixtures, switch plates, and the garage door opener motor. Add any shelving, workbenches, or storage systems you planned for. Your garage is now structurally complete and ready for its first vehicle.
Frequently Asked Question
Do I Need a Permit to Build a Garage?
Yes, in almost every jurisdiction, you will need a building permit to construct a garage. Because a garage is a permanent structure that affects property lines, drainage, and safety, local governments require oversight. You will likely need to submit architectural drawings and a site plan showing where the garage will sit relative to your home and property boundaries. Skipping this step can result in fines, insurance issues, or being forced to tear the structure down.
How Much Does It Cost to Build a Garage?
The cost varies wildly depending on size, materials, and location, but a typical range for a standard two-car garage is between $20,000 and $50,000. If you do much of the work yourself, you can save significantly on labor, potentially cutting costs by 30-40%. However, material prices for lumber and concrete fluctuate. High-end finishes, electrical work, and plumbing will also increase the budget. It is best to get quotes for materials and subcontractors before starting.
What Is the Best Foundation for a Garage?
The most common and recommended foundation is a concrete slab-on-grade with a frost wall. This involves pouring a concrete perimeter wall that extends below the frost line to prevent shifting during freeze-thaw cycles, combined with a poured concrete floor. This provides a stable, durable surface capable of supporting the heavy weight of vehicles. For smaller, detached garages in mild climates, a floating slab (monolithic pour) might be sufficient and more cost-effective.
How Long Does It Take to Build a Garage?
For a professional crew, building a standard garage typically takes four to six weeks from breaking ground to final inspection. For a DIY homeowner working on weekends and evenings, the timeline can easily stretch to three or four months. Factors like weather delays, permit processing times, and material availability can also impact the schedule. It is important to have a realistic timeline and budget for unexpected delays.
Can I Attach a New Garage to an Existing House?
Yes, you can build an attached garage, but it is more complex than building a detached one. You must ensure the new foundation ties into the existing house foundation properly. You also have to cut into the existing exterior wall to create access and ensure the rooflines merge correctly to prevent leaks. Additionally, fire codes are stricter for attached garages, usually requiring fire-rated drywall between the garage and the living space to protect the home.
Conclusion
Taking on a construction project of this magnitude is a journey that requires dedication, research, and a fair amount of sweat equity. However, the result is a tangible asset that improves your daily life and increases your property’s value. You have navigated the complexities of planning, poured a solid foundation, framed strong walls, and created a secure, weather-tight shelter.
Remember that while the process is demanding, it is built on a series of manageable steps. Don’t rush; focus on quality and safety at every stage. Whether you use the space for protecting your family vehicle, mastering a new hobby, or simply storing garden tools, the effort you put in now will pay dividends for decades. Now that you know how to build a car garage, you have the roadmap to transform your property and create the functional space you have always wanted.
I am Rick. I grew up helping my dad with his handyman service. I learned a lot from him about how to fix things, and also about how to work hard and take care of business. These days, I’m still into fixing things- only now, I’m doing it for a living.
I’m always looking for new ways to help people grow and develop. That’s why I have created this blog to share all my experience and knowledge so
that I can help people who are interested in DIY repair.