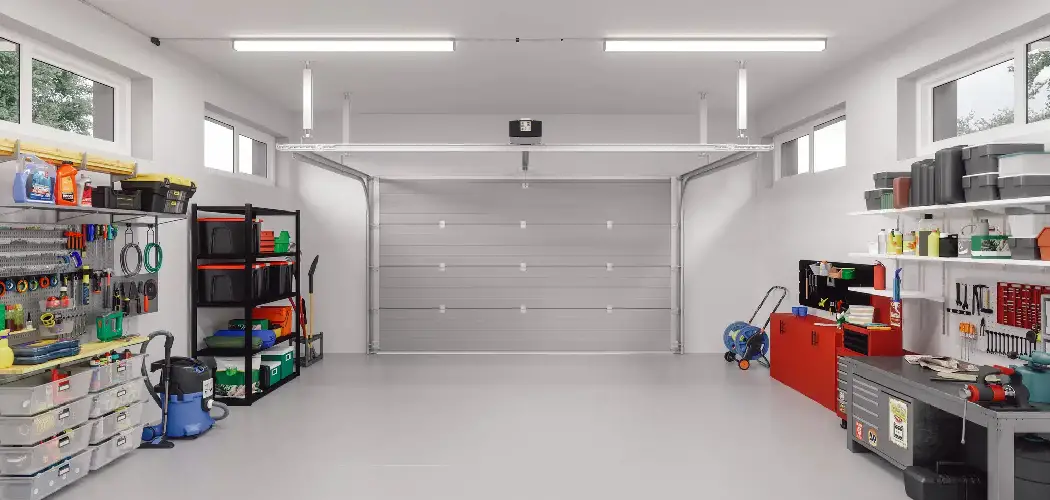
Is your garage floor disappearing under a sea of tools, bikes, and gardening equipment? You’re not alone. The garage often becomes the dumping ground for everything that doesn’t fit inside the house. But there’s a simple, cost-effective solution that can transform your chaotic storage space into an organized haven: garage hooks.
Utilizing your walls is the smartest way to reclaim floor space. By hanging bulky items like ladders, bicycles, and shovels, you protect your gear from damage and make your garage safer to navigate. Plus, there’s nothing quite as satisfying as seeing every tool in its proper place.
In this guide on how to hang hooks in garage, we’ll walk you through everything you need to know about installing heavy-duty garage hooks. From choosing the right materials to finding the studs, we’ve got you covered. Let’s get your garage organized once and for all.
Benefits of Hanging Hooks in a Garage
Before we dive into the “how-to,” let’s look at why this is such a valuable project. Installing hooks isn’t just about tidiness; it’s about functionality and safety.
First, space optimization. Most garages have limited floor area but ample wall space. Moving items vertically instantly doubles or triples your storage capacity without requiring an expensive renovation or shed addition.
Second, accessibility. When tools are piled in a corner, finding what you need is a hassle. Hooks allow you to display your equipment visibly. You can grab your rake or power cord immediately without digging through a clutter pile.
Finally, protection. Storing items like bikes or expensive power tools on the floor leaves them vulnerable to moisture, pests, or accidental damage from the car. Hanging them up keeps them dry, clean, and safe.
What Will You Need?
To do this job right, you need the proper tools. Attempting to hang heavy items with makeshift supplies can lead to damaged walls or falling equipment. Here is a checklist of what you should gather before starting:
Materials:
- Heavy-duty garage hooks
- Wood screws
- Wooden blocking (optional)
Tools:
- Stud Finder: Essential for locating the solid wood beams behind your drywall.
- Power Drill: To drill pilot holes and drive screws effortlessly.
- Drill Bits: Choose a bit slightly smaller than the shank of your screw for pilot holes.
- Tape Measure: To ensure your hooks are evenly spaced and at the right height.
- Level: To make sure your hooks (and the items hanging on them) look straight.
- Pencil: For marking drill spots.
- Ladder: If you plan on utilizing high vertical space.
10 Easy Steps on How to Hang Hooks in Garage
Now that you have your tools ready, let’s get to work. Follow these steps carefully to ensure your hooks are secure and can handle the weight of your heaviest gear.
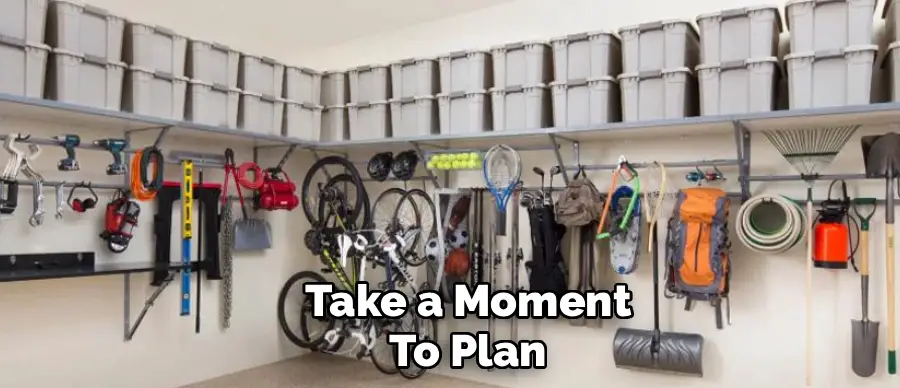
Step 1: Determine Your Layout and Spacing
Before you drill a single hole, take a moment to plan. Lay your items out on the floor in front of the wall where you want them to hang. This helps you visualize the spacing. You don’t want to install a hook for a bicycle only to realize the handlebars will overlap with the weed eater next to it. Consider the height as well; hang frequently used items at eye level and seasonal items (like snow shovels or camping chairs) higher up. Measure the width of your items to ensure you leave enough clearance between hooks.
Step 2: Locate the Studs
This is the most critical step for hanging heavy items. Drywall alone cannot support the weight of a ladder or a bike; the hook will eventually rip out, causing damage to your wall and potentially injuring someone. Use your electronic stud finder to locate the vertical wood beams behind the drywall. Move the device slowly across the wall until it lights up or beeps. Mark the center of the stud with your pencil. If you don’t have a stud finder, you can look for rows of nails in the drywall or measure 16 inches from a corner (the standard spacing for studs).
Step 3: Mark the Height
Once you’ve found the vertical stud lines, decide on the vertical height for your hooks. Use your tape measure to ensure consistency. If you are hanging multiple hooks in a row for general storage (like for extension cords or ropes), keeping them at the same height looks cleaner and more professional. For specific items like a bike, measure the distance from the floor to where the wheel needs to sit so the bike doesn’t touch the ground. Mark an “X” on the stud line exactly where the screw will go.
Step 4: Level Your Marks
If you are installing two hooks to hold one long item—like a ladder, lumber, or a kayak—those hooks must be perfectly level. If they aren’t, the weight will distribute unevenly, potentially causing the item to slip off. Place your level across the two marks you made in Step 3. Adjust the marks up or down until the bubble in your level is perfectly centered. This extra minute of precision prevents headaches later.

Step 5: Drill Pilot Holes
Never drive a screw directly into a stud without a pilot hole. Doing so can split the wood stud, weakening its holding power. Select a drill bit that is slightly smaller in diameter than the shank (the solid inner part) of your screw. Drill into your marked “X” straight and steady. You should feel resistance as the bit bites into the solid wood. If the bit punches through easily with no resistance, you likely missed the stud—re-measure and try again.
Step 6: Position the Hook
Place your garage hook over the pilot holes. Most heavy-duty hooks have a mounting plate with two holes. Align these holes with the pilot holes you just drilled. If you are using a simple screw-in hook (the kind that looks like a question mark with a screw thread), you can start twisting it into the hole by hand. For plate-mounted hooks, hold the hook steady against the wall with one hand while you reach for your drill or screwdriver.
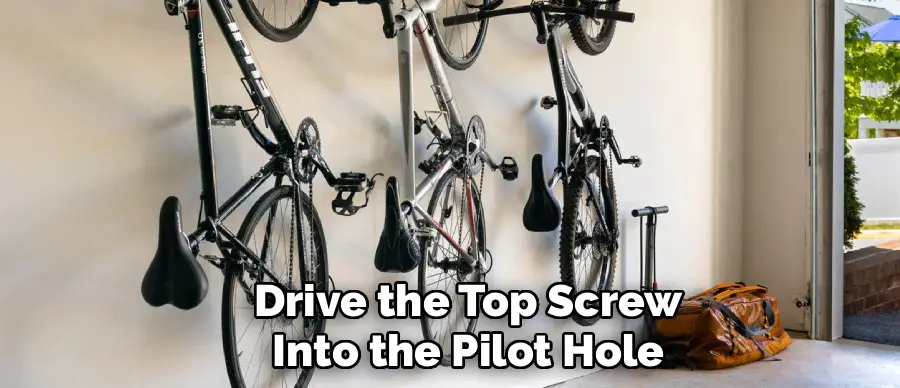
Step 7: Drive the Screws
Switch your drill bit to a screwdriver bit (usually Phillips head). Drive the top screw into the pilot hole first, but don’t tighten it all the way just yet—leave it slightly loose. This gives you a little wiggle room to align the bottom hole perfectly. Then, drive the bottom screw. Once both are in, tighten them down fully. The hook should feel rock solid against the wall with zero wobble.
Step 8: Test the Stability
Before you hang your expensive mountain bike or heavy sledgehammer, test the hook. Grab it with your hand and give it a firm tug. Pull down and side-to-side. It should not move, twist, or pull away from the drywall. If it feels loose, back the screws out and check if you hit the stud correctly. It is better to find out now than to have a heavy tool crash onto your car hood later.
Step 9: Use Anchors for Lighter Items Only
Sometimes, the perfect spot for a hook doesn’t align with a stud. If you absolutely must hang something in hollow drywall, use high-quality toggle bolts or heavy-duty drywall anchors. However, be extremely strict about weight limits here. Only hang very lightweight items like empty tote bags, small hand tools, or hats on drywall anchors. Never trust heavy loads to anything but a solid stud.
Step 10: Organize and Hang Your Gear
With your hooks securely installed, start hanging your items. Group similar tools together—garden tools in one section, sports gear in another. As you hang items, check for interference. Does the ladder handle bump into the wheelbarrow? You might need to adjust slightly. Step back and admire your work. You’ve just created a functional, organized space that makes your life easier.

5 Things You Should Avoid
- Ignoring Weight Limits: Every hook has a maximum weight rating. Exceeding this is a recipe for disaster. Always overestimate the weight of your gear and buy hooks rated for more than you need.
- Using Nails Instead of Screws: Nails pull out easily over time, especially with the vibration of garage doors opening and closing. Screws provide the gripping power needed for long-term storage.
- Guessing Where Studs Are: “Knocking” on the wall is an unreliable method for finding studs. Invest in a decent stud finder to ensure you are drilling into solid wood every time.
- Overcrowding: Leaving too little space between hooks makes it frustrating to retrieve items. Give yourself enough room to grab a handle without knocking three other tools off the wall.
- Hanging Heavy Items Too High: While high storage is great, don’t hang heavy items like boxes of tile or cast iron tools above head height. It creates a safety hazard when you try to take them down.
Conclusion
Transforming your garage from a cluttered mess to an organized workspace is a project you can tackle in a single afternoon.
By following these steps and ensuring you anchor your hooks into studs, you’ll create a storage system that is safe, sturdy, and incredibly useful. Stop tripping over that bicycle and start enjoying the extra space today.
Hopefully, these tips and tricks on how to hang hooks in garage have inspired you to take on the challenge of organizing your garage. Remember to always prioritize safety, make use of vertical space, and think outside the box when it comes to storage options. Happy organizing!
I am Rick. I grew up helping my dad with his handyman service. I learned a lot from him about how to fix things, and also about how to work hard and take care of business. These days, I’m still into fixing things- only now, I’m doing it for a living.
I’m always looking for new ways to help people grow and develop. That’s why I have created this blog to share all my experience and knowledge so
that I can help people who are interested in DIY repair.