Congratulations on your Jeep Gladiator. It is a vehicle designed for rugged terrain, open-air freedom, and hauling serious gear. However, before you take the doors off and head for the trails, you need to set up the daily conveniences that make owning this truck a joy.
Fumbling for a plastic clicker clipped to your sun visor is a thing of the past. Your Gladiator comes equipped with a sophisticated system integrated directly into the visor or overhead console, capable of operating garage doors, gates, and even home lighting systems. While the technology is seamless once it works, the initial setup process requires a specific sequence of actions.
This guide on how to program jeep gladiator garage door opener eliminates the guesswork. We have broken down the process into a foolproof 10-step method to ensure you can ditch the clicker and enjoy the seamless integration your truck offers.
What Will You Need?
Before you begin, gather the necessary items to ensure the process goes smoothly. You don’t want to get halfway through and realize you are missing a key component.
- Your Jeep Gladiator: Parked safely outside the garage.
- The Handheld Remote: You need the original remote for the garage door opener you are trying to program. The Jeep needs to “learn” the signal from this device.
- Fresh Batteries: Ensure the handheld remote has fresh batteries. A weak signal from the remote can cause the programming process to fail, even if the light on the remote still turns on.
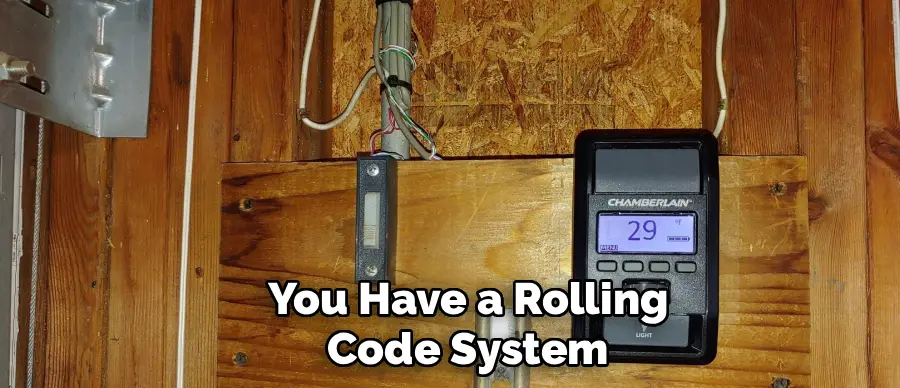
- A Stepladder: If your garage door opener uses a “rolling code” (most made after 1995 do), you will likely need to press a button on the actual motor unit on your garage ceiling.
- A Helper (Optional): While you can do this alone, having a second person to press the button on the motor while you sit in the driver’s seat can save you a few trips up and down the ladder.
10 Easy Steps on How to Program Jeep Gladiator Garage Door Opener
Programming the HomeLink system in your Gladiator is a precise process. Follow these steps exactly, and do not rush the timing.
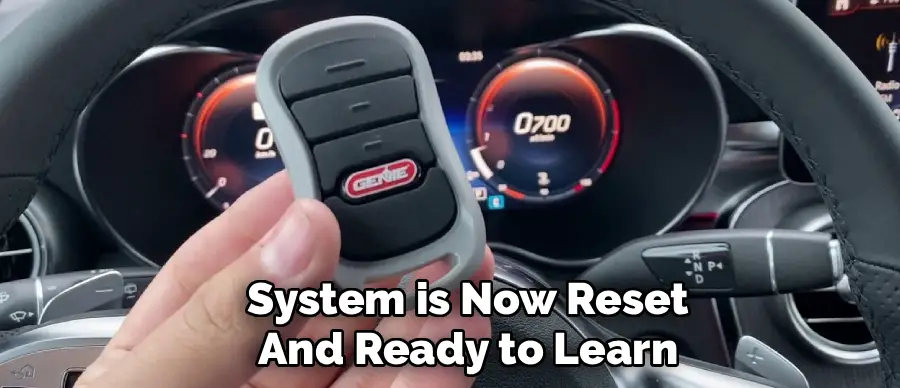
1. Reset the Factory Channels
If you have never used the HomeLink system before, or if you are programming a used vehicle, you must clear out any old codes first. This ensures you are starting with a clean slate and that no previous signals interfere with your new connection. To do this, press and hold the two outside buttons (buttons I and III) on your visor simultaneously. You need to hold them for about 10 to 20 seconds. Watch the indicator light carefully; once it stops solid and begins to flash rapidly, release both buttons. Your system is now reset and ready to learn.
2. Park Your Gladiator Outside
This is a critical safety step often overlooked. Do not program your garage door while the vehicle is parked inside the garage with the door closed. During the programming process, the garage door may open and close multiple times. If you are parked too close, the door could hit your hood or bumper. Furthermore, you will need the engine running or the ignition in the “Run” position, which can lead to dangerous carbon monoxide buildup in an enclosed space. Park a few feet down the driveway, facing the garage.
3. Power Up the Electronics
The HomeLink system requires power to function and learn new codes. Insert your key and turn the ignition to the “Run” or “On” position. If you have a push-to-start button, press the start button twice without your foot on the brake. This powers up the electrical accessories without starting the engine (unless you are outdoors and prefer the engine running). Ensure your windows are down so you can communicate with your helper or hear the garage door motor engaging.
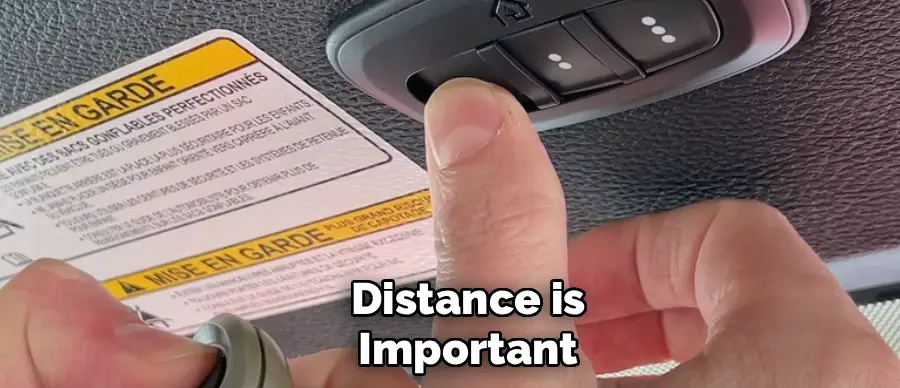
4. Position the Handheld Transmitter
Hold your original handheld garage door remote 1 to 3 inches away from the HomeLink buttons on your visor. The distance is important; if you are too close or too far, the signal might not transfer correctly. You want to hold the remote in a way that you can still clearly see the HomeLink indicator light, as this light is your primary feedback mechanism during the next few steps. If you are struggling, try varying the distance slightly (moving from 1 inch to 3 inches) during the next step.
5. Initiate the Pairing Sequence
This is the step where the actual “handshake” happens between your remote and the Jeep. Simultaneously press and hold the handheld remote button (the one that opens your door) and the HomeLink button you wish to program (I, II, or III). Do not release either button. You must hold them both down firmly. It may take seconds, or it may take up to a minute. Patience is key here.
6. Monitor the Indicator Light
While holding both buttons in Step 5, keep your eyes glued to the HomeLink indicator light on the visor. Initially, the light will likely flash slowly. This indicates the system is trying to read the signal. Continue holding both buttons until the indicator light changes from a slow flash to a rapid flash (or a solid light, depending on your model year). This change in flash rate indicates that the frequency from your handheld remote has been successfully captured by the Jeep. You can now release both buttons.
7. Test the Signal Type
Now you need to determine if your garage door opener uses a “rolling code” or a “fixed code.” Press and hold the newly programmed HomeLink button for two seconds and then release it. Look at the indicator light again.
- Solid Light: If the indicator light remains solid green or red, you have a fixed code system. Your programming is likely complete. The door should open.
- Rapid Flashing: If the light flashes rapidly for two seconds and then turns solid, you have a rolling code system. This means your garage motor has a security feature that changes the code every time it is used. You have a few more steps to complete to sync the rolling code.
8. Locate the “Learn” Button on the Motor
If Step 7 indicated a rolling code (which is standard for most modern openers like Chamberlain, LiftMaster, or Craftsman), head into your garage with your stepladder. You need to find the “Learn” or “Smart” button on the garage door opener motor unit attached to the ceiling. This button is usually located on the back or side of the unit, near the antenna wire. It might be purple, yellow, orange, or green. You may need to pop off the light cover to find it.
9. Train the Rolling Code
This step is time-sensitive. Press and release the “Learn” button on the motor unit. Do not hold it down (holding it might erase all remotes paired to the unit!). You will typically see a small LED light up on the motor unit. Once you press this, you have approximately 30 seconds to return to your Jeep. This is where a helper is useful, but if you are quick, you can do it yourself. Run back to the vehicle.
10. Final Synchronization
Back in the driver’s seat, press and hold the HomeLink button you just programmed for two seconds, then release. Repeat this press-hold-release sequence a second time. In some rare cases, you may need to do it a third time. This sends the new signal to the motor while it is in “learning” mode. The garage door should now move, indicating that the rolling code has been accepted. Your Jeep Gladiator is now fully synced with your home.
5 Things You Should Avoid
Programming these systems can be temperamental. If you are having trouble, you might be falling into one of these common traps.
- Using Old Batteries: Even if the red light on your handheld remote turns on, the signal might be too weak for the Jeep’s system to clone. Always use brand-new batteries in the handheld remote during the programming phase to ensure a strong, consistent frequency.
- Blocking the Sensors: Ensure nothing is blocking the safety sensors at the bottom of your garage door tracks. If the sensors are obstructed, the door will not move during the testing phase, leading you to believe the programming failed when it was actually a safety stop.
- Ignoring the Antenna: On your garage door motor, there is a hanging wire that acts as the antenna. Ensure this wire is hanging down straight and not tucked up inside the unit. A straightened antenna improves the range and receptivity during the “Learn” phase.
- Holding the Learn Button Too Long: When you are on the ladder pressing the “Learn” button on the motor, do not hold it down for a long time. On many units, holding this button for 6-10 seconds erases all programmed remotes, meaning none of your family’s clickers will work anymore.
- Giving Up Too Soon: If it doesn’t work the first time, try again. Electronics can be finicky. Reset the HomeLink buttons (Step 1) and start from scratch. Sometimes, simply varying the angle or distance of the handheld remote in Step 4 is all it takes to fix the issue.
Conclusion
How to program jeep gladiator garage door opener is a small task that pays dividends every single day. No more hunting for lost remotes or dealing with dead batteries at inconvenient times.
By following these 10 steps, you ensure a secure and reliable connection between your vehicle and your home. Now that your technical setup is complete, you can focus on the real reason you bought a Gladiator: enjoying the drive.
Hopefully, this guide has made the process clear and easy to follow.
I am Rick. I grew up helping my dad with his handyman service. I learned a lot from him about how to fix things, and also about how to work hard and take care of business. These days, I’m still into fixing things- only now, I’m doing it for a living.
I’m always looking for new ways to help people grow and develop. That’s why I have created this blog to share all my experience and knowledge so
that I can help people who are interested in DIY repair.