
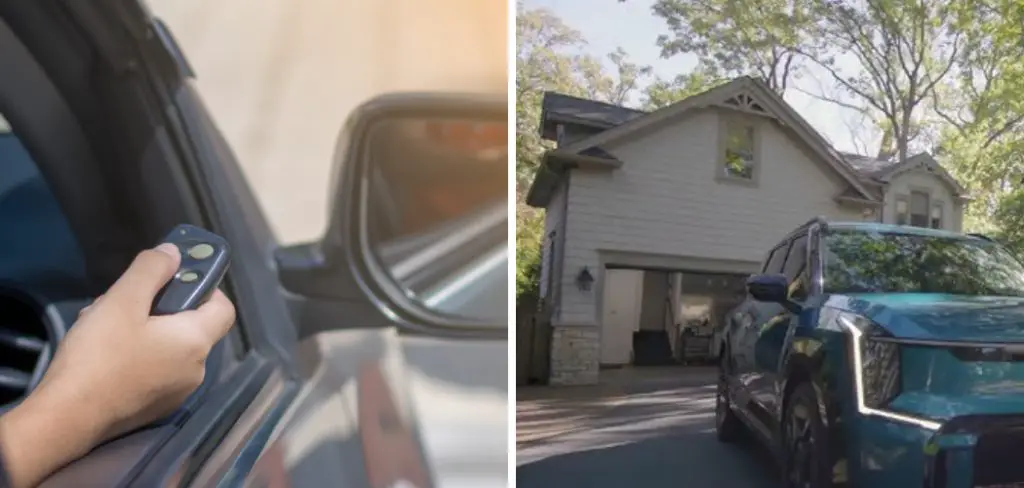
You bought a Kia Telluride for its sleek design, robust performance, and advanced technology. It is a vehicle designed to make life easier, from its spacious interior to its intuitive infotainment system. Yet, many owners find themselves still clipping a bulky, plastic garage door remote to their sun visor, cluttering the cabin and underutilizing the car’s built-in capabilities.
Most Kia Tellurides come equipped with HomeLink, a wireless control system built directly into the rearview mirror. This system allows you to replace up to three handheld radio-frequency transmitters used to activate devices such as garage door openers, security gates, and even home lighting.
Let’s dive into how to program kia telluride garage door opener.
What Will You Need?
Before you sit in the driver’s seat, gather the necessary tools. Having everything ready will prevent the process from timing out, which is a common cause of programming failure.
- Your Kia Telluride: Parked within range of the garage door, but ideally outside of the garage for safety reasons.
- The Handheld Remote: You need the original remote control for your garage door opener. The car needs to “learn” the signal from this device first.
- Fresh Batteries: Ensure the handheld remote has fresh batteries. A weak signal from the remote can cause the car to fail the learning process.
- A Stepladder: If your garage door opener utilizes a rolling code (most modern ones do), you will need to reach the “Learn” or “Smart” button on the motor unit attached to your garage ceiling.
- A Helper (Optional): While you can do this alone, having a second person to press the button on the ceiling motor while you sit in the car can make the process much faster.
10 Easy Steps on how to program kia telluride garage door opener
Programming the HomeLink system requires precision. The system is listening for specific radio frequencies, and the timing of your button presses dictates whether the programming is successful. Follow these steps closely.
Step 1: Clear the Existing Codes
If this is a new car, you can technically skip this step, but it is highly recommended to start with a clean slate to avoid signal interference. If you bought the car used, this is mandatory to ensure the previous owner’s codes are removed.
Locate the three HomeLink buttons on your rearview mirror. Press and hold the first and third buttons simultaneously. You need to hold them for approximately 20 seconds. Watch the indicator light on the mirror. It will likely be solid red at first. Do not let go until the light begins to flash rapidly. Once it flashes quickly, release the buttons. The memory is now cleared, and the system is ready for a new code.

Step 2: Safety First – Positioning the Vehicle
You must park your Kia Telluride outside of the garage, but close enough that the signal can reach the motor (usually within the driveway). Do not program the door while the vehicle is inside the garage with the door closed. During the programming process, the garage door may open and close multiple times. Additionally, you will need the engine running or the battery in accessory mode, and you want to avoid carbon monoxide buildup in an enclosed space.
Step 3: Prepare the Vehicle’s Ignition
For the HomeLink system to function and accept programming, the car usually needs power. You do not necessarily need the engine turning over, but the electrical system must be active.
Press the Start/Stop button once (without your foot on the brake) to enter Accessory mode, or twice to enter “On” mode. If you are concerned about draining the battery during the process, you can start the engine, provided you are parked outside in the open air. Ensure your parking brake is set.
Step 4: Initiate the Handshake
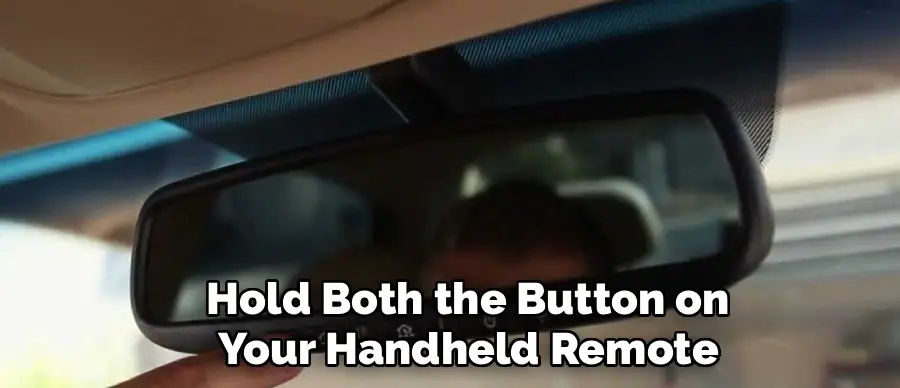
This step transfers the frequency from your handheld remote to the car. Hold your handheld garage door transmitter 1 to 3 inches away from the HomeLink buttons on the mirror.
Simultaneously press and hold both the button on your handheld remote and the specific HomeLink button you wish to program (usually the first one for the main garage door). Do not release either button. This is the “handshake” phase, where the car attempts to read the specific radio signature of your remote.
Step 5: Observe the Indicator Light
While holding both buttons, keep your eyes fixed on the HomeLink indicator light on the mirror. Initially, the light will flash slowly. This slow flash indicates that the system is in “listening” mode.
You must continue holding both buttons until that slow flash transforms into a rapid flash. This change in tempo is the visual confirmation that the Kia has successfully accepted the frequency code from your remote. If the light remains slow or turns solid red without flashing rapidly, the signal was not received—reposition the remote and try again.
Step 6: Determine Your Opener Type
Once the rapid flashing occurs, release both buttons. Now, press and hold the newly programmed HomeLink button on your mirror for two seconds, then release.
Look at the indicator light again.
- Solid Light: If the indicator light remains solid green (or red, depending on the model year) when you press the button, and your garage door activates, you are done! You have a “Fixed Code” system.
- Flashing Light: If the indicator light flashes rapidly for two seconds and then turns solid, you have a “Rolling Code” system. This is common for most openers manufactured after 1996. The car has the signal, but the garage door motor doesn’t trust the car yet. You must proceed to the next steps.
Step 7: Locate the “Learn” Button
If you determined you have a rolling code system in Step 6, you need to head into the garage. Grab your stepladder and climb up to the main motor unit mounted on the ceiling. You are looking for a button labeled “Learn,” “Smart,” or “Program.”
Depending on the brand (LiftMaster, Chamberlain, Genie, Craftsman), this button might be purple, yellow, orange, or green. It is often located on the back panel near the hanging antenna wire, or sometimes under the light cover. You may need to pop the plastic light lens off to find it.

Step 8: Trigger the Learning Mode
This part requires speed, which is where a helper comes in handy. If you are alone, prepare to move quickly.
Press and release the “Learn” button on the garage door motor unit. Do not hold it down. Usually, a small LED light next to the button will glow steadily to indicate the unit is ready to pair. This initiates a 30-second window where the motor is listening for a new device. You must complete the next step within this strict 30-second timeframe.
Step 9: Synchronize the Kia
Safely descend the ladder and hurry back to your Kia Telluride. Press and hold the HomeLink button you programmed in Step 4 for two seconds, then release it.
Repeat this press-hold-release sequence a second time.
- Press for 2 seconds.
- Release.
- Press for 2 seconds.
- Release.
Some older garage door openers may require you to do this a third time. This sequence completes the rolling code synchronization. It tells the garage door opener, “Hello, I am the new device you were listening for.”
Step 10: Final Verification
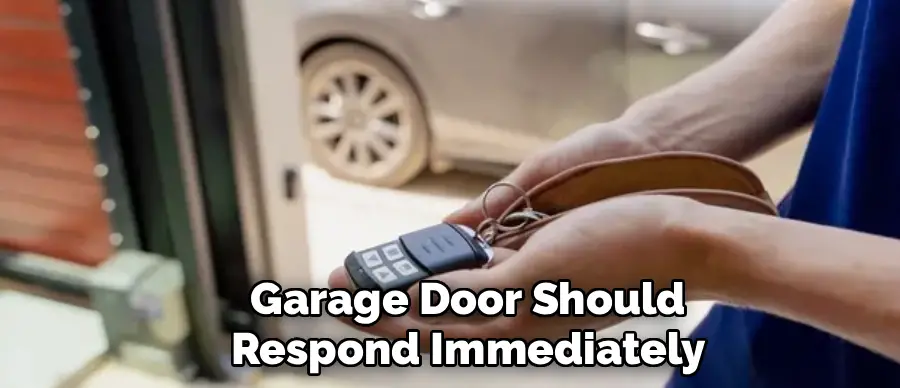
At this point, the garage door should move. If the door opens or closes during Step 9, the programming is successful. Wait a moment for the cycle to complete.
Test the button one final time with a single, normal press. The garage door should respond immediately. If you have other gates or garage doors to program, repeat Steps 4 through 10 using the other available buttons on your rearview mirror. Remember, you do not need to repeat Step 1 (clearing codes) when adding a second or third device; doing so would wipe out the work you just finished.
5 Things You Should Avoid
Even with instructions, things can go wrong. Avoiding these common pitfalls will save you frustration and ensure the process goes smoothly.
1. Using a Weak Remote
One of the most common reasons for failure during the “handshake” phase (Step 4) is a weak battery in the handheld remote. Even if the remote still opens the door, the signal might be too weak for the Kia’s mirror to clone effectively. If you are struggling to get the rapid flash on the mirror, replace the battery in your handheld remote before assuming the car is broken.
2. Programming in an Enclosed Space
Never perform these steps inside a closed garage. Aside from the carbon monoxide risk if your engine is running, the door may unexpectedly close on the vehicle during the testing phase. Always park in the driveway with the nose of the car facing the garage.
3. Ignoring the Antenna
On your garage door motor, there is usually a small wire hanging down. This is the receiving antenna. If it is tucked up inside the housing or kinked, the range will be poor, and the programming might fail. Ensure this wire is hanging down straight to ensure the best connection with your vehicle.
4. Holding the Learn Button Too Long
When you are on the ladder pressing the “Learn” button on the motor unit, a quick press and release is all that is needed. If you hold the button down for several seconds (usually 6-10 seconds), you might accidentally wipe out all the memory in the garage door opener. This would disconnect all your other remotes and keypads, forcing you to reprogram everything in your house.
5. Forgetting to Clear Data When Selling
When the time comes to sell or trade in your Kia Telluride, remember that your garage door code is stored in the car. If you don’t clear it, the new owner could technically access your home. Always perform Step 1 (holding buttons 1 and 3 for 20 seconds) before handing over the keys to a new owner.
Conclusion
How to program kia telluride garage door opener might seem like a complex choreography of button presses and ladder climbing, but the payoff is worth the effort.
By integrating your home access into your vehicle, you streamline your daily departure and arrival, enhance the security of your home, and maintain the beautiful interior of your SUV.
Once you have successfully synced your HomeLink system, you will likely wonder why you waited so long to do it. Take a few minutes this weekend to follow these steps, and enjoy the seamless experience of technology working exactly as it should.
I am Rick. I grew up helping my dad with his handyman service. I learned a lot from him about how to fix things, and also about how to work hard and take care of business. These days, I’m still into fixing things- only now, I’m doing it for a living.
I’m always looking for new ways to help people grow and develop. That’s why I have created this blog to share all my experience and knowledge so
that I can help people who are interested in DIY repair.