
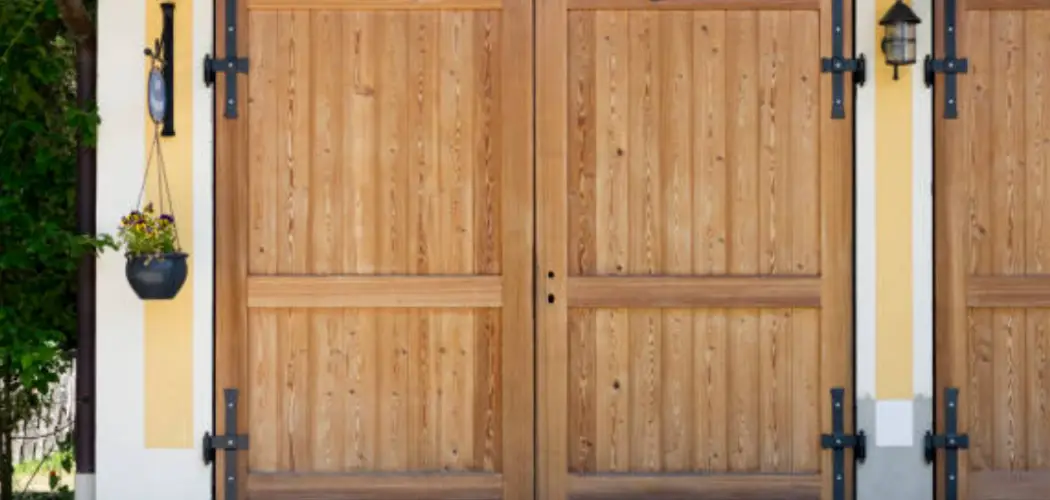
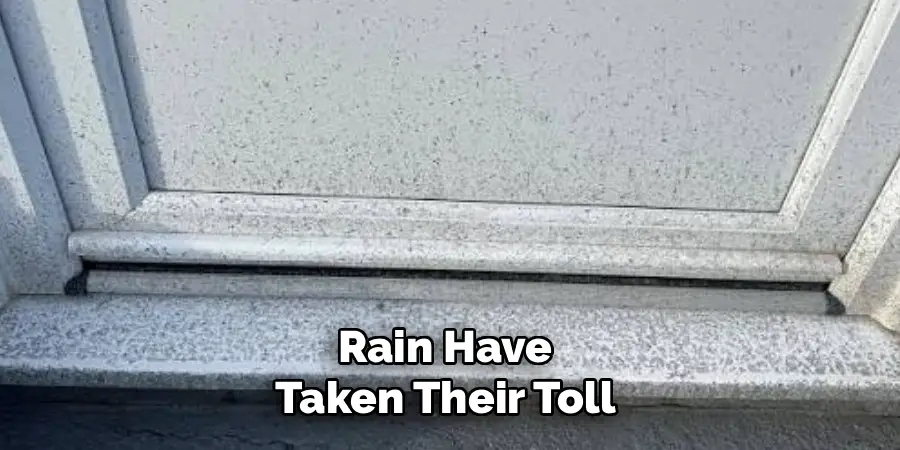
Your garage door is one of the first things people notice about your home. Over time, though, that paint can start to chip, peel, fade, or simply look tired. Maybe a previous owner chose a color you can’t stand, or perhaps years of sun and rain have taken their toll. Whatever the reason, removing old paint from a garage door is a project you can absolutely handle yourself with a little patience and the right approach.
This guide on how to remove paint from garage door walks you through everything you need to know. You’ll learn why stripping the old paint matters, what supplies to gather, and how to do the job in ten straightforward steps. We’ll also cover the mistakes that trip up beginners and answer some common questions.
By the end, you’ll feel ready to grab your tools and get started.
Benefits of Removing Old Paint from a Garage Door
Taking the time to strip old paint offers more than just a fresh look. Here are the key reasons this project is worth your effort.
- A smoother, longer-lasting finish. New paint sticks best to a clean surface. When you remove flaking or peeling layers, your fresh coat bonds properly and stays put for years instead of bubbling up in a few months.
- Better curb appeal. A clean, evenly painted garage door instantly lifts the appearance of your whole home. If you plan to sell, this small update can make a big first impression on buyers.
- Protection against damage. Old, cracked paint lets moisture reach the door underneath. On wood doors, that moisture leads to rot. On metal doors, it causes rust. Removing the damaged layer helps you catch and stop these problems early.
- A chance to inspect the door. Stripping the paint gives you a close look at the surface. You might spot dents, cracks, or hardware issues you’d otherwise miss, letting you fix them before they get worse.
- Money savings. Doing this yourself costs far less than hiring a professional or replacing the door entirely. With basic tools and a weekend, you can achieve results that look great and save your wallet.
What Will You Need?
Before you begin, gather all your supplies so you’re not running to the store mid-project. Here’s your checklist:
- Safety gear: protective gloves, safety goggles, and a respirator mask
- Drop cloths or plastic sheeting to protect the ground and nearby surfaces
- Painter’s tape to cover hardware, hinges, and trim
- Paint scraper and a putty knife
- Wire brush for stubborn spots
- Chemical paint stripper or a heat gun (or both, depending on your method)
- Sandpaper in medium and fine grits, or an electric sander
- Steel wool for detailed areas
- Bucket of warm water and mild soap
- Clean rags and sponges
- Mineral spirits for cleaning residue
- A ladder or step stool for reaching high sections
- A garden hose if you plan to rinse the door
Having everything ready makes the whole process smoother and safer.
10 Easy Steps on How to Remove Paint From Garage Door
Follow these ten steps in order. Take your time with each one, and you’ll get clean, professional-looking results.
Step 1: Prepare Your Work Area
Start by clearing the space around your garage door. Move cars, bikes, tools, and anything else out of the way. Lay down drop cloths or plastic sheeting beneath the door to catch paint chips and drips. This keeps your driveway or garage floor clean and makes cleanup much easier later. Pick a day with mild, dry weather if you’re working outside, since heat and humidity affect how strippers and paints behave. Good ventilation matters too, especially if you’ll use chemical products.
Step 2: Put on Your Safety Gear
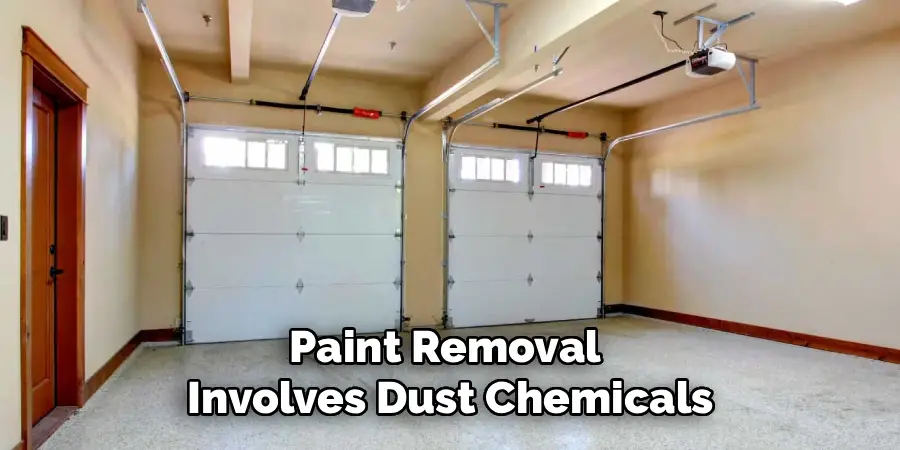
Paint removal involves dust, chemicals, and sharp tools, so protect yourself before you begin. Slip on your gloves to shield your hands from harsh strippers. Wear safety goggles to keep debris and splashes out of your eyes. Put on a respirator mask to avoid breathing in fumes or fine paint particles. If your home was built before 1978, the old paint may contain lead. In that case, take extra precautions or consider hiring a professional, since lead dust is dangerous to your health.
Step 3: Protect the Hardware and Surrounding Areas
Use painter’s tape to cover anything you don’t want stripped or damaged. Tape over hinges, handles, locks, weather stripping, and any trim around the door. If windows are set into the door, cover the glass with tape and plastic. This step saves you from accidental scratches or chemical stains on parts you want to keep intact. A few extra minutes here prevent frustrating touch-ups down the road.
Step 4: Clean the Door Surface
Before removing any paint, wash the door to get rid of dirt, grease, and grime. Mix warm water with a mild soap, then wipe the whole surface with a sponge or rag. Pay attention to corners and grooves where dust builds up. Rinse with clean water and let the door dry completely. A clean surface helps your stripper or sander work more effectively, and it prevents you from grinding dirt into the door as you scrape.
Step 5: Choose Your Paint Removal Method
You have two main options: chemical strippers or a heat gun. Chemical strippers work well on large, flat areas and are less likely to damage the door. A heat gun softens paint quickly and avoids chemicals, but it takes practice and can scorch the surface if you’re not careful. Many people combine both, using a heat gun on thick sections and a stripper for detail work. Pick the method that fits your comfort level and the type of door you have.
Step 6: Apply the Paint Stripper
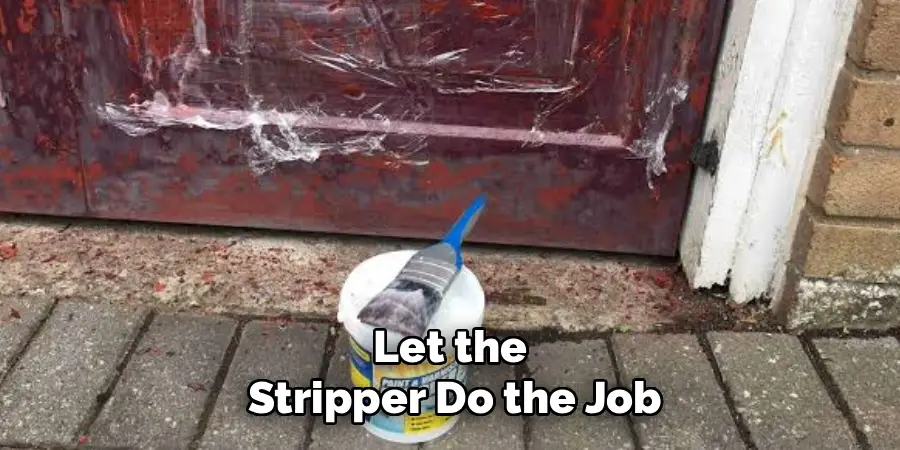
If you chose a chemical stripper, apply a thick, even layer with a brush. Work in small sections so the product doesn’t dry out before you can scrape it. Follow the directions on the label for how long to let it sit, usually somewhere between fifteen and thirty minutes. You’ll see the paint start to bubble and wrinkle, which tells you it’s ready to remove. Never rush this waiting period, as the stripper needs time to break down the paint layers.
Step 7: Scrape Away the Loosened Paint
Once the paint bubbles up, use your scraper or putty knife to lift it off. Hold the tool at a slight angle and push gently to avoid gouging the door. Work with the grain on wood doors to keep the surface smooth. For grooves, panels, and tight corners, switch to a wire brush or steel wool. Wipe the removed paint onto your drop cloth as you go. If some paint stays stuck, apply more stripper and wait again rather than forcing it.
Step 8: Sand the Surface Smooth
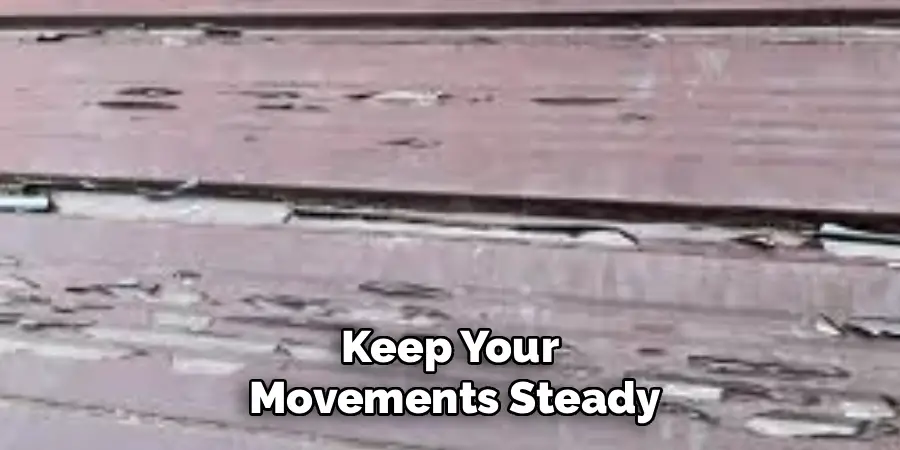
After the bulk of the paint is gone, sanding smooths out what remains and preps the door for a new finish. Start with medium-grit sandpaper to knock down rough patches and leftover paint. Then switch to fine-grit paper for a smooth, even surface. An electric sander speeds things up on large flat areas, but sand by hand around edges and details. Keep your movements steady and light so you don’t create dips or scratches in the door.
Step 9: Clean Off All Residue
Once sanding is done, the door will be covered in dust and stripper residue. Wipe it down with a rag dampened in mineral spirits to remove any leftover chemicals. Then clean the surface again with soap and water, and rinse thoroughly. Let the door dry completely before moving on. A perfectly clean surface is essential, because leftover dust or residue will stop new paint or sealant from sticking properly.
Step 10: Inspect and Finish
Take a close look at the door now that it’s bare. Check for dents, cracks, rust, or rot, and repair any problems you find. Once the surface is clean, dry, and smooth, you’re ready to apply primer and fresh paint or a protective sealant. Remove your painter’s tape carefully, fold up your drop cloths, and dispose of paint waste according to your local rules. Step back and admire your work; you’ve given your garage door a whole new start.
5 Things You Should Avoid
Even a simple project has pitfalls. Steer clear of these common mistakes.
1. Skipping safety gear. It’s tempting to jump right in, but paint dust and chemical fumes are harmful. Always wear gloves, goggles, and a mask- no exceptions.
2. Ignoring lead paint risks. If your door is old, test for lead before you start. Sanding or heating lead paint releases toxic dust that can seriously harm you and your family.
3. Rushing the stripper. Chemical strippers need time to work. Scraping too soon leaves paint behind and forces you to repeat the whole process. Patience pays off.
4. Pressing too hard while scraping. Aggressive scraping gouges the door and creates extra work. Let the stripper do the job and use gentle pressure to protect the surface.
5. Painting over a dirty surface. Skipping the final cleaning ruins your hard work. New paint won’t bond to a dusty or greasy door, so it will peel again quickly.
Conclusion
How to remove paint from garage door is a project any homeowner can tackle with the right tools, a little know-how, and some patience. By preparing your work area, protecting yourself, and following each step carefully, you’ll strip away years of old, worn paint and reveal a fresh surface ready for a new finish. The payoff is well worth the effort: a smoother look, better protection for your door, and a real boost to your home’s curb appeal.
Remember to take your time, avoid the common mistakes we covered, and always put safety first. Once your door is clean and smooth, you can apply primer and paint with confidence, knowing the results will look great and last for years.
So gather your supplies, set aside a weekend, and give your garage door the makeover it deserves. You’ve got everything you need to get started today.

I am Rick. I grew up helping my dad with his handyman service. I learned a lot from him about how to fix things, and also about how to work hard and take care of business. These days, I’m still into fixing things- only now, I’m doing it for a living.
I’m always looking for new ways to help people grow and develop. That’s why I have created this blog to share all my experience and knowledge so
that I can help people who are interested in DIY repair.