
Walking into a freezing garage on a cold morning is one of life’s small miseries. Your fingers go numb before you even start the car, and any hope of using that space for hobbies or projects disappears the moment winter arrives. Yet for many homeowners, the garage remains the coldest, most neglected room in the house.
The good news? You don’t need a costly renovation to fix it. With the right approach, you can transform your chilly garage into a comfortable space you’ll actually enjoy using year-round. Whether you want a warmer spot to work on your car, a home gym, a workshop, or simply a buffer that keeps the rest of your house cozier, warming up your garage is easier than you might think.
This complete guide on how to make garage warmer walks you through everything, from the benefits and tools you’ll need to a step-by-step process, common mistakes to dodge, and answers to your top questions. Let’s get started.
What Are the Benefits?
Making your garage warmer offers more perks than just staying comfortable. Here are the biggest reasons it’s worth the effort.
- A usable space all year. A warm garage becomes a room you can actually use. Set up a workbench, a gym, a craft corner, or a place to tinker on projects without your teeth chattering. You essentially gain extra square footage for a fraction of the cost of an addition.
- Lower energy bills. This might surprise you, but insulating and sealing your garage can trim your heating costs. An attached garage shares walls with your home. When that garage is freezing, cold air seeps into your living areas, forcing your furnace to work harder. A warmer garage acts as a thermal buffer.
- Protection for your belongings. Cold temperatures can damage tools, paint cans, electronics, and even your vehicle. Batteries drain faster in the cold, and fluids thicken. A warmer environment keeps your gear and your car in better shape.
- Easier winter mornings. No more scraping frost off the windshield inside your garage or waiting for a frozen engine to turn over. A warmer garage means your car starts smoother and stays cleaner.
- Added home value. A finished, insulated, and comfortable garage appeals to buyers. It signals a well-maintained home and gives you a selling point if you ever list your property.
What Will You Need?
Before you dive in, gather your supplies. The exact list depends on which upgrades you choose, but here are the essentials for most projects:
- Insulation
- Garage door insulation kit
- Weatherstripping
- Caulk and caulking gun
- Expanding spray foam
- A garage heater
- Utility knife
- Tape measure
- Safety gear
- Rugs or foam floor mats
- Staple gun
- Thermometer
Having everything ready before you start saves time and keeps the project moving smoothly.
10 Easy Steps on How to Make Garage Warmer
Follow these ten steps for the best results. Each one builds on the last, so by the end your garage will hold heat far better than before.
Step 1: Assess and Find the Cold Spots
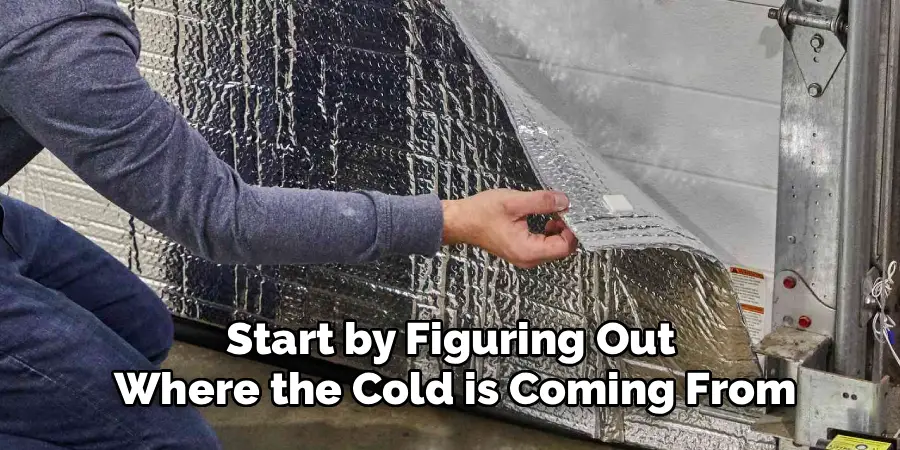
Start by figuring out where the cold is coming from. Walk through your garage on a chilly day and feel around the doors, windows, and wall edges for drafts. Hold a lit candle or incense stick near seams and watch for flickering, which signals moving air. Check the garage door, the walls that face outside, and any gaps where pipes or wires enter. Making a quick list of problem areas gives you a clear plan and helps you spend your effort where it counts most.
Step 2: Insulate the Garage Walls
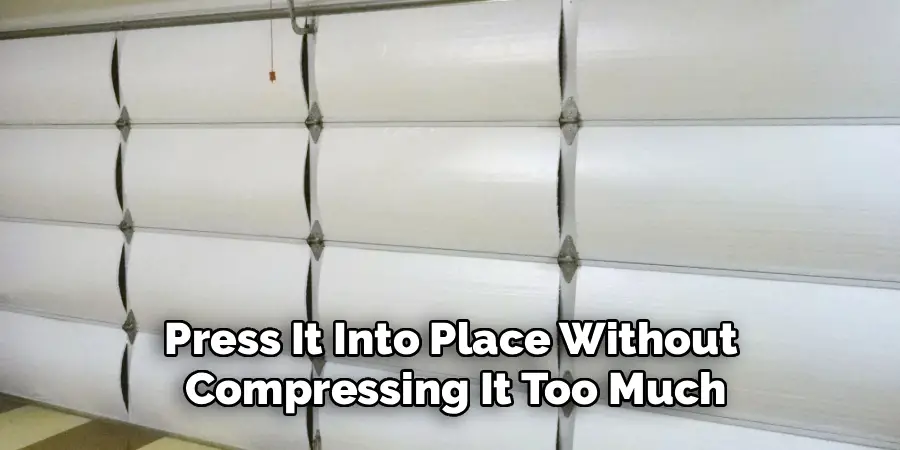
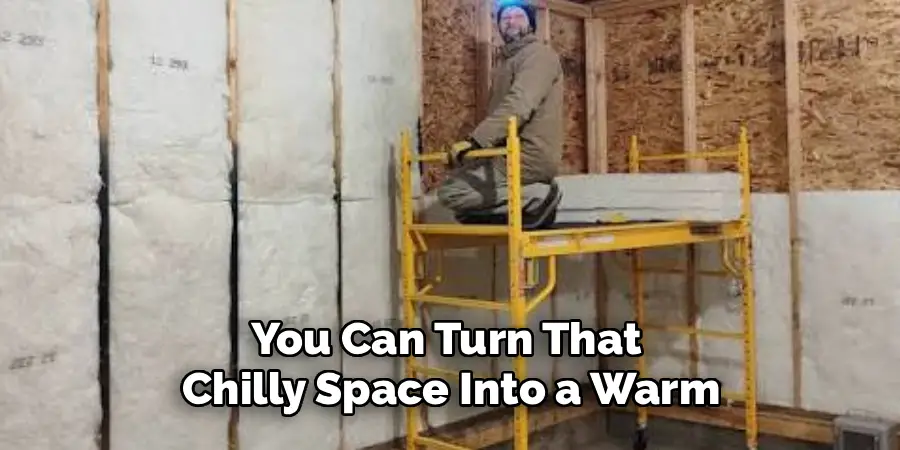
Walls are one of the biggest sources of heat loss. If your garage walls are just bare studs, adding insulation makes a dramatic difference. Fiberglass batts are affordable and easy to fit between the studs. For a higher performance option, use rigid foam boards. Measure the space carefully, cut your insulation to fit snugly, and press it into place without compressing it too much. Secure batts with a staple gun. If you want a finished look, cover the insulation with drywall or plywood afterward.
Step 3: Insulate the Garage Ceiling
Heat rises, so an uninsulated ceiling lets warmth escape straight up. If you have an attic space or an unheated room above, insulating the ceiling is essential. Use batts or blown-in insulation, aiming for a high R-value suited to your climate. Be sure not to block any vents that need airflow. A well-insulated ceiling keeps the heat you generate right where you want it, close to you.
Step 4: Insulate the Garage Door
The garage door is often the largest uninsulated surface in the space. Buy a garage door insulation kit or cut rigid foam board to fit each panel. Press the panels into the door’s frames and secure them according to the kit’s instructions. This single upgrade can raise your garage temperature noticeably and reduce outside noise too. Choose a kit that matches your door type for the best fit.
Step 5: Seal the Gaps and Cracks
Even small gaps let cold air pour in. Grab your caulk gun and seal cracks around windows, along baseboards, and where the walls meet the floor. Use expanding spray foam for larger openings, such as around pipes or vents. Take your time here, because sealing these leaks costs little but delivers big results. A tight, sealed garage holds warmth much longer than a drafty one.
Step 6: Add Weatherstripping
Weatherstripping targets the moving parts, like the entry door and the bottom of the garage door. Replace worn or cracked strips around your entry door frame so it closes tightly. Install a new bottom seal on your garage door to block the gap where it meets the floor. This stops cold air, water, and even pests from sneaking in. Fresh weatherstripping is cheap and quick to install, making it one of the best value upgrades.
Step 7: Insulate the Floor
Concrete floors stay cold and pull warmth from the air and your feet. While you can’t easily insulate the concrete itself without major work, you can lay down interlocking foam mats, thick rugs, or rubber floor coverings. These create a barrier between you and the cold slab. If you spend a lot of time standing in the garage, this step also adds comfort for your legs and back.
Step 8: Choose the Right Heater
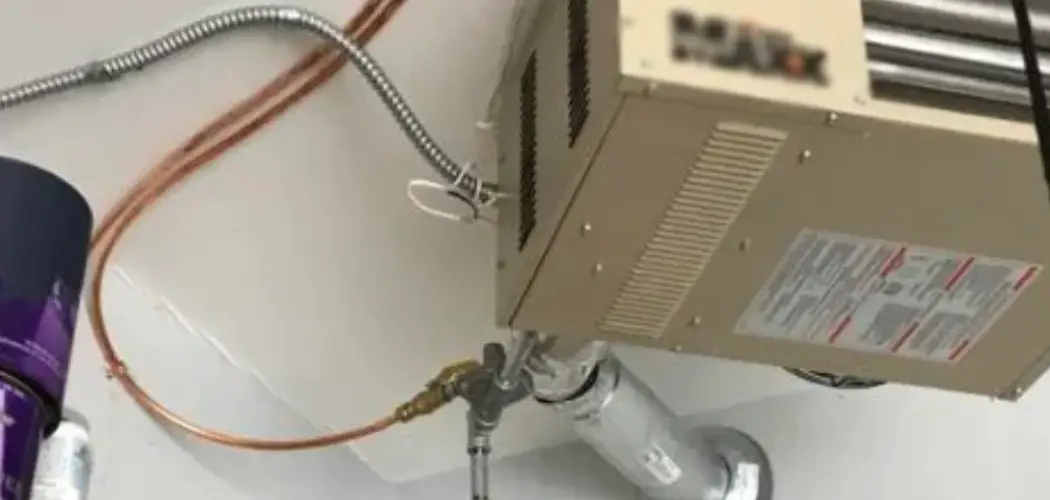
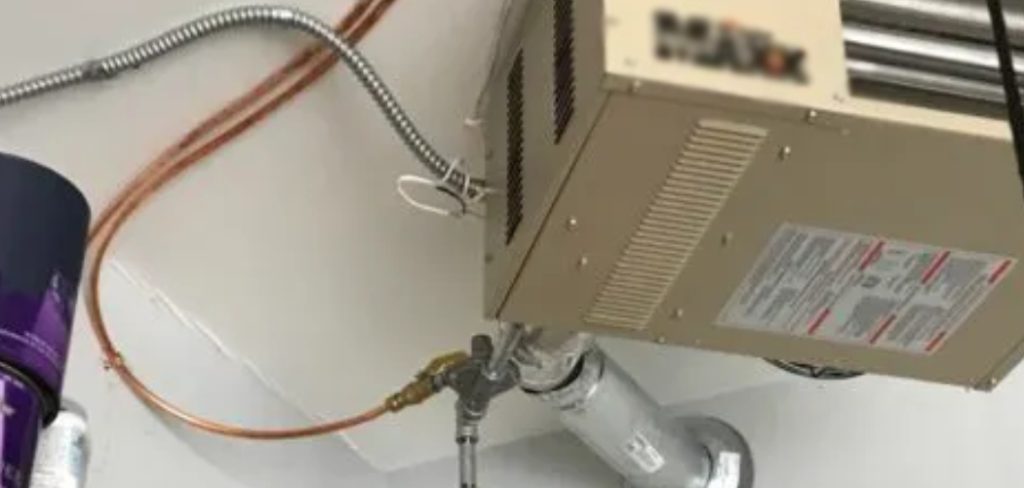
Now for the heat source. Electric heaters are safe and easy to use for smaller spaces. Infrared heaters warm objects and people directly, which feels great in a workshop. Propane heaters pump out strong heat but require good ventilation. Size your heater to your garage square footage so it works efficiently. Place it where it will circulate warmth without becoming a fire hazard near flammable materials.
Step 9: Install or Upgrade Windows
If your garage has old, single-pane windows, they leak heat fast. Consider upgrading to double-pane windows for better insulation. If replacing isn’t in the budget, apply window insulation film or use insulated curtains to cut drafts. Even a simple weatherproof plastic sheet over a window can help during the coldest months.
Step 10: Improve Air Circulation
Once your garage is sealed and heated, keep the warm air moving so it doesn’t pool near the ceiling. A ceiling fan set to run in reverse pushes warm air back down toward the floor. Good circulation makes the whole space feel evenly warm and helps your heater run more efficiently. This final touch ties all your efforts together for the best comfort.
5 Things You Should Avoid
Even a smart plan can go wrong. Steer clear of these common mistakes.
1. Ignoring ventilation with fuel-burning heaters. Propane and kerosene heaters produce carbon monoxide. Never run them in a sealed garage without proper ventilation, and always install a carbon monoxide detector.

2. Blocking existing vents. Some vents are there for a reason, especially if you store fuel or run engines. Covering them can trap dangerous fumes. Only seal gaps that aren’t intentional vents.
3. Cutting corners on insulation. Cheap or poorly fitted insulation leaves gaps that undo your hard work. Take the time to measure and fit it properly for full coverage.
4. Overloading electrical circuits. Plugging a powerful heater into an old or shared circuit can trip breakers or cause fires. Make sure your wiring can handle the load, and use a dedicated outlet when needed.
5. Forgetting fire safety. Keep heaters away from paint, gasoline, cardboard, and other flammable items. Never leave a heater running unattended overnight.
Conclusion
A cold garage doesn’t have to be something you just put up with every winter. By working through these steps, sealing the gaps, insulating the walls, ceiling, and door, adding weatherstripping, covering the floor, and choosing the right heater, you can turn that chilly space into a warm, welcoming part of your home.
The best part is that many of these upgrades pay you back. You’ll enjoy lower energy bills, better protected belongings, and a garage you can actually use no matter the season. Start with the quick, affordable fixes and build toward the bigger improvements over time.
Hopefully, this guide on how to make garage warmer has helped you understand the importance of properly insulating your garage and how to go about doing it. So don’t wait any longer, start taking steps to properly insulate your garage today!

I am Rick. I grew up helping my dad with his handyman service. I learned a lot from him about how to fix things, and also about how to work hard and take care of business. These days, I’m still into fixing things- only now, I’m doing it for a living.
I’m always looking for new ways to help people grow and develop. That’s why I have created this blog to share all my experience and knowledge so
that I can help people who are interested in DIY repair.