
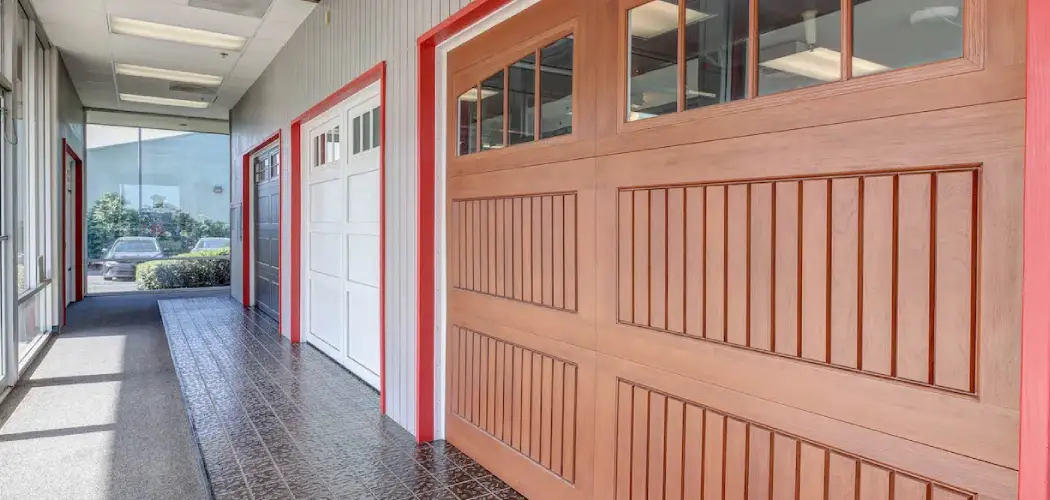
Framing in a garage door might sound like a job best left to the pros, but with the right tools and a bit of patience, you can tackle it yourself. Whether you’re building a new garage, replacing an old door, or converting an existing opening, proper framing is the foundation of a smooth, secure installation. The frame supports the weight of the door, keeps everything square, and ensures your door opens and closes without a hitch for years to come.
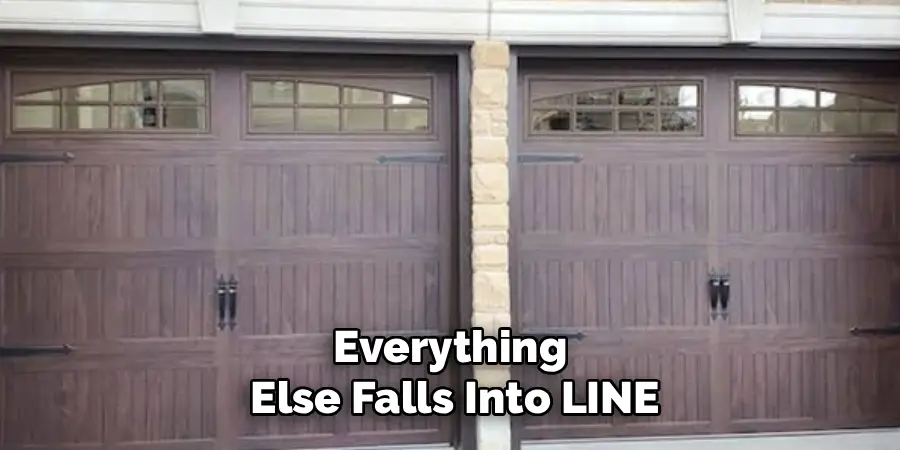
Think of the frame as the skeleton that holds your garage door in place. Get it right, and everything else falls into line. Get it wrong, and you’ll deal with sticking doors, drafty gaps, or even structural problems down the road. That’s why understanding the process matters so much.
In this guide on how to frame in a garage door, we’ll walk you through everything you need to know. Let’s get started and build a frame you can be proud of.
What Are the Benefits?
Framing in a garage door yourself comes with plenty of advantages, and they go beyond just saving a few dollars. Here’s why taking on this project pays off.
- You save money on labor. Hiring a contractor to frame an opening can cost hundreds of dollars. When you do it yourself, you keep that cash in your pocket and put it toward better materials or a nicer door.
- You get a stronger, more precise fit. When you frame the opening yourself, you control every measurement. A tight, square frame means your door seals properly, blocks drafts, and keeps pests out. This attention to detail improves energy efficiency and lowers your heating and cooling bills.
- You boost your home’s value. A well-framed, properly installed garage door adds curb appeal and function. Buyers notice quality work, and a solid garage entrance can make your property more attractive on the market.
- You gain skills and confidence. Learning how to frame gives you a handy skill you can use again. Once you understand the basics, other home projects feel less intimidating.
- You protect your investment. A good frame extends the life of your garage door. It reduces wear on the tracks, springs, and rollers because everything stays aligned. That means fewer repairs and a door that lasts.
In short, framing your own garage door opening is a smart move that blends savings, quality, and lasting value.
What Will You Need?
Before you begin, gather all your tools and materials. Having everything ready saves time and keeps your project moving. Here’s your checklist:
Tools:
- Tape measure
- Level (4-foot recommended)
- Circular saw or handsaw
- Framing square
- Hammer
- Drill with bits
- Chalk line
- Safety glasses
- Work gloves
- Pencil
- Ladder
Materials:
- 2×4 or 2×6 lumber (pressure-treated for the base)
- Header lumber (2×10, 2×12, or laminated beam depending on span)
- Wood screws and framing nails
- Galvanized nails for exterior work
- Construction adhesive
- Shims
- Anchor bolts (if attaching to concrete)
Double-check your local building codes before you buy. Some areas require specific header sizes or permits for structural work. A quick call to your local building office can save you headaches later.
10 Easy Steps on How to Frame in a Garage Door
Step 1: Measure the Opening
Accurate measurements are the heart of a good frame. Start by measuring the width and height of the space where your garage door will go. Standard single doors run about 8 to 9 feet wide, while double doors span 16 feet. Measure the rough opening, which is the framed hole before the door goes in.
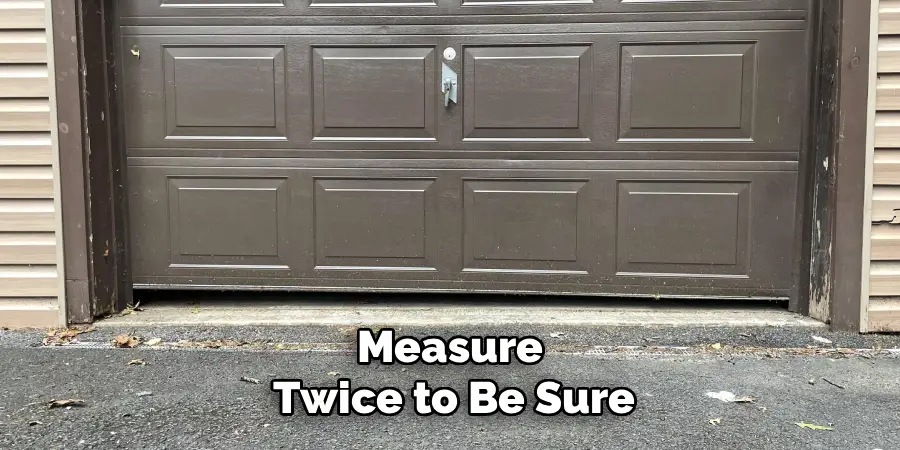
Add extra room for the frame itself. Most doors need the rough opening to be a few inches larger than the door size to allow space for the frame and adjustments. Write down your numbers and measure twice to be sure. A small mistake here can throw off the entire project, so take your time and be precise.
Step 2: Check for Level and Square
Before you cut a single board, check that your floor is level and your opening is square. Use your 4-foot level to check the floor across the width of the opening. If the concrete slopes, you’ll need to account for that when you set your side jambs.
Use a framing square at the corners to confirm the angles are true 90 degrees. Measure diagonally from corner to corner in both directions. If the two measurements match, your opening is square. If they don’t, you’ll need to adjust as you build. Starting square makes every step that follows easier.
Step 3: Cut the Side Jambs
The side jambs are the vertical boards that form the left and right sides of your frame. Measure the height of your opening and cut two pieces of 2×6 lumber to match. Use pressure-treated wood at the bottom if the jambs touch concrete, since it resists moisture and rot.
Cut cleanly with your circular saw and make sure both jambs are the exact same length. Uneven jambs lead to a crooked door. Once cut, set them in place temporarily to check the fit before you fasten anything down.
Step 4: Install the Side Jambs
Stand your side jambs in position against the wall studs on each side of the opening. Use your level to make sure each jamb is perfectly plumb, meaning straight up and down. Slip shims behind the jambs where needed to correct any lean.
Once each jamb is plumb and snug, fasten it to the wall framing with wood screws or framing nails. Space your fasteners every 12 to 16 inches for a strong hold. If you’re attaching to concrete at the base, use anchor bolts. Check for plumb one more time after fastening.
Step 5: Build the Header
The header is the horizontal beam that spans the top of the opening. It carries the weight of the wall and roof above, so it must be sturdy. For wider doors, use two 2×12 boards sandwiched together with a layer of plywood in between, or use a laminated beam.
Measure the width between your side jambs and cut your header lumber to fit. Glue and nail the boards together to form one solid beam. The header size depends on your door width and the load above, so check your building code to confirm you’re using the right dimensions.
Step 6: Install the Header
Lift the header into place at the top of the opening. This step often needs two people, since headers are heavy. Rest the ends on top of the side jambs or on jack studs, which are shorter studs that support the header from below.
Check that the header is level across its length. Adjust with shims if needed. Once level, fasten it securely to the jack studs and king studs with framing nails or structural screws. A solid header keeps your opening from sagging over time.
Step 7: Add the King and Jack Studs
King studs run the full height of the wall on each side of the opening and give the frame its strength. Jack studs, also called trimmer studs, sit inside the king studs and support the header.
Cut your jack studs to the exact height needed to hold the header at the right level. Nail them tightly against the king studs. This creates a strong pocket that carries the load down to the floor. Make sure everything stays plumb and square as you work.
Step 8: Install the Rough Opening Framing
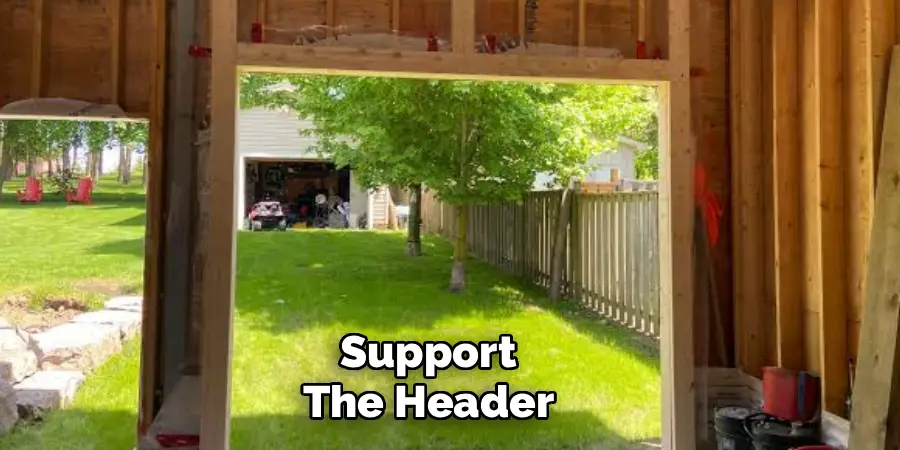
Now bring the whole rough opening together. Confirm that your side jambs, header, and studs form a clean rectangle. Measure the diagonals again to double-check for square.
Add any extra blocking or nailers that your door installation calls for. Blocking gives you solid spots to attach the door track brackets later. Fasten everything firmly and remove any temporary bracing you used to hold pieces in place.
Step 9: Attach Weatherstripping and Trim
With the frame built, add weatherstripping around the opening. This seals gaps and keeps out wind, rain, and cold air. Nail the trim, sometimes called door stop molding, around the inside edge of the frame where the door will rest when closed.
Position the trim so the door seals tightly against it. This keeps your garage comfortable and energy efficient. Use galvanized nails for any exterior trim, so it won’t rust over time.
Step 10: Final Inspection and Adjustments
Before you install the door, give your frame a thorough check. Confirm that everything is level, plumb, and square one last time. Test the opening dimensions against your door specs to make sure it fits.
Look for any loose fasteners or gaps and fix them now. Run your hand along the frame to feel for rough spots. A clean, solid, square frame sets you up for a smooth door installation. Once you’re happy, you’re ready to hang your garage door.
5 Things You Should Avoid
Even careful builders make mistakes. Watch out for these common pitfalls to keep your project on track.
1. Skipping accurate measurements. Rushing your measurements leads to a frame that doesn’t fit. Always measure twice and account for extra space around the door. A rushed measurement can cost you time and materials.
2. Using the wrong header size. An undersized header can sag or fail under the weight of the wall above. Never guess. Check your building code and use the correct beam for your door width and load.
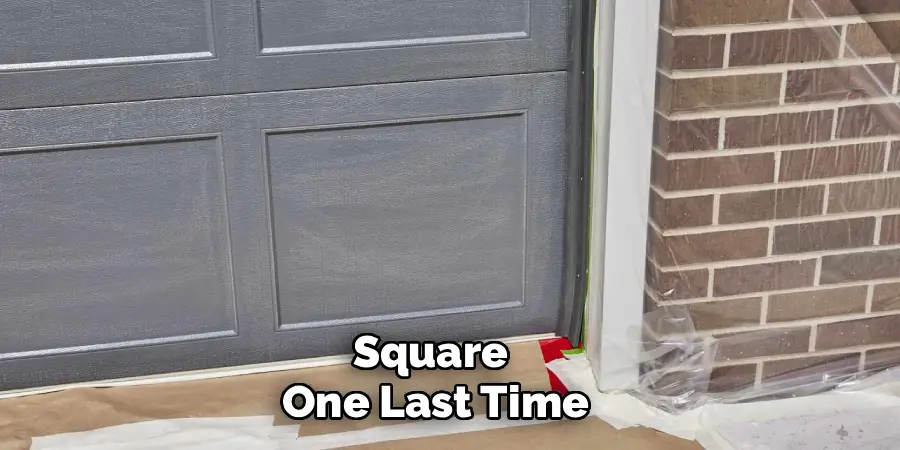
3. Ignoring level and plumb. A frame that’s off even a little will cause your door to stick or leave gaps. Use your level often and shim where needed. Precision here saves frustration later.
4. Forgetting building codes and permits. Structural framing often requires a permit. Skipping this step can lead to fines or trouble when you sell your home. Check with your local office before you start.
5. Cutting corners on materials. Cheap lumber or skipping pressure-treated wood at the base invites rot and warping. Spend a little more on quality materials for a frame that lasts.
Conclusion
How to frame in a garage door is a rewarding project that puts you in control of quality, cost, and craftsmanship. When you follow the steps carefully, you build a frame that supports your door, seals out the weather, and lasts for years. From taking precise measurements to setting a solid header and checking every angle for level and square, each step builds on the last.
Remember the benefits you gain along the way. You save money, boost your home’s value, and pick up skills you’ll use again. Just keep the common mistakes in mind. Measure twice, use the right materials, respect your building codes, and never skip the level check.
With your tools ready and this guide by your side, you have everything you need to frame in a garage door with confidence. Take your time, work carefully, and enjoy the satisfaction of a job well done.

I am Rick. I grew up helping my dad with his handyman service. I learned a lot from him about how to fix things, and also about how to work hard and take care of business. These days, I’m still into fixing things- only now, I’m doing it for a living.
I’m always looking for new ways to help people grow and develop. That’s why I have created this blog to share all my experience and knowledge so
that I can help people who are interested in DIY repair.