

Adding a wall to your garage can completely change how you use the space. Maybe you want a quiet home office, a tidy storage room, or a separate workshop away from the family car. Whatever your goal, framing and finishing a new wall is one of the most rewarding do-it-yourself projects you can tackle.

The best part? You can finish most garage walls over a single weekend. With clear steps and a little know-how, you’ll turn an open, echoing garage into a functional, comfortable room.
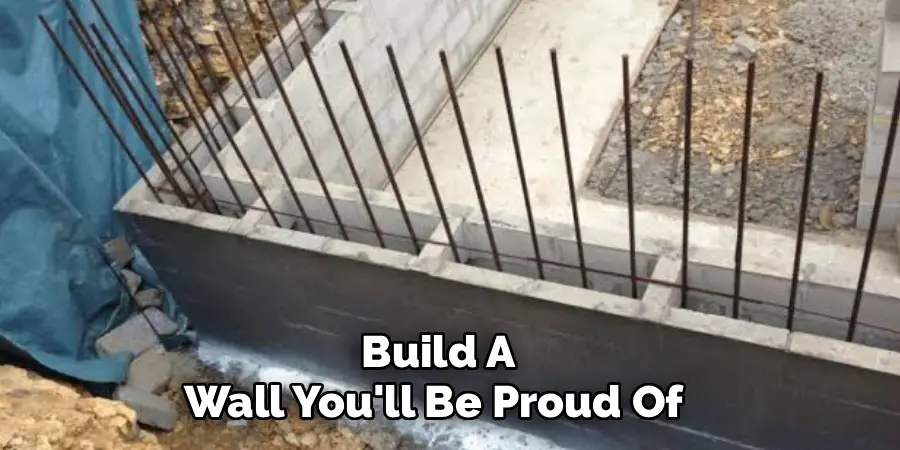
This guide on how to build a wall in a garage walks you through everything from gathering materials to hanging the final sheet of drywall. Let’s get started and build a wall you’ll be proud of.
What are the Benefits?
Building a wall in your garage does much more than divide a space. Here are the biggest reasons homeowners take on this project:
- More usable rooms. A single wall can carve out a home gym, office, playroom, or hobby space from an otherwise wasted corner.
- Better insulation and comfort. A finished wall helps keep heat in during winter and out during summer, making the space easier to use year-round.
- Reduced noise. Walls block sound, so a running washer, power tools, or a busy street won’t disturb your new room.
- Increased home value. Finished, functional square footage appeals to buyers and can boost your property’s worth.
- Improved organization. A dedicated wall lets you mount shelving, cabinets, or tools without cluttering the main garage.
- Added privacy and security. Sealing off a space keeps belongings out of sight and gives you a private area to focus or relax.
Even a small wall project delivers real, lasting value for a modest investment of time and money.
What Will You Need?
Before you pick up a hammer, gather your supplies. Having everything ready saves trips to the hardware store and keeps your project moving.
Materials:
- 2×4 lumber (for top plate, bottom plate, and studs)
- Drywall sheets (½-inch is standard)
- Drywall screws and framing nails (or 3-inch wood screws)
- Insulation batts (optional, for soundproofing or temperature control)
- Joint compound and drywall tape
- Concrete screws or a powder-actuated nailer (for anchoring to a concrete floor)
- Primer and paint
- Wood shims
Tools:
- Tape measure
- Pencil and chalk line
- Level (4-foot recommended)
- Speed square
- Circular saw or handsaw
- Drill/driver
- Hammer
- Stud finder
- Utility knife
- Drywall taping knives
- Safety glasses, gloves, and a dust mask
Double-check your local building codes before starting. Some walls may need a permit, especially if they involve electrical work or affect fire safety.
10 Easy Steps on How to Build a Wall in a Garage
Step 1: Plan and Measure Your Wall
Every good project starts with a plan. Decide exactly where your wall will go and what purpose it serves. Measure the length and height of the space using your tape measure. Mark the position on the floor, walls, and ceiling. Think about doors, windows, or openings you’ll need. Sketch a simple diagram with measurements so you know how much lumber and drywall to buy. Planning now prevents costly mistakes later and helps you order the right amount of material the first time.

Step 2: Mark the Layout Lines
Use a chalk line to snap a straight guide on the floor where the bottom of your wall will sit. To find the matching line on the ceiling, hold a level or use a plumb bob to transfer the floor marks straight up. Accuracy here is critical—if your lines aren’t square and level, the whole wall will lean. Locate the ceiling joists with a stud finder and mark them, since you’ll anchor your top plate into them for a solid hold.
Step 3: Cut the Top and Bottom Plates
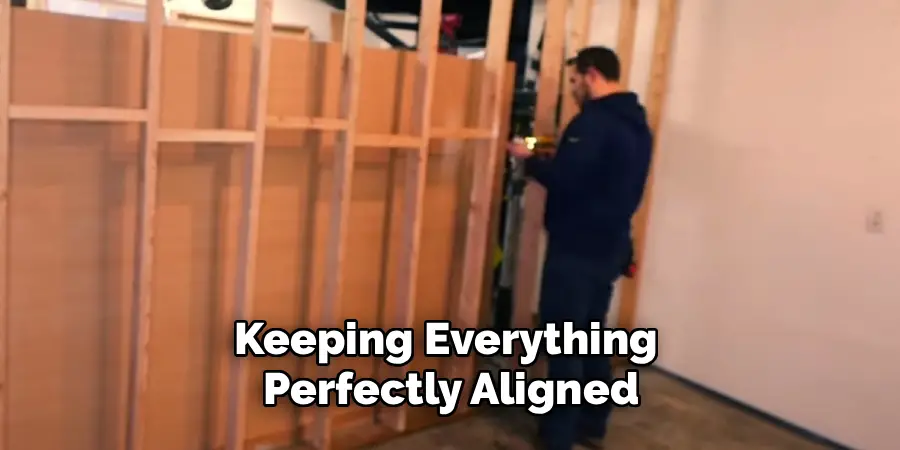
The plates are the horizontal 2x4s that run along the top and bottom of your wall. Measure the full length of your wall and cut two matching 2×4 boards using a circular saw. Lay them side by side on the floor. This makes it easy to mark stud positions on both plates at the same time, keeping everything perfectly aligned. Label the top and bottom so you don’t mix them up during assembly.
Step 4: Mark the Stud Spacing
Studs are the vertical boards that give your wall strength. Standard spacing is 16 inches on center, meaning the middle of one stud sits 16 inches from the middle of the next. Starting from one end, measure and mark each stud location on both plates. Use a speed square to draw a straight line across the boards at every mark. This layout keeps your drywall seams landing neatly on stud centers later.
Step 5: Measure and Cut the Studs
Measure the height between your floor and ceiling, then subtract the combined thickness of the top and bottom plates (about 3 inches for two 2x4s laid flat). Cut your studs to this length. Measure a few spots along the wall, since garage floors and ceilings aren’t always perfectly even. Cut a test stud first and check the fit before cutting the rest. A snug fit makes assembly much easier.
Step 6: Assemble the Wall Frame
Lay the top and bottom plates on the floor with the studs between them, matching your layout marks. Drive two framing nails or 3-inch screws through the plates into the end of each stud. Work on a flat surface so the frame stays square. Building the wall flat on the ground is far easier than fastening studs one by one while standing. Check your corners with a speed square as you go.
Step 7: Raise and Position the Wall

With a helper, tilt the assembled frame up into place along your chalk lines. This step is much safer with two people, as the frame can be heavy and awkward. Slide it into position, lining up the bottom plate with your floor mark. Use wood shims to snug any gaps between the top plate and ceiling. Check that the wall stands perfectly vertical with your level before fastening anything.
Step 8: Secure the Wall to the Structure
Now anchor the wall firmly in place. Fasten the top plate into the ceiling joists using long screws. For the bottom plate on a concrete floor, use concrete screws or a powder-actuated nailer to lock it down. If the wall ends against another wall, screw the end stud into that framing too. Recheck the level once fastened. A well-anchored wall won’t shift, sag, or wobble over time.
Step 9: Add Insulation and Wiring
If your wall needs soundproofing or temperature control, press insulation batts snugly between the studs now. This is also the time to run any electrical wiring, though you should hire a licensed electrician for that work if you’re unsure. Handling insulation and wiring before drywall goes up saves you from tearing into finished walls later. Wear a dust mask and gloves when working with insulation.
Step 10: Hang, Finish, and Paint the Drywall
Lift each drywall sheet against the frame and fasten it with drywall screws every 12 inches along the studs. Cut sheets to size with a utility knife by scoring and snapping. Once all panels are up, apply drywall tape over the seams and cover them with joint compound. Let it dry, sand it smooth, and repeat until seamless. Finish with primer, then paint your chosen color. Your new wall is complete!
5 Things You Should Avoid
Even simple projects can go sideways. Steer clear of these common mistakes:
- Skipping the level check. A wall that isn’t plumb will look crooked and cause problems when you hang drywall or doors. Check your level often, not just once.
- Ignoring building codes. Some walls require permits, fire blocking, or specific fastener types. Skipping this step can lead to fines or costly rework. Always check with your local building office first.
- Anchoring poorly to concrete. Regular screws won’t hold in concrete floors. Use proper concrete anchors or a powder-actuated nailer so your wall stays put for years.
- Wrong stud spacing. Guessing at spacing throws off your drywall seams and weakens the wall. Stick to the standard 16 inches on center for a strong, easy-to-finish frame.
- Rushing the drywall finish. Sloppy taping and thin joint compound leave visible seams. Take your time, apply thin coats, and sand between them for a smooth, professional look.
Conclusion
How to build a wall in a garage is a project well within reach, even if you’ve never framed anything before. With careful planning, the right tools, and these ten straightforward steps, you can transform open, unused space into a room that truly works for your life. Whether you’re creating a home office, a gym, or extra storage, the payoff is worth every hour spent.
Take your time, measure twice, and don’t cut corners on safety or level checks. Before you know it, you’ll be standing back and admiring a solid, finished wall you built with your own hands.
Grab your tape measure, gather your supplies, and get building—your new space is waiting.

I am Rick. I grew up helping my dad with his handyman service. I learned a lot from him about how to fix things, and also about how to work hard and take care of business. These days, I’m still into fixing things- only now, I’m doing it for a living.
I’m always looking for new ways to help people grow and develop. That’s why I have created this blog to share all my experience and knowledge so
that I can help people who are interested in DIY repair.