
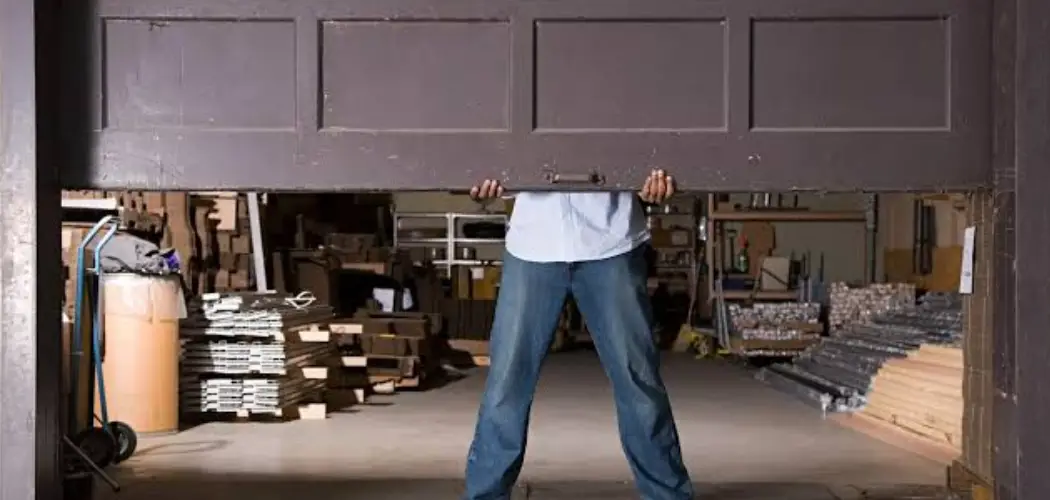
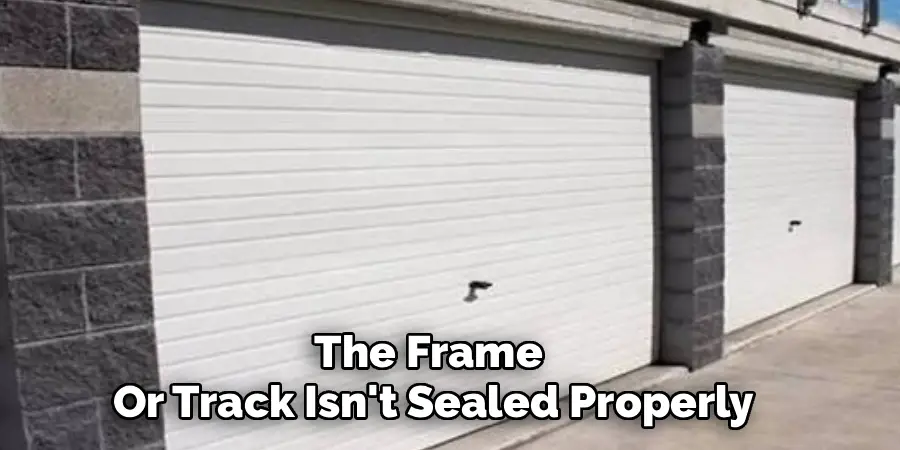
Have you ever noticed a sliver of daylight peeking through the sides of your closed garage door? That small opening is called a side gap, and it’s more than just a cosmetic annoyance. A side gap forms when the space between your garage door and the frame or track isn’t sealed properly.
Garage doors take a lot of wear and tear. They open and close hundreds of times a year, and the constant movement can shift tracks, loosen hardware, and wear down weather seals. When any of these parts fall out of alignment, gaps appear along the sides.
This guide on how to adjust a garage door side gap walks you through everything you need to know. By the end, you’ll have the confidence to tackle this project yourself and enjoy a tighter, more efficient garage.
Benefits of Adjusting a Garage Door Side Gap
Closing that gap does more than tidy up the look of your garage. Here are the key benefits you’ll enjoy once the job is done:
- Better energy efficiency. A sealed door keeps conditioned air inside and outdoor temperatures out. If your garage connects to your home, this can lower your heating and cooling bills.
- Improved security. A tight-fitting door is harder to pry open. Reducing side gaps removes an easy access point for intruders.
- Pest prevention. Insects, rodents, and other pests love to sneak through even the smallest openings. Sealing the gap keeps them outside where they belong.
- Protection from the elements. Rain, snow, and wind-driven debris can damage items stored in your garage. A snug seal keeps moisture and dirt out.
- Less noise. A properly aligned door reduces rattling and drafts, making your garage quieter.
- Longer door lifespan. Fixing alignment issues early prevents extra strain on your door’s hardware and motor, helping everything last longer.
Even a small adjustment can deliver a noticeable difference in comfort and savings.
What Will You Need?
Before you start, gather your tools and materials. Having everything ready makes the job go smoothly and safely. Here’s your checklist:
Tools:
- Adjustable wrench or socket set
- Screwdriver (Phillips and flathead)
- Rubber mallet
- Level
- Tape measure
- Pencil or marker
- Ladder or sturdy step stool
- Work gloves and safety glasses
Materials:
- New weather stripping or vinyl seal (if the old one is worn)
- Replacement track brackets or fasteners (if needed)
- Lubricant spray (silicone-based works best)
- Clean rag
Most of these items are already in a typical home toolbox. If you need weather stripping, you can find it at any hardware store in various sizes to match your door.
10 Easy Steps on How to Adjust a Garage Door Side Gap
Step 1: Inspect the Current Gap
Start by closing your garage door completely. Stand inside the garage during the daytime and look along both sides. Any light coming through shows you where the gaps are. Measure the width of the gap at the top, middle, and bottom of each side using your tape measure. Write down these measurements. This gives you a clear picture of where the door sits off-center or where the seal has failed. Knowing the exact spots helps you decide whether the fix involves adjusting the track, replacing the weather stripping, or both.
Step 2: Disconnect the Power
Safety comes first. Before you touch any hardware, unplug your garage door opener or switch off its circuit breaker. This prevents the door from opening or closing while your hands are near moving parts. If your opener has a manual release cord, pull it to disconnect the door from the motor. Now you can move the door by hand and work without any risk of it activating unexpectedly. Never skip this step, even for a quick adjustment.
Step 3: Examine the Tracks and Rollers
With the power off, take a close look at the vertical tracks on both sides of the door. These metal channels guide the rollers as the door moves. Check for bends, dents, or loose bolts. Run your hand along each track and watch the rollers as you slowly lift and lower the door. If a track is bent, it can push the door to one side and create a gap. If rollers are worn or sticking, they may pull the door out of alignment. Note anything that looks damaged so you can address it in the next steps.
Step 4: Loosen the Track Brackets
The tracks attach to your garage wall with brackets held by bolts. To shift the door position, you’ll need to loosen these brackets slightly. Use your wrench or socket set to turn the bolts counterclockwise, but don’t remove them completely. You want just enough play to nudge the track a small amount. Loosen the brackets on the side where the gap is largest. Work with one bracket at a time so the track stays supported and doesn’t fall out of place.
Step 5: Reposition the Track
Now gently push or tap the track toward the door frame to close the gap. A rubber mallet works well for small taps. Move the track in tiny increments, checking the gap as you go. The goal is to bring the track close enough that the door sits snugly against the seal without binding. If you push too far, the door may rub or stick when it moves. Take your time and aim for a smooth, even fit along the entire length of the track.
Step 6: Check the Door for Level
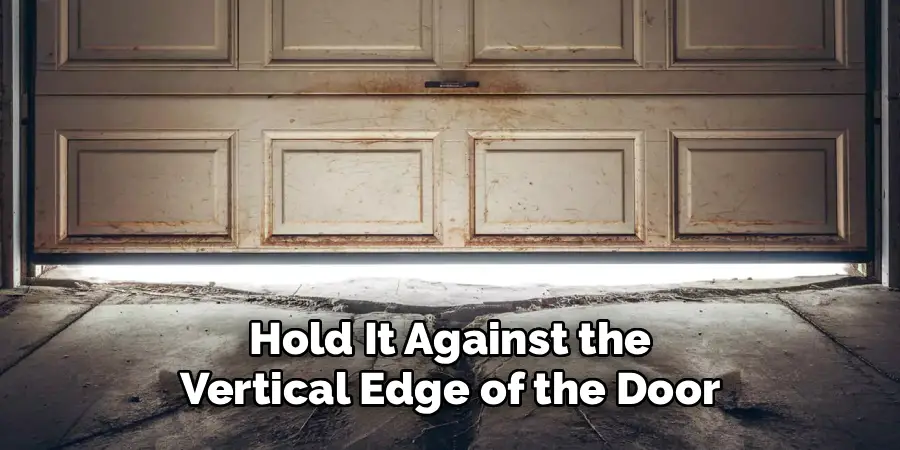
Grab your level and hold it against the vertical edge of the door. The door should be perfectly plumb, meaning straight up and down. If it leans to one side, the top and bottom gaps won’t match. Adjust the track position until the level shows the door is even. A door that hangs crooked is one of the most common causes of uneven side gaps. Correcting this now saves you from having to redo the seal work later.
Step 7: Tighten the Brackets
Once the track is in the right position and the door is level, tighten the bracket bolts back down. Turn them clockwise with your wrench until they’re snug and secure. Don’t overtighten, as this can strip the bolt or crack the bracket. Give each bolt a firm turn and then double-check that the track hasn’t shifted during tightening. A secure track holds your adjustment in place and prevents the gap from reopening over time.
Step 8: Inspect and Replace the Weather Stripping
Turn your attention to the weather stripping along the sides of the door frame. This flexible seal fills the small gap between the door and the frame. If it’s cracked, brittle, or torn, it won’t do its job. Peel off the old stripping and measure the length you need. Cut new weather stripping to size and press or nail it into place along the frame. Make sure it presses lightly against the door when closed. Fresh weather stripping often makes the biggest difference in sealing side gaps.
Step 9: Lubricate the Moving Parts
Spray a silicone-based lubricant on the rollers, hinges, and tracks. This keeps everything moving smoothly and prevents the door from sticking against the newly adjusted track or seal. Wipe away any excess with a clean rag so it doesn’t drip or attract dust. Proper lubrication also reduces noise and extends the life of your door’s hardware. Avoid using grease or oil, which can gum up over time and collect grime.
Step 10: Test the Door and Reconnect Power
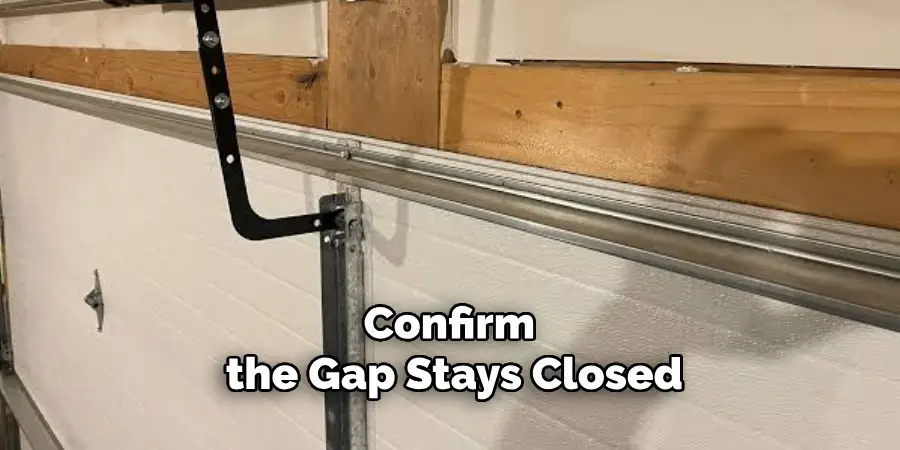
Manually open and close the door a few times to make sure it moves freely without rubbing or sticking. Check the side gaps once more to confirm they’re sealed. When you’re satisfied, reconnect the opener to the door using the manual release, then restore power at the breaker or plug it back in. Run the opener through a full cycle. Watch the door as it moves and confirm the gap stays closed. If everything looks good, your adjustment is complete.
5 Things You Should Avoid
Even a straightforward project can go wrong if you overlook a few key points. Keep these mistakes off your list:
- Skipping the power disconnect. Working on a door with the opener still active is dangerous. Always disconnect the power first.
- Forcing the track too far. Pushing the track past its proper position causes the door to bind. Move it in small steps and test often.
- Overtightening bolts. Cranking bolts too hard can strip threads or crack brackets. Snug is enough.
- Ignoring worn parts. Adjusting the track won’t help if your rollers or weather stripping are shot. Replace damaged parts as you go.
- Using the wrong lubricant. Grease and household oils attract dirt and gum up hardware. Stick with a silicone-based spray made for garage doors.
Avoiding these pitfalls keeps your project safe and helps your fix last.
Conclusion
A garage door side gap might seem like a minor issue, but it can affect your comfort, security, and energy bills more than you’d expect. The good news is that fixing it doesn’t require special skills or expensive equipment. With a few common tools and the ten steps in this guide, you can bring your door back into alignment and seal out drafts, pests, and moisture.
Remember to prioritize safety by disconnecting the power before you begin, and take your time making small adjustments rather than rushing. Replacing worn weather stripping and lubricating moving parts will keep your door working smoothly for years. Steer clear of the common mistakes we covered, and check your door twice a year to stay ahead of any new gaps.
Hopefully, this guide on how to adjust a garage door side gap has provided you with the knowledge and confidence to tackle door alignment and weather stripping maintenance on your own.

I am Rick. I grew up helping my dad with his handyman service. I learned a lot from him about how to fix things, and also about how to work hard and take care of business. These days, I’m still into fixing things- only now, I’m doing it for a living.
I’m always looking for new ways to help people grow and develop. That’s why I have created this blog to share all my experience and knowledge so
that I can help people who are interested in DIY repair.