
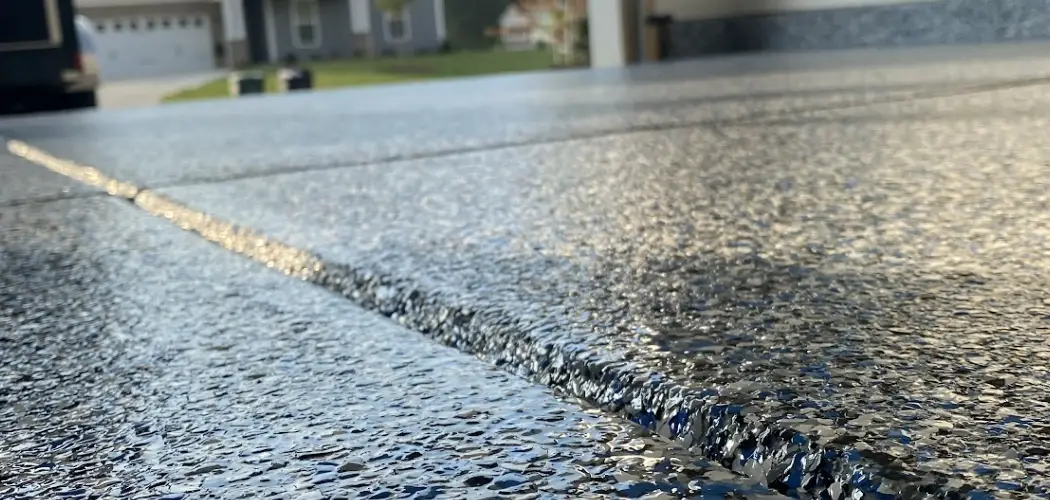
A slippery garage floor is more than an annoyance. It’s a hidden hazard waiting to cause a nasty fall. Whether it’s oil drips from your car, rainwater tracked in on your shoes, or a smooth concrete surface that turns treacherous when wet, a slick floor puts you, your family, and your belongings at risk. One wrong step while carrying a heavy box or working under the hood, and you could end up with a serious injury.

The good news? You don’t have to live with a dangerous garage floor. With a few simple techniques and the right materials, you can transform a slippery surface into one that offers reliable grip in any condition.
This guide on how to make garage floor less slippery walks you through everything you need to know, from the benefits of a non-slip floor to a step-by-step process anyone can follow. Let’s dig in and make your garage a safer place to walk, work, and store your gear.
What are the Benefits?
Improving the traction of your garage floor delivers real, lasting value. Here are the biggest reasons to tackle this project:
- Fewer accidents and injuries. The most obvious benefit is safety. A non-slip floor dramatically lowers the chance of slips, trips, and falls. This matters most for children, older adults, and anyone carrying heavy or awkward items.
- Better protection for your vehicle. Slippery floors don’t just affect people. Tires can lose grip on smooth, wet concrete, making it harder to park or maneuver in tight spaces. Added traction keeps your car steady.
- Longer-lasting floor. Many anti-slip treatments also seal and protect the concrete underneath. This shields your floor from oil stains, moisture damage, and cracking, extending its life for years.
- Easier cleaning and maintenance. Sealed and coated floors resist stains and are simpler to wipe down. Spills stay on the surface instead of soaking into porous concrete.
- Higher property value. A clean, safe, well-finished garage adds to the appeal of your home. Buyers notice the small details, and a maintained garage signals a cared-for property.
- Peace of mind. Knowing your floor is safe lets you focus on the task at hand, whether that’s a weekend project, unloading groceries, or letting the kids play nearby.
What Will You Need?
Before you start, gather your tools and materials. Having everything ready makes the job smoother and faster. Here’s your checklist:
- Stiff-bristle broom – for sweeping away loose dirt and debris
- Pressure washer or garden hose – for deep cleaning
- Degreaser or concrete cleaner – to remove oil and grime
- Scrub brush with a long handle – for tough spots
- Anti-slip floor coating or epoxy – the core product for traction
- Anti-slip additive (silica sand or aluminum oxide) – to mix into coatings
- Non-slip mats or rubber tiles – for a no-coating option
- Paint roller and tray – for applying coatings evenly
- Painter’s tape – to protect walls and edges
- Safety gear – gloves, goggles, and a dust mask
- Fans or open windows – for ventilation while products dry
- Etching solution (muriatic acid or concrete etcher) – to prep smooth concrete, if needed
Buy a little extra coating and additive so you don’t run short mid-project. Read all product labels before you begin.
10 Easy Steps on How to Make Garage Floor Less Slippery
Step 1: Clear the Entire Garage Floor
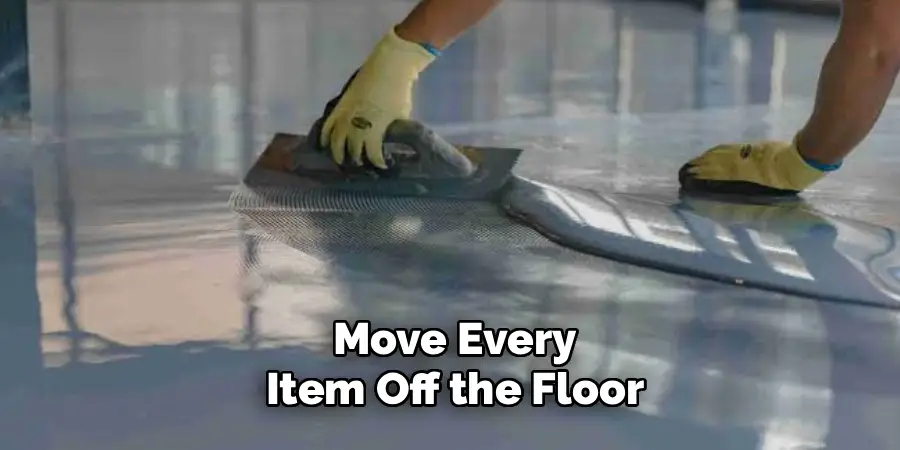
Start with a blank slate. Move every item off the floor, including cars, tool chests, storage bins, and shelving units if possible. You need full access to the surface to clean and treat it properly. A cluttered floor makes it impossible to reach corners and edges where grime often hides. Take this chance to declutter and donate anything you no longer use. Once the floor is empty, you’ll have a clear view of problem areas like oil stains, worn spots, and cracks that need attention.
Step 2: Sweep Away Loose Dirt and Debris
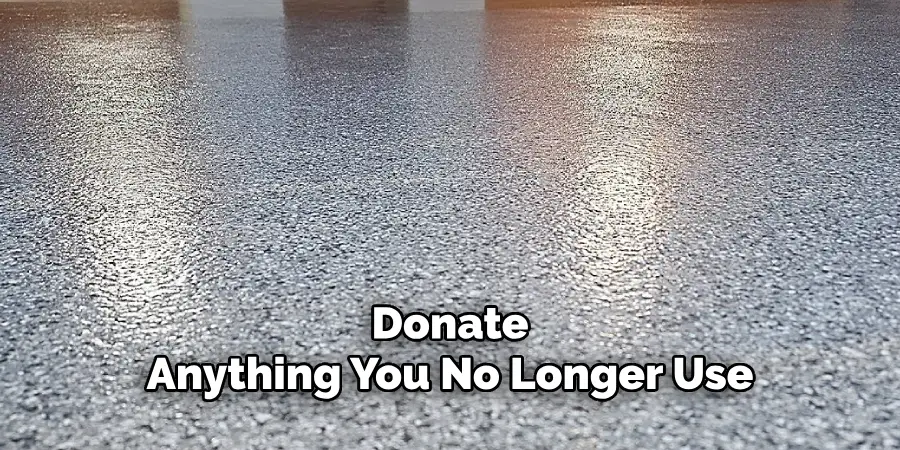
Grab your stiff-bristle broom and sweep the whole floor. Get into the corners and along the walls where dust and leaves collect. Remove any loose gravel, dried mud, or bits of debris. This step matters because dirt left behind can interfere with cleaning products and coatings. If you skip it, you may seal grit into the surface, creating uneven bumps. For a thorough job, follow up with a shop vacuum to pick up fine dust the broom leaves behind.
Step 3: Tackle Oil and Grease Stains
Oil and grease are the biggest culprits behind a slippery garage floor. Apply a quality degreaser directly to stained areas and let it sit for the time listed on the label. Then scrub hard with a long-handled brush. For stubborn, set-in stains, sprinkle cat litter or baking soda to absorb the oil first, then sweep it up before applying degreaser. Repeat until the stains fade. Clean concrete grips better and helps coatings bond correctly.
Step 4: Deep Clean the Whole Floor
Now clean the entire surface, not just the stained spots. Use a pressure washer for the best results, or a garden hose with a concrete cleaner if you don’t have one. Work in sections, moving from one end to the other so you don’t miss any areas. The goal is a spotless, residue-free floor. This deep clean removes the invisible film of grime that makes concrete slick and prepares it for the next steps.
Step 5: Let the Floor Dry Completely
Patience pays off here. A wet floor will ruin any coating you apply and prevent proper bonding. Open the garage door, set up fans, and let air circulate. Depending on your climate, drying can take anywhere from a few hours to a full day. Check that even the corners and low spots are dry before moving on. Rushing this step is a common mistake that leads to peeling and failure later.
Step 6: Etch the Concrete for Better Grip
Smooth, polished concrete needs roughening so coatings can stick and provide traction. Apply a concrete etching solution according to the directions, wearing gloves and goggles for safety. The etcher opens up the surface pores, creating a slightly rough texture. After the recommended wait time, rinse thoroughly and let the floor dry again. This step is essential for older, glossy floors but can be skipped if your concrete is already porous and rough.
Step 7: Choose Your Anti-Slip Solution
Decide how you want to add traction. You have a few options: an anti-slip epoxy coating, a clear penetrating sealer with grit, or physical additions like rubber mats and tiles. Epoxy offers durability and a finished look. Sealers protect while adding texture. Mats work well for a quick, no-mess fix. Consider your budget, the look you want, and how much traffic your garage gets. Your choice shapes the next steps.
Step 8: Mix in an Anti-Slip Additive
If you’re applying a coating or sealer, boost its grip by mixing in an anti-slip additive like fine silica sand or aluminum oxide. Stir the additive thoroughly into your product following the ratio on the package. This creates a textured surface that keeps feet and tires steady even when wet. Don’t overload the mix, or the surface may feel too gritty and hard to clean. A balanced blend gives the best combination of traction and comfort.
Step 9: Apply the Coating Evenly
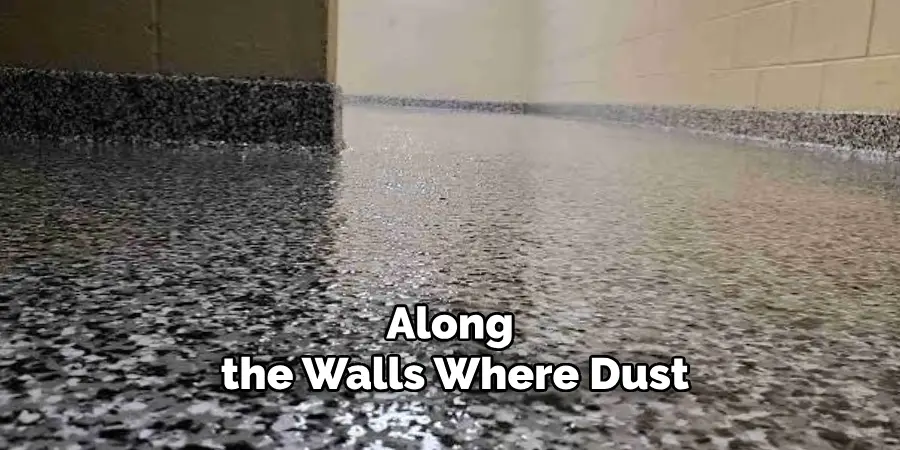
Tape off the walls and edges to keep your lines clean. Pour the coating into a tray and use a paint roller to spread it in thin, even layers. Work in small sections and maintain a wet edge to avoid overlap marks. Apply in the direction that lets you exit toward the door, so you don’t paint yourself into a corner. Follow the product’s guidance on the number of coats and drying time between layers.
Step 10: Cure, Test, and Reload
Allow the coating to cure fully before walking on it or moving items back. Curing can take several days, so resist the urge to rush. Once cured, test the traction by walking across it and splashing a little water to check the grip. When you’re satisfied, move your belongings and vehicle back in. Your garage floor is now safer, cleaner, and ready for daily use.
5 Things You Should Avoid
1. Skipping the cleaning step. Applying any product over dirt, oil, or dust guarantees failure. Coatings won’t bond, and stains will show through. Always start with a spotless floor.
2. Rushing the drying and curing times. Impatience is the top cause of peeling and flaking. Give the floor the full time it needs to dry between steps and to cure at the end.

3. Using the wrong product for your floor. Not every coating suits every surface. Check that your chosen product works with concrete and matches your garage’s moisture level and traffic.
4. Adding too much anti-slip grit. More is not better here. An overly rough surface is hard to sweep, uncomfortable underfoot, and can trap dirt. Stick to the recommended additive ratio.
5. Ignoring ventilation and safety gear. Many coatings and etchers release strong fumes. Working without a mask, gloves, or airflow risks your health. Always ventilate and protect yourself.
Conclusion
A slippery garage floor doesn’t have to be a permanent problem or a lasting danger. By clearing the space, cleaning it thoroughly, and applying the right anti-slip solution, you can create a surface that stays safe in wet and dry conditions alike.
The steps in this guide on how to make garage floor less slippery are straightforward enough for any weekend DIYer, and the payoff is huge: fewer accidents, a longer-lasting floor, and real peace of mind every time you step inside.
Take your time with each stage, especially cleaning and curing, and avoid the common mistakes that trip people up. Whether you go with a full epoxy coating or a quick fix like rubber mats, the important thing is to act before a slip turns into an injury. Your garage should be a place to work and store your gear with confidence. Now you have everything you need to make that happen.

I am Rick. I grew up helping my dad with his handyman service. I learned a lot from him about how to fix things, and also about how to work hard and take care of business. These days, I’m still into fixing things- only now, I’m doing it for a living.
I’m always looking for new ways to help people grow and develop. That’s why I have created this blog to share all my experience and knowledge so
that I can help people who are interested in DIY repair.