
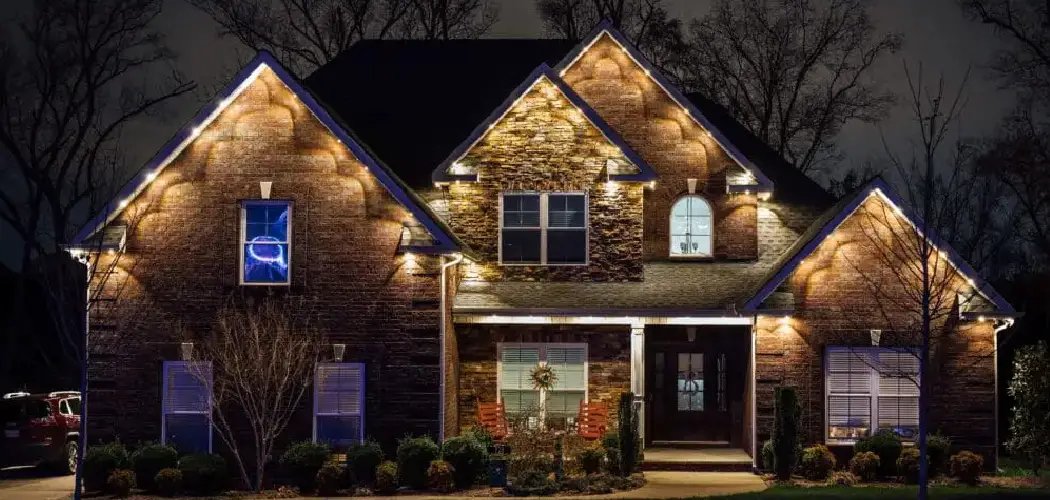
Your garage door is one of the biggest surfaces on the front of your home, yet it often gets overlooked when the holidays roll around. Think about it: most people fuss over their windows, roofline, and front porch while a huge blank canvas sits right in the middle of everything. Decorating your garage door for Christmas is one of the easiest ways to boost your home’s festive charm and make your whole property glow with holiday spirit.
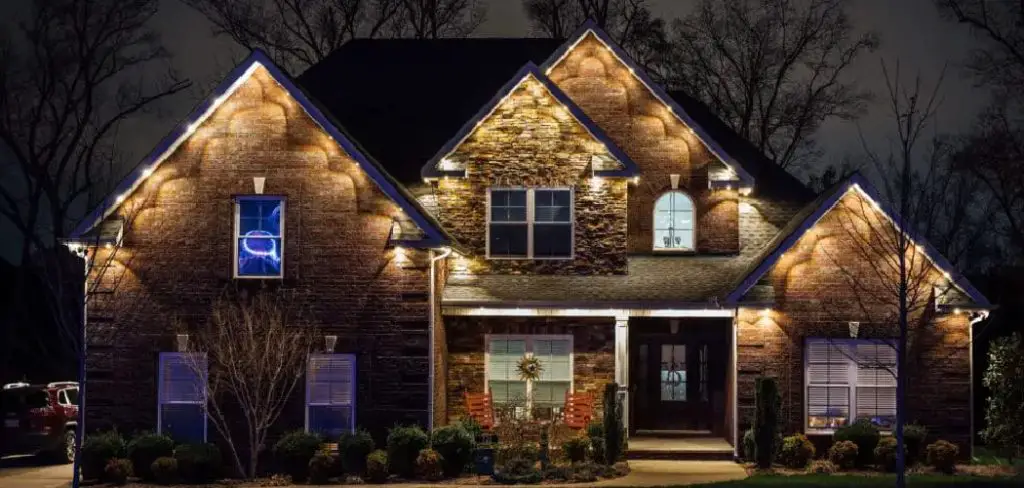
The best part? You don’t need to be a professional decorator or spend a fortune. With a few simple supplies, a bit of planning, and an afternoon of your time, you can turn a plain garage door into a showstopping display that neighbors will slow down to admire.
In this complete guide on how to decorate garage door for christmas, we’ll walk you through everything you need to know. Let’s get started and bring some holiday magic to your home.
What Are the Benefits?
Decorating your garage door does more than just look pretty. There are real perks that make the effort worthwhile, and once you see them, you’ll wonder why you didn’t start sooner.
- It boosts curb appeal instantly. The garage door often takes up 30% or more of your home’s front-facing surface. When you decorate it, you transform the entire look of your house in one move. A festive garage door pulls the whole display together and makes your decorations feel complete.
- It spreads holiday cheer. A cheerful garage door greets everyone who passes by, from your mail carrier to kids walking home from school. Your decorations become a small gift to your neighborhood, brightening people’s days and building that warm sense of community the season is all about.
- It’s budget-friendly. Compared to lighting up your entire roofline or filling your yard with inflatables, a garage door display is often much cheaper. Many decorations can be reused year after year, so your one-time cost stretches across many holidays.
- It’s beginner-friendly. You don’t need special skills or tools. Most projects use magnets, tape, or simple hooks that anyone can handle. This makes it a fun activity for the whole family.
- It sparks creativity and joy. Planning and putting up your display is a satisfying way to get into the holiday mood. Kids especially love helping out, and the finished result gives everyone a reason to smile.
What Will You Need?
Before you dive in, gather your supplies so you’re not running back and forth to the store. Here’s a handy checklist of items that will help you get the job done smoothly:
- Measuring tape – to size up your garage door and plan your design
- Magnetic hooks or clips – perfect for steel doors, no drilling required
- Removable adhesive hooks – great for non-magnetic surfaces
- Christmas lights – LED strands are energy-efficient and stay cool
- Extension cords rated for outdoor use – to power your lights safely
- A wreath or two – classic and eye-catching
- Garland – faux pine or lighted garland adds instant festive flair
- Bows and ribbon – weather-resistant options hold up best outdoors
- Ornaments – shatterproof types work well outside
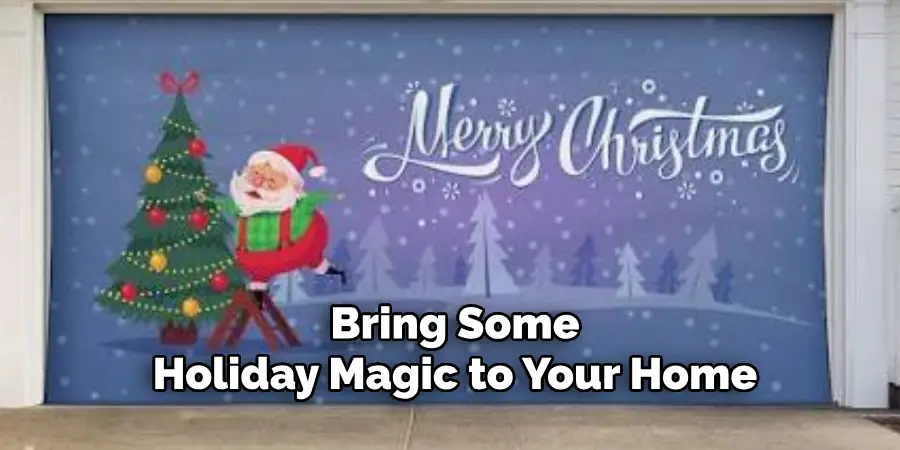
- A garage door cover or mural – for a giant scene like a gift box or snowman
- A sturdy step ladder – to reach the top of the door safely
- Zip ties or floral wire – to secure garland and decorations
- Timer or smart plug – to automate your lights
- Gloves – to keep your hands warm and protected while you work
Having everything ready before you start saves time and keeps your project stress-free.
10 Easy Steps on How to Decorate Garage Door for Christmas
Step 1: Plan Your Design
Start by picturing what you want. Do you love a traditional red-and-green look, or are you drawn to whites and silvers for a snowy feel? Maybe you want your garage door to look like a giant wrapped present. Sketch a quick drawing or search for ideas online, then pick a theme that matches the rest of your home’s decorations. Planning first saves you from buying supplies you won’t use and helps everything come together nicely. Think about your budget too, so you know how far you can stretch your dollars.
Step 2: Measure Your Garage Door
Grab your measuring tape and note the height and width of your door. These numbers matter when you shop for covers, garland lengths, and light strands. A single-car door and a double-car door need very different amounts of material. Write your measurements down or save them in your phone. Accurate measurements mean you buy the right amount the first time and avoid gaps or leftover supplies. This small step makes the rest of the project run much smoother.
Step 3: Clean the Surface
A little cleaning goes a long way. Wipe down your garage door with a damp cloth to remove dust, cobwebs, and grime. Clean surfaces help adhesive hooks stick better and magnets sit flush. If your door is dirty, decorations may fall off or look messy. Let the surface dry fully before you start attaching anything. This quick prep step protects your hard work and keeps your display looking crisp all season long.
Step 4: Test Your Lights
Before you hang a single strand, plug in your lights to check that every bulb works. There’s nothing worse than mounting a full display only to find a dead section. Replace any burnt-out bulbs or fuses now. If you’re using LED strands, confirm they’re rated for outdoor use. Testing early saves you the frustration of taking everything down to fix a problem later. A few minutes here spares you a big headache down the road.
Step 5: Choose Your Attachment Method
How you attach decorations depends on your door’s material. Steel doors work great with magnetic hooks, which won’t leave marks or damage. For aluminum, wood, or fiberglass doors, use removable adhesive hooks instead. Never drill holes into your garage door, as this can harm the panels and interfere with how it opens. Pick the method that fits your door, and gather enough hooks to hold everything securely.

Step 6: Hang the Garland or Border
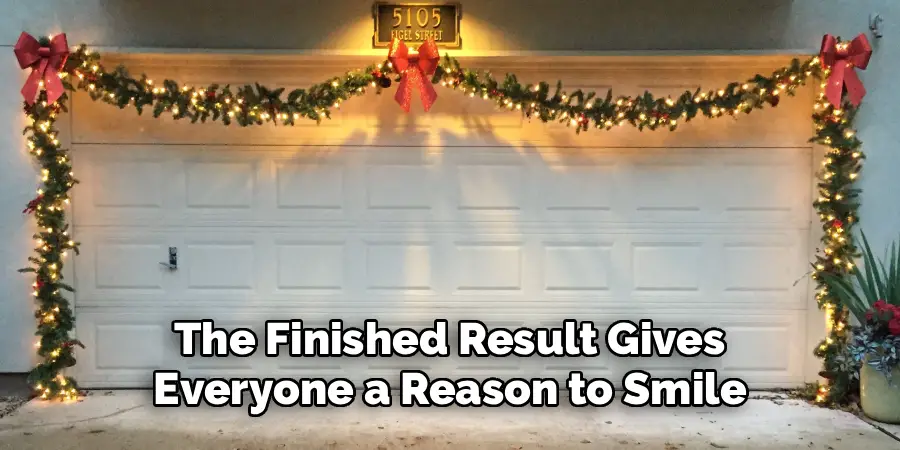
Frame your door first. Attach garland around the edges to create a festive border that instantly defines your display. Use zip ties or floral wire to secure it to your hooks. Work from one corner and move steadily along each side, keeping the garland even as you go. A well-placed border gives your design structure and makes the finishing touches pop. Step back now and then to check that it looks balanced.
Step 7: Add Your Focal Point
Every great display needs a star. This could be a big wreath in the center, a bold bow, or a garage door cover that turns the whole surface into a scene. Center your focal point so it draws the eye right away. If you’re using a cover, smooth it out to remove wrinkles and secure the edges well. This is the piece people will notice first, so take your time getting it just right.
Step 8: Install the Lights
Now bring on the sparkle. String your lights along the garland, around your focal point, or in a pattern across the door. Keep strands neat and avoid overloading any single outlet. Tuck cords out of sight where you can. If you want a twinkling effect, choose strands with a flashing setting. Secure the lights with clips so they stay put in windy weather. Good lighting turns your display from nice to magical.
Step 9: Layer in the Details
With the big pieces in place, add smaller touches to bring everything to life. Hang shatterproof ornaments, tuck in pinecones, or add ribbon accents. These details fill empty spots and give your display depth. Don’t overcrowd, though; leave a little breathing room so each element shines. Stand back often to see how it’s shaping up, and adjust anything that looks off-balance. The little extras make your door feel truly special.
Step 10: Set a Timer and Enjoy
Finish by plugging your lights into an outdoor timer or smart plug. This lets your display turn on and off automatically, saving energy and freeing you from flipping switches every night. Set it to glow through the evening hours when people are most likely to see it. Then step back, admire your work, and enjoy the festive glow. You’ve earned it! Grab a hot drink and soak in your handiwork.

5 Things You Should Avoid
Even a fun project has a few pitfalls. Steer clear of these common mistakes to keep your display safe and looking great.
1. Drilling into your garage door. It might seem like a quick fix, but drilling can damage panels and mess with the door’s balance. Stick to magnets and removable hooks instead.
2. Blocking the door’s movement. Never let decorations, cords, or garland get in the way of the door opening and closing. Heavy items can strain the mechanism or fall when the door moves.
3. Overloading electrical outlets. Plugging too many strands into one outlet is a fire risk. Spread your lights across circuits and use outdoor-rated cords only.
4. Ignoring the weather. Flimsy paper or fabric decorations won’t survive rain, snow, or wind. Choose weather-resistant materials so your display lasts all season.
5. Skipping the cleanup step. Attaching decorations to a dusty door leads to slipping and falling pieces. Always clean the surface first for the best hold.
Conclusion
How to decorate garage door for christmas is a simple project with a big payoff. In just an afternoon, you can transform a plain surface into a cheerful centerpiece that lifts your home’s whole holiday look. From planning your design and gathering supplies to hanging garland, adding lights, and setting a timer, each step brings you closer to a display you’ll be proud of.
Remember to keep safety in mind, choose weather-friendly materials, and avoid the common mistakes we covered. Most of all, have fun with it. Get the family involved, put on some holiday music, and enjoy the process. Your finished garage door will spread joy to everyone who passes by and give you a warm glow of accomplishment every time you pull into your driveway.
So gather your supplies, pick your favorite theme, and get decorating. This year, let your garage door shine as bright as your holiday spirit. Happy decorating, and happy holidays!

I am Rick. I grew up helping my dad with his handyman service. I learned a lot from him about how to fix things, and also about how to work hard and take care of business. These days, I’m still into fixing things- only now, I’m doing it for a living.
I’m always looking for new ways to help people grow and develop. That’s why I have created this blog to share all my experience and knowledge so
that I can help people who are interested in DIY repair.