

There’s nothing quite like the freedom of a garage gym. You skip the crowded commercial spaces, ditch the monthly fees, and work out on your own schedule. But when winter rolls in, that same garage can turn into a freezing box that kills your motivation before you even pick up a dumbbell.

Heating your garage gym changes everything. A warm, comfortable space keeps you training year-round, protects your equipment, and turns your workouts into something you actually look forward to. The good news? You don’t need a fortune or a construction crew to get it done. With the right approach, you can warm up your space efficiently and keep it that way.
This guide on how to heat a garage gym walks you through the benefits, the gear you’ll need, and a clear ten-step process to heat your garage gym the smart way. Let’s get your space ready for serious training, no matter what the thermometer says.
What Are the Benefits?
Heating your garage gym isn’t just about comfort, though that’s a big part of it. Here’s what you gain when you keep the space warm:
- Better performance. Warm muscles are more flexible and responsive. You’ll lift heavier, move faster, and feel stronger when your body isn’t fighting the cold.
- Lower injury risk. Cold muscles and joints are more prone to strains and pulls. A heated space helps you warm up properly and stay loose.
- Year-round consistency. No more skipping workouts because it’s too cold outside. A warm gym removes one of the biggest excuses that derail winter fitness goals.
- Equipment protection. Extreme cold and moisture can rust metal weights, crack rubber flooring, and damage electronics. Heating helps control temperature and humidity, extending the life of your gear.
- Improved focus and mood. A comfortable environment keeps your head in the game. When you’re not distracted by shivering, you train harder and enjoy it more.
- Higher property value. A well-insulated, climate-controlled garage adds appeal if you ever decide to sell your home.
Simply put, a heated garage gym makes training easier, safer, and more enjoyable all winter long.
What Will You Need?

Before you start, gather the right tools and materials. Your exact list depends on your budget and garage setup, but here’s what most people use:
- Insulation materials (foam board, fiberglass batts, or spray foam)
- Weatherstripping and door seals
- A space heater (electric, propane, or infrared)
- A garage door insulation kit
- A programmable thermostat (optional but helpful)
- A dehumidifier (to control moisture)
- Caulk and a caulking gun
- A utility knife
- A tape measure
- Work gloves and safety glasses
- A ceiling fan (to circulate warm air)
- Rubber floor mats (for insulation and comfort)
Having everything ready before you begin saves time and keeps the project moving smoothly.
10 Easy Steps on How to Heat a Garage Gym
Step 1: Assess Your Garage and Set a Budget
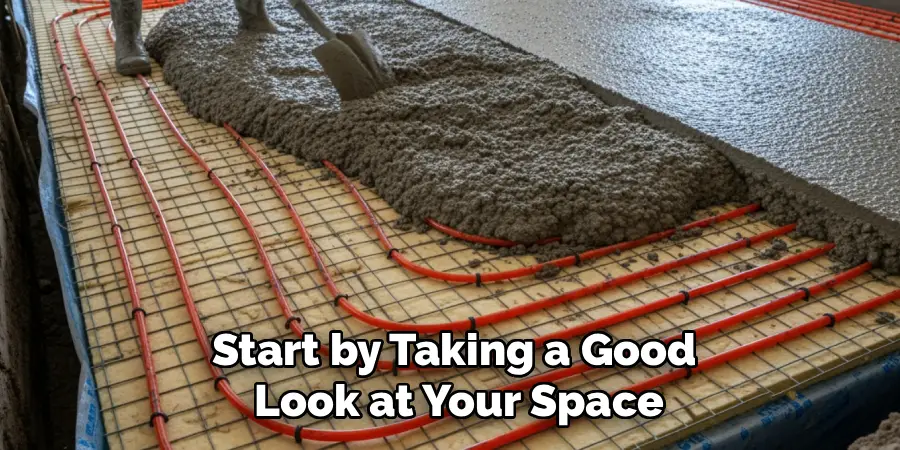
Start by taking a good look at your space. How big is it? Is it attached to your house or standing alone? Are the walls already insulated, or are you staring at bare studs? These details shape every decision you make. Measure the square footage so you can choose a heater with the right output. Then set a realistic budget. You can spend as little as a hundred dollars on a basic setup or invest more in a fully insulated, climate-controlled room. Knowing your numbers upfront keeps the project focused and prevents overspending.
Step 2: Insulate Your Walls
Heat escapes fast through uninsulated walls, so this step delivers the biggest payoff. If your walls are open, install fiberglass batts or foam board between the studs. For finished walls, consider blown-in insulation. Insulation traps the warmth you generate, meaning your heater works less and your energy bills stay lower. Think of it as putting a jacket on your garage. Without it, you’re pumping heat into a space that leaks it right back out. This one step makes every other heating effort far more effective.
Step 3: Insulate the Garage Door

The garage door is often the largest uninsulated surface in the room, and it’s a major source of heat loss. Grab a garage door insulation kit, which usually includes foam or reflective panels that fit into the door’s panels. Installation is straightforward and takes an hour or two. Once installed, your door will hold heat much better and even reduce outside noise. Don’t skip this step. Insulating the walls while ignoring the door is like wearing a coat with the zipper wide open.
Step 4: Seal All Gaps and Cracks
Even with great insulation, small gaps let cold air sneak in and warm air escape. Walk around your garage and look for cracks around windows, doors, and where the walls meet the floor. Apply weatherstripping around the garage door and any entry doors. Use caulk to seal cracks in the walls and around window frames. Pay special attention to the bottom of the garage door, where a good rubber seal keeps drafts out. Sealing these gaps is cheap, quick, and dramatically improves how well your space holds heat.
Step 5: Choose the Right Heater
Now for the main event: picking your heat source. You’ve got a few solid options. Electric space heaters are safe, affordable, and easy to use, making them great for smaller spaces. Infrared heaters warm objects and people directly, so you feel heat almost instantly. Propane heaters pump out serious warmth for large garages but require good ventilation. Match your heater to your garage size and how you plan to use the space. For most home gyms, an electric or infrared heater hits the sweet spot between cost, safety, and performance.
Step 6: Position Your Heater Wisely
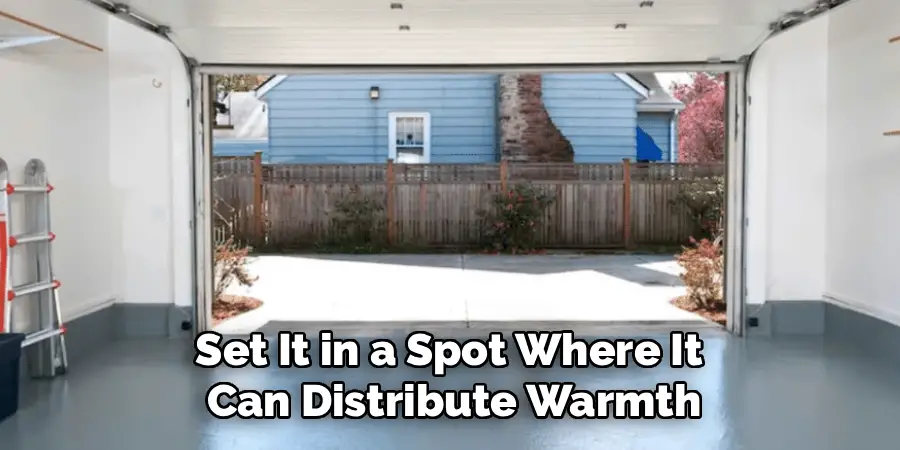
Where you place your heater matters as much as the heater itself. Set it in a spot where it can distribute warmth evenly, ideally near your main workout area but away from anything flammable. Keep it off the floor if possible, or mount it on a wall to save space and improve airflow. Make sure it’s not blocked by equipment or blowing directly on your face while you lift. Good placement means faster warm-ups and more even heat throughout the room.
Step 7: Add a Programmable Thermostat
A programmable thermostat takes the guesswork out of heating. Set it to warm the gym before your usual workout time, so the space is ready when you walk in. You can also program it to lower the temperature when you’re not using the gym, saving energy and money. Some smart thermostats let you control everything from your phone. This small upgrade adds convenience and efficiency, keeping your gym cozy exactly when you need it and cool when you don’t.
Step 8: Improve Air Circulation
Warm air rises and pools near the ceiling, leaving the floor cold. A ceiling fan set to spin clockwise on low pushes that warm air back down where you actually work out. This simple trick makes your heater far more effective and keeps the temperature even from head to toe. If you don’t have a ceiling fan, a small oscillating fan can help move air around too. Better circulation means you feel warmer without cranking the heat higher.
Step 9: Control Moisture and Humidity
Cold garages often battle condensation, which leads to rust on your weights and mold on your walls. Once you start heating, humidity can become an issue. A dehumidifier keeps moisture in check, protecting your equipment and improving air quality. Good ventilation also helps, especially if you use a fuel-burning heater. Keeping humidity balanced makes the space more comfortable and stops your hard-earned gear from corroding over time.
Step 10: Insulate the Floor
Concrete floors sap heat and feel brutally cold underfoot. Lay down rubber gym mats or interlocking foam tiles to create a barrier between your feet and the cold slab. This not only makes the space warmer but also protects your floor and cushions your workouts. Rubber flooring absorbs impact from dropped weights and gives you better traction. It’s the finishing touch that ties your warm, comfortable gym together and makes every session more pleasant.
5 Things You Should Avoid
Even with a solid plan, a few common mistakes can sabotage your efforts. Steer clear of these:
- Ignoring insulation. Buying a powerful heater without insulating first wastes energy and money. Insulation should always come first.
- Using unsafe heaters indoors. Never run a heater that produces carbon monoxide in a closed space without proper ventilation. Safety comes before comfort, always.
- Overloading electrical circuits. Plugging a high-wattage heater into an old or overloaded circuit is a fire hazard. Check your electrical capacity first.
- Leaving heaters unattended. Turning on a space heater and walking away for hours invites trouble. Use timers or thermostats and never leave open-flame heaters running alone.
- Forgetting about moisture. Skipping humidity control leads to rusted equipment and moldy walls. Manage moisture from the start.
Avoiding these pitfalls keeps your gym safe, efficient, and long-lasting.
Conclusion
Turning your cold garage into a warm, inviting workout space is one of the best upgrades you can make for your fitness routine. It comes down to a simple strategy: insulate first, seal every gap, then add the right heat source for your space. From insulating your walls and garage door to choosing a smart heater and controlling moisture, each step builds on the last to create an efficient, comfortable environment.
Remember to keep safety front and center. Avoid overloading circuits, never leave heaters unattended, and manage humidity to protect both yourself and your equipment. With these precautions in place, you’ll have a gym that’s ready whenever you are.
So grab your tools, follow these steps on how to heat a garage gym, and turn that chilly garage into your favorite place to sweat. Your future, stronger self will thank you.

I am Rick. I grew up helping my dad with his handyman service. I learned a lot from him about how to fix things, and also about how to work hard and take care of business. These days, I’m still into fixing things- only now, I’m doing it for a living.
I’m always looking for new ways to help people grow and develop. That’s why I have created this blog to share all my experience and knowledge so
that I can help people who are interested in DIY repair.