
Winter can be tough on your garage. Cold air, melting snow, and rising humidity work together to create a damp, chilly space that’s far from pleasant. If you’ve ever walked into your garage and noticed foggy windows, puddles near the door, or that musty smell hanging in the air, you already know the problem.
The good news? Keeping your garage dry during winter is easier than you might think. With a few simple steps and the right materials, you can protect your space from moisture and enjoy a warmer, cleaner, and healthier garage all season long. Whether you use your garage for parking, storage, or as a workshop, staying dry makes a huge difference.
In this guide on how to keep garage dry in winter, we’ll walk you through everything you need to know. Let’s get started and make sure your garage stays dry all winter long.
What are the Benefits?
Keeping your garage dry during the cold months brings more advantages than you might expect. Here are the key benefits worth knowing:
- Protects your belongings. Moisture damages nearly everything it touches. A dry garage keeps your tools rust-free, your cardboard boxes intact, and your stored items safe from water damage.
- Prevents mold and mildew. Damp spaces are the perfect breeding ground for mold. Mold not only smells bad but can also cause health problems. A dry garage stops mold before it starts.
- Extends the life of your car. Excess moisture speeds up rust and corrosion on your vehicle. Keeping the garage dry helps your car stay in better shape for longer.
- Improves air quality. A damp garage can send musty, unhealthy air into your home. A dry space means cleaner air throughout your house.
- Saves money. When you prevent water damage and mold, you avoid costly repairs and replacements down the road. A little effort now saves big expenses later.
- Creates a comfortable workspace. If you use your garage as a workshop or hobby area, a dry, warm space is far more enjoyable to spend time in.
- Boosts home value. A clean, dry, well-maintained garage adds to your home’s appeal if you ever decide to sell.
What Will You Need?
Before you begin, gather these tools, materials, and supplies. Having everything ready makes the job smoother and faster.
- Dehumidifier
- Weatherstripping
- Garage door threshold seal
- Caulk and caulk gun
- Insulation material
- Concrete sealer
- Squeegee or floor drying mop
- Silica gel packets or moisture absorbers
- Exhaust fan or vent
- Shelving or storage racks
- Space heater
- Hygrometer
- Broom and cleaning supplies
- Rubber floor mats
With these items on hand, you’re ready to tackle each step and keep your garage dry all winter.
10 Easy Steps on How to Keep Garage Dry in Winter
Step 1: Inspect for Leaks and Cracks
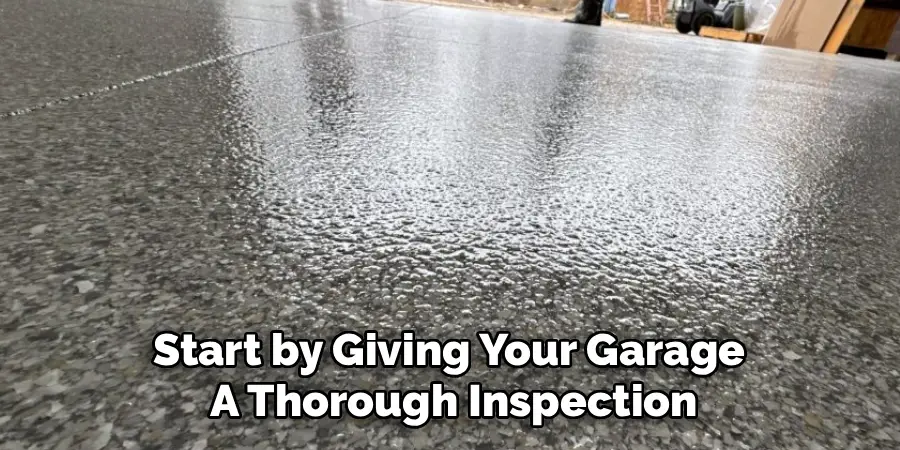
Start by giving your garage a thorough inspection. Walk around and look closely at the walls, floor, ceiling, and around windows and doors. Search for cracks, gaps, or holes where water and cold air can sneak in. Pay special attention to the corners and the base of the walls, since these areas often collect moisture. Check the garage door for worn seals too. Take notes on every problem spot you find. Catching these issues early makes the rest of your work far more effective. A careful inspection now sets the foundation for a dry garage all season.
Step 2: Seal Cracks and Gaps
Once you’ve found the trouble spots, it’s time to seal them. Use caulk to fill small cracks in the walls, floor, and around window frames. For larger gaps, you may need expanding foam. Make sure the surface is clean and dry before applying any sealant, so it sticks properly. Run a smooth bead of caulk along each crack and let it fully cure. Sealing these openings blocks water from entering and keeps cold drafts out. This simple step goes a long way in reducing the moisture that builds up inside your garage during winter.
Step 3: Install Weatherstripping

Doors and windows are common entry points for moisture and cold air. Adding weatherstripping creates a tight seal that keeps the elements outside. Apply adhesive weatherstripping around the edges of your garage’s side door and any windows. For the main garage door, check the seals along the sides and top. Replace any that are cracked, brittle, or worn out. Good weatherstripping not only keeps water out but also helps your garage hold heat better. It’s an inexpensive fix that makes a noticeable difference in comfort and dryness throughout the winter months.
Step 4: Add a Garage Door Threshold Seal
The bottom of your garage door is one of the biggest weak points. Snow, rain, and slush can easily slide underneath and pool on your floor. A garage door threshold seal solves this problem. This rubber strip attaches to the floor where the door meets the ground. It creates a barrier that blocks water, leaves, and pests from getting in. Measure your door width carefully and cut the seal to fit. Once installed, it forms a tight closure every time the door shuts. This small upgrade keeps a surprising amount of water out.
Step 5: Seal the Concrete Floor
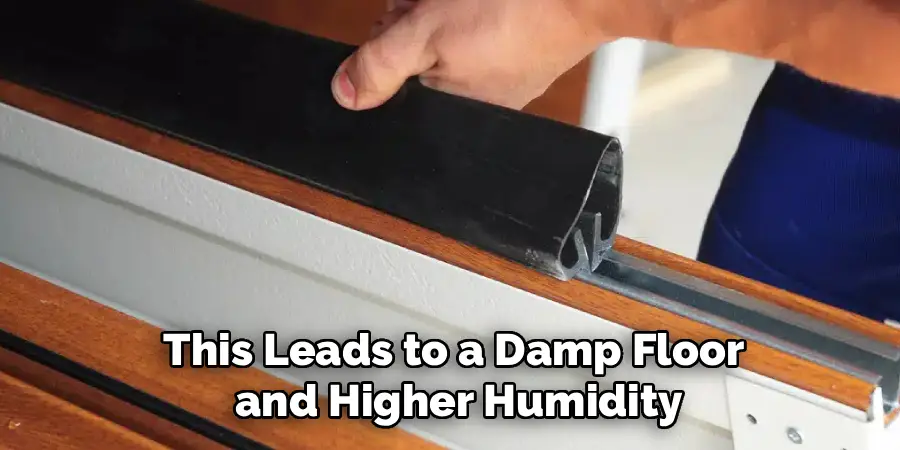
Concrete is porous, which means it soaks up moisture from the ground below. Over time, this leads to a damp floor and higher humidity. Applying a concrete sealer creates a protective layer that stops water from seeping through. Clean the floor thoroughly and let it dry completely first. Then roll or brush on the sealer, following the product instructions. Allow it to cure fully before using the space. A sealed floor resists moisture, stains, and cracking. This step is especially helpful if your garage sits on ground that stays wet during winter.
Step 6: Improve Insulation
Poor insulation lets cold air in and causes condensation when warm and cold air meet. Insulating your garage helps maintain a steady temperature and cuts down on moisture buildup. Add insulation to the walls, ceiling, and even the garage door if possible. Foam board and batt insulation are popular choices. Better insulation keeps your garage warmer and drier while also lowering your heating costs. If you use the space often, insulation makes it far more comfortable. This step works hand in hand with sealing to create a well-protected, dry environment.
Step 7: Use a Dehumidifier
A dehumidifier is one of the most effective tools for fighting garage moisture. It pulls excess water from the air and collects it in a tank or drains it away. Place the dehumidifier in a central spot for the best results. Choose a model sized for your garage’s square footage. Empty the tank regularly, or set up a drainage hose for hands-free operation. Running a dehumidifier keeps humidity levels low, which prevents condensation, mold, and that damp, musty smell. In garages that get very humid, this device can make a dramatic difference quickly.
Step 8: Improve Ventilation
Good airflow is essential for keeping moisture from settling in. Without ventilation, damp air gets trapped and problems grow worse. Install an exhaust fan or add vents to help fresh air circulate. On dry days, open the garage door for a while to let moisture escape. If you have windows, crack them open when the weather allows. Ventilation helps balance the air and speeds up drying after snow or rain. Combined with a dehumidifier, proper airflow keeps your garage feeling fresh and dry, even during the wettest parts of winter.
Step 9: Keep Items Off the Floor
Storing belongings directly on the floor invites water damage. Even a small amount of moisture can ruin boxes, tools, and equipment. Install shelving units and storage racks to lift your items up and away from potential puddles. Use plastic bins with lids instead of cardboard, since plastic resists water. Keeping the floor clear also makes it easier to spot and clean up any water that does appear. Organized, elevated storage protects your things and helps you maintain a dry, tidy garage all winter long. It’s a simple habit with lasting benefits.
Step 10: Dry Wet Spots Quickly
Even with the best prevention, some water will find its way in. When it does, act fast. Use a squeegee, mop, or towel to remove standing water as soon as you notice it. Wipe down any wet surfaces, and dry off your car before parking if it’s covered in snow. The longer water sits, the more damage it can cause. Make it a habit to check your garage regularly during winter. Quick cleanup stops small problems from turning into big ones and keeps your dry garage in great shape.
5 Things You Should Avoid
Even with good intentions, a few common mistakes can undo your hard work. Steer clear of these to keep your garage dry.
- Ignoring small leaks. A tiny crack might seem harmless, but water always finds a way. Fix leaks right away before they grow into larger, costlier problems.
- Blocking airflow completely. Sealing your garage is important, but cutting off all ventilation traps moisture inside. Balance sealing with proper airflow for the best results.
- Storing wet items inside. Bringing in snow-covered gear, damp tools, or wet clothing adds moisture to the air. Dry these items off before storing them in the garage.
- Skipping the floor sealer. Many people forget that concrete absorbs water from below. Leaving your floor unsealed lets moisture rise up and undermine your other efforts.
- Overlooking regular maintenance. A dry garage needs ongoing care. Don’t set it and forget it. Check seals, empty the dehumidifier, and clean up water throughout the season.
Conclusion
How to keep garage dry in winter doesn’t have to be complicated or expensive. With a little planning and the right approach, you can protect your space from moisture, mold, and cold-weather damage. The key is to seal up gaps, control humidity, improve airflow, and stay on top of maintenance throughout the season.
Remember the ten steps we covered: inspect for leaks, seal cracks, add weatherstripping, install a threshold seal, seal the floor, improve insulation, use a dehumidifier, boost ventilation, keep items off the floor, and dry wet spots fast. Each one plays a part in creating a dry, comfortable garage you’ll be glad to use.
Now it’s your turn. Grab your supplies, follow these steps, and take control of the moisture in your garage.

I am Rick. I grew up helping my dad with his handyman service. I learned a lot from him about how to fix things, and also about how to work hard and take care of business. These days, I’m still into fixing things- only now, I’m doing it for a living.
I’m always looking for new ways to help people grow and develop. That’s why I have created this blog to share all my experience and knowledge so
that I can help people who are interested in DIY repair.