
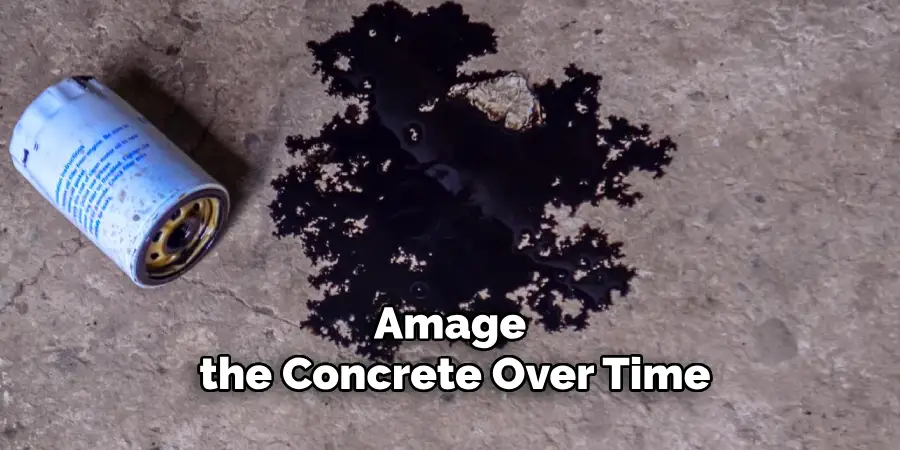
Few things spoil the look of a tidy garage like a dark, greasy oil stain spreading across the concrete. Whether it came from a leaky engine, a spilled oil bottle, or years of parking a well-loved vehicle, oil has a stubborn way of soaking deep into porous surfaces. And once it settles in, it doesn’t just look bad. It can make your floor slippery, give off a lingering smell, and even damage the concrete over time.
The good news? You don’t need to live with those unsightly marks. With the right approach and a little patience, you can lift oil stains from your garage floor and bring back a clean, safe surface. Some stains come up quickly, while older ones need a bit more effort. Either way, the process is simple once you know what to do.
This guide on how to clean oil garage floor walks you through everything, from the tools you’ll need to a step-by-step cleaning method. By the end, you’ll feel confident tackling any oil stain, fresh or old.
Benefits of Cleaning Oil from Your Garage Floor
Removing oil isn’t just about looks. A clean garage floor brings real, practical advantages that make the effort worthwhile.
- A safer space. Oil creates slick spots that can lead to slips and falls. Clearing it out keeps you and your family safe.
- A better-looking garage. Clean concrete instantly makes your whole garage feel neater and more inviting.
- Longer-lasting concrete. Oil slowly breaks down concrete and can weaken the surface. Removing it helps your floor last for years.
- No more bad smells. Oil gives off a strong, unpleasant odor. A thorough cleaning freshens up the air.
- Higher home value. A spotless garage adds appeal if you ever decide to sell your home.
- Protection for your belongings. Oil can spread to shoes, tools, and boxes stored nearby. Cleaning it stops the mess from traveling.
Even a small effort delivers big rewards. A clean floor simply makes your garage a more pleasant place to work and store things.
What Will You Need?
Before you start, gather your supplies. Having everything ready saves time and keeps the job moving smoothly. Here’s what you’ll want on hand:
- Cat litter, baking soda, or cornstarch – to absorb fresh oil
- A stiff-bristled scrub brush – for working cleaner into the concrete
- Dish soap or a commercial degreaser – to break down the oil
- Baking soda and white vinegar – natural options for lighter stains
- A putty knife or plastic scraper – to lift dried gunk
- Paper towels and old rags – for blotting and wiping
- A bucket – for mixing cleaning solutions
- A garden hose or pressure washer – for rinsing
- Rubber gloves and safety goggles – to protect your skin and eyes
- Old clothes – ones you won’t mind getting dirty
- Cardboard or a tarp – to protect nearby items
You may not need every item for every stain. Fresh spills call for absorbents, while set-in stains need degreasers and scrubbing power. Choose based on the job in front of you.
10 Easy Steps on How to Clean Oil Garage Floor
Follow these steps for the best results. Take your time, and don’t rush the drying and rinsing stages. Patience pays off.
Step 1: Assess the Stain
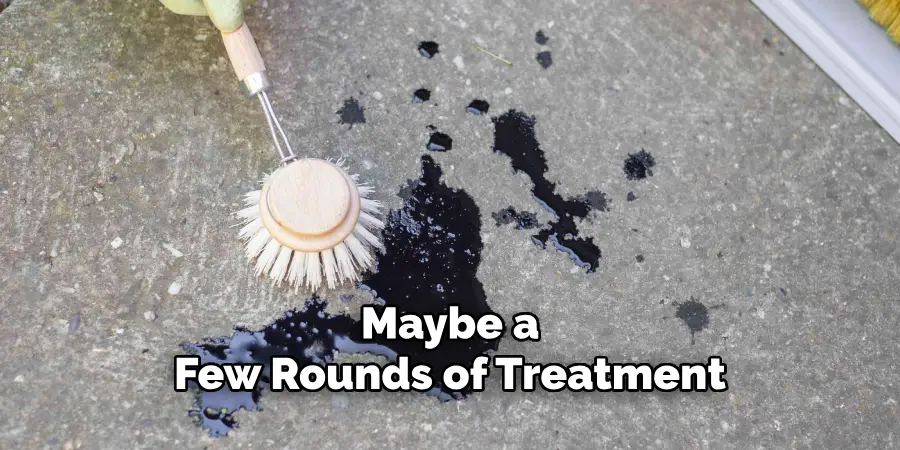
Start by taking a good look at the oil stain. Is it fresh and shiny, or old and darkened into the concrete? Fresh spills sit on top of the surface, while older stains have soaked deep into the pores. This matters because it shapes your whole approach. A fresh spill might come up with a quick blot and some soap. An old, crusty stain will need soaking, scrubbing, and maybe a few rounds of treatment. Knowing what you’re dealing with helps you pick the right supplies and set realistic expectations. Give the area a light touch (with gloves on) to feel how thick or dry the oil is.
Step 2: Protect Yourself and the Area
Before you dive in, put on your rubber gloves and safety goggles. Cleaning agents and oil can irritate your skin and eyes, so protection matters. Wear old clothes too, since splashes are likely. Next, clear the space around the stain. Move any tools, boxes, or storage bins out of the way so they don’t get splashed with oil or cleaner. If you can’t move something, cover it with cardboard or a tarp. Good ventilation is also important, especially if you’re using a strong degreaser. Open the garage door and any windows to keep fresh air flowing while you work.
Step 3: Blot Up Fresh Oil
If the stain is fresh, act fast. Grab paper towels or old rags and gently blot the oil. Press down to soak up as much as you can, but don’t wipe or smear it. Wiping only spreads the oil into a wider area and pushes it deeper into the concrete. Blotting lifts it away cleanly. Keep swapping to fresh towels until you’re picking up very little oil. The more you remove now, the easier the rest of the job becomes. Dispose of the oily towels safely, since they can be a fire hazard if left in a pile.
Step 4: Apply an Absorbent Material
For fresh spills or oil that’s still a little wet, cover the area with an absorbent material. Cat litter works great, but baking soda, cornstarch, or sawdust do the job too. Spread a generous layer right over the stain, making sure it fully covers the oily spot. If the litter is coarse, crush it a bit first so it draws out more oil. Then walk away and let it sit. The absorbent needs time to pull the oil out of the concrete, so leave it in place for several hours or even overnight for tough stains.
Step 5: Sweep Away the Absorbent
Once the absorbent has done its work, it’s time to clean it up. Use a broom and dustpan to sweep away the litter or powder. You should notice it looks darker where it soaked up the oil. Scoop everything into a bag and toss it in the trash. Don’t sweep it down a drain, since oily waste can clog pipes and harm the environment. Take a look at the stain now. Lighter marks might be nearly gone, while deeper stains will still show. That’s normal, and the next steps will handle what’s left.
Step 6: Scrub with Dish Soap or Degreaser
Now attack the remaining stain directly. For lighter marks, squirt some liquid dish soap on the spot. For tougher stains, use a commercial degreaser made for concrete. Pour a small amount of warm water over the area, then work the soap or degreaser in with your stiff scrub brush. Scrub in circles using firm pressure, letting the bristles reach into the concrete’s pores. Keep at it for several minutes. The soap breaks down the oil so it can lift away from the surface. Add more cleaner if the area starts to dry out during scrubbing.
Step 7: Try a Baking Soda Paste
For stains that resist soap, mix up a baking soda paste. Combine baking soda with a little water until it forms a thick, spreadable paste. Slather it over the stain and let it sit for about 30 minutes. Baking soda is a gentle abrasive that pulls oil from the concrete without harsh chemicals. For an extra boost, pour a bit of white vinegar over the paste. It’ll fizz, which helps loosen grime. After it settles, scrub the area again with your brush. This natural method works well on smaller, moderate stains.
Step 8: Let It Sit
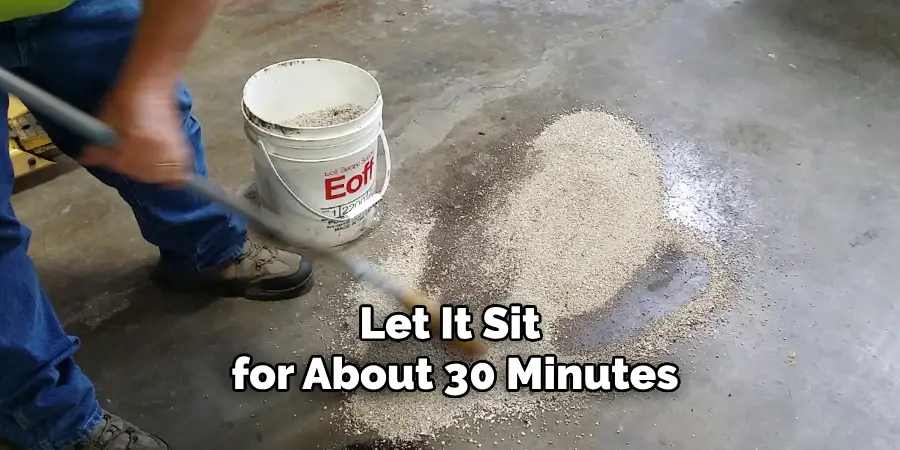
Patience is key with stubborn stains. After scrubbing with your cleaner of choice, let the solution sit on the concrete for 15 to 30 minutes. This dwell time gives the cleaner a chance to keep breaking down the oil below the surface. Don’t let it dry out completely, though. If it starts drying, mist a little water on top to keep it active. For deep, old stains, you might repeat the soak-and-scrub cycle two or three times. Each round pulls out a little more oil. Resist the urge to rush this part.
Step 9: Rinse Thoroughly
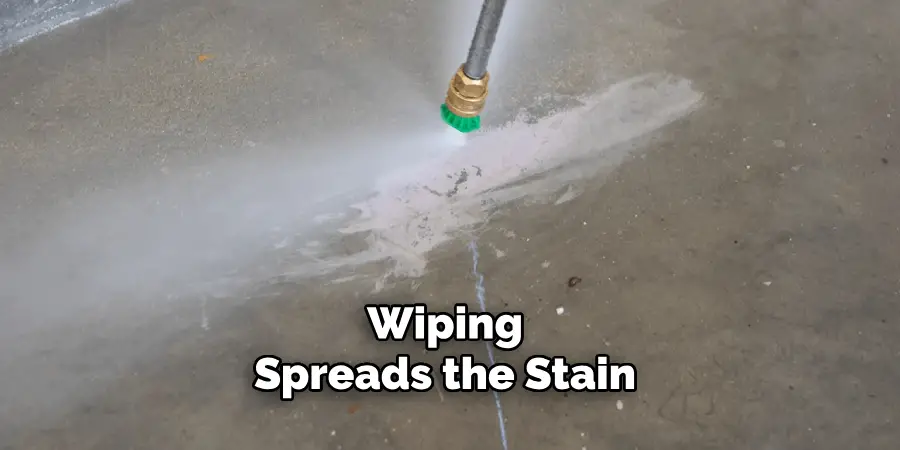
Once you’ve scrubbed and soaked, rinse the area well. Use a garden hose to wash away the loosened oil and cleaner. If you have a pressure washer, even better, since the extra force blasts residue out of the concrete’s pores. Aim the water at the stain and work outward to push the mess away. Keep rinsing until the water runs clear and you no longer see soap or oil. Be mindful of where the runoff goes. Try to keep oily water out of storm drains and away from garden beds.
Step 10: Dry and Inspect
Let the floor air dry fully, which may take a few hours. Once dry, take a close look at the results. Many stains will be gone or greatly faded. If a shadow of the stain remains, don’t worry. Simply repeat the cleaning process from Step 6. Deep stains often need a second or third treatment to disappear completely. When you’re happy with the result, you’re done. To keep your floor looking great, consider sealing the concrete afterward. A good sealant makes future spills much easier to clean.
5 Things You Should Avoid
Steer clear of these common mistakes to protect your floor and get the best results.
- Don’t wipe fresh oil. Wiping spreads the stain and pushes oil deeper. Always blot instead.
- Don’t use gasoline or harsh solvents. They’re dangerous, flammable, and can damage the concrete. Stick to soap and proper degreasers.
- Don’t skip safety gear. Bare hands and unprotected eyes invite irritation. Always wear gloves and goggles.
- Don’t rinse oil into storm drains. Oily runoff harms the environment and may break local rules. Dispose of waste responsibly.
- Don’t give up too soon. Old stains need multiple treatments. One round rarely clears deep oil, so be patient and repeat.
Avoiding these slip-ups saves you time, money, and frustration in the long run.
Conclusion
Oil stains might look permanent, but they don’t have to be. With the right supplies and a bit of elbow grease, you can restore your garage floor to a clean, safe, and welcoming surface. The key is matching your method to the stain. Fresh spills need quick blotting and absorbents, while old, set-in marks call for soaking, scrubbing, and a little persistence.
Remember to protect yourself, dispose of waste responsibly, and repeat treatments when needed. Don’t let a stubborn stain discourage you. Every round of cleaning pulls out more oil, and the results are worth it.
Hopefully, this guide on how to clean oil garage floor has given you the knowledge and confidence to tackle any garage floor stain that comes your way. But beyond just cleaning, there are also preventative measures you can take to keep your garage floor looking great for years to come.

I am Rick. I grew up helping my dad with his handyman service. I learned a lot from him about how to fix things, and also about how to work hard and take care of business. These days, I’m still into fixing things- only now, I’m doing it for a living.
I’m always looking for new ways to help people grow and develop. That’s why I have created this blog to share all my experience and knowledge so
that I can help people who are interested in DIY repair.