
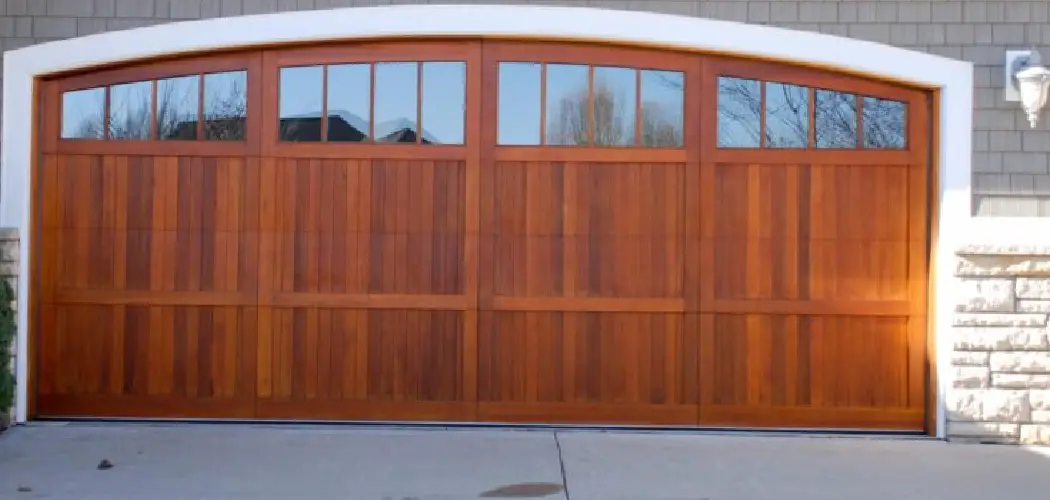
Disable the garage door opener, cut away the rotted jamb section with an oscillating saw, then measure and fit a replacement piece using PVC trim or pressure-treated lumber. Fasten it with exterior-grade screws, seal every joint with exterior caulk, and finish with two coats of exterior paint.
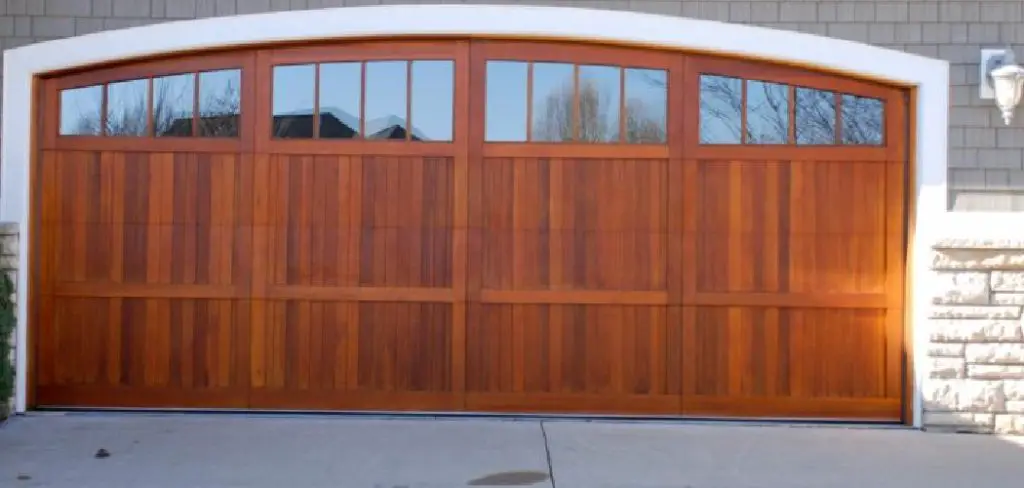
Soft, crumbling wood at the base of your garage door frame is one of those problems that’s easy to ignore until it isn’t. Rain pools against the concrete, snow sits there all winter, and the wood at the very bottom of the jamb quietly breaks down — fiber by fiber — until the whole section is spongy and dark. Left alone, that decay doesn’t stay put. It migrates upward into the wall framing, and what started as a $50 repair becomes something far more complicated.
The good news is that fixing localized rot at the bottom of a garage door frame is a genuine weekend project. You don’t need to tear out the entire entrance. With some careful cutting, the right replacement material, and proper sealing, you can restore both the look and the weather resistance of your frame — and likely save yourself several hundred dollars in contractor fees. In this guide on how to replace rotten wood at bottom of garage door frame, we’ll walk you through the necessary steps to get the job done efficiently and effectively.
How to Identify Rot in a Garage Door Frame?
Start by figuring out exactly how far the damage has spread before you pick up a single tool.
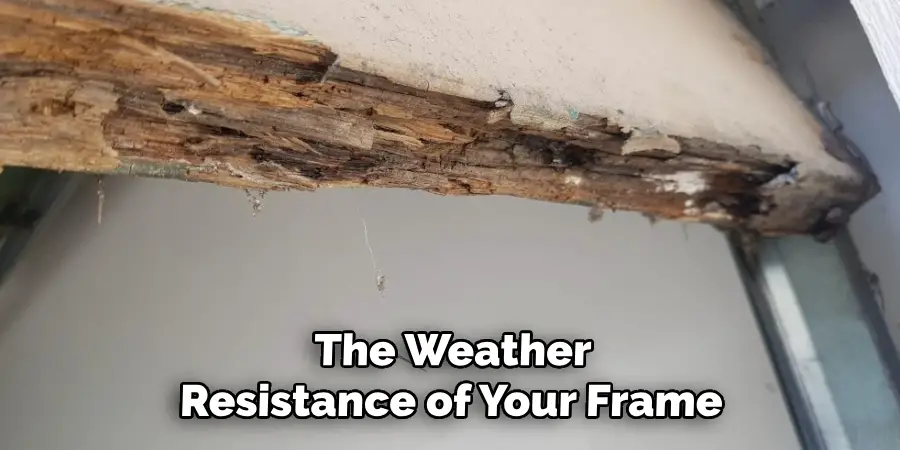
Wood rot almost always begins where the door jamb meets the concrete floor. That seam is a natural trap for standing water and ground moisture, especially if your driveway doesn’t slope away from the garage or your gutters overflow nearby. Look for peeling paint, dark discoloration, or a surface that feels slightly soft when you press it.
To get a clearer read on the damage, take a flathead screwdriver and poke the wood firmly along the bottom section. Healthy wood resists. If the tip sinks in without much effort, fungi have already done real damage to the fibers. Once you find the highest point where the wood still feels soft, mark it with a pencil and add at least an inch above it — that extra margin makes sure you’re cutting into clean, solid material.
Safety Precautions Before You Start
A few precautions are worth taking before you touch anything.
Disconnect the automatic garage door opener from its power source. It might seem like an unnecessary step, but a door that activates unexpectedly while you’re working near the tracks is a serious hazard. Beyond that, wear impact-resistant safety goggles — oscillating saws throw debris — and pull on a pair of heavy-duty work gloves to protect against splinters and exposed fasteners. A basic dust mask is also smart here, since cutting into rotten wood releases fungal spores and fine particles you’d rather not breathe.
Tools and Materials You’ll Need
Gathering everything before you start saves time and prevents that mid-project hardware store run.
Tools:
- Oscillating multi-tool or hand saw
- Pry bar and claw hammer
- Tape measure
- Miter saw or circular saw
- Sanding block or wood plane
- Caulking gun
- Putty knife
Materials:
- PVC trim board or pressure-treated lumber (matching existing frame dimensions)
- Exterior-grade construction adhesive
- Exterior wood screws or galvanized finish nails
- Two-part wood epoxy or wood hardener
- Wood filler or epoxy putty
- Paintable exterior acrylic latex caulk
- Exterior primer and paint
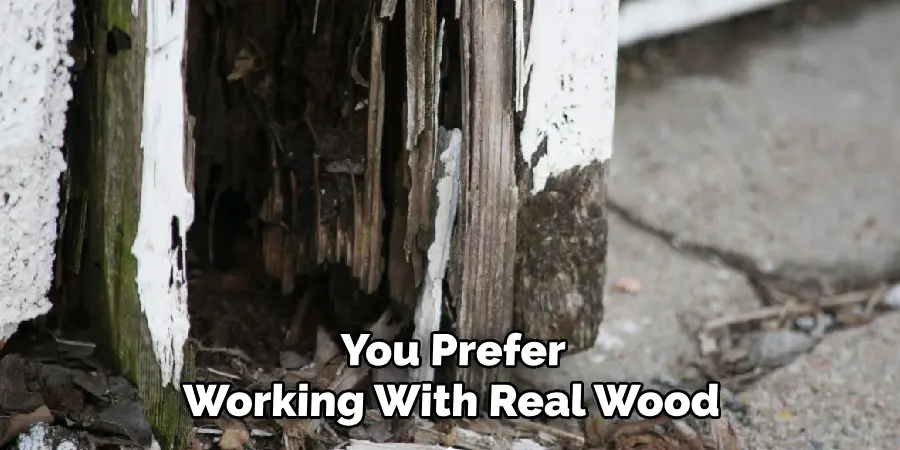
When it comes to replacement material, cellular PVC trim is worth serious consideration. It won’t absorb moisture, won’t rot, and doesn’t attract insects. If you prefer working with real wood, pressure-treated lumber is a solid choice, as are naturally rot-resistant species like cedar.
7 Steps on How to Replace Rotten Wood at Bottom of Garage Door Frame
Step 1: Remove the Rotten Wood Section
Using your oscillating multi-tool, make a clean horizontal cut at the pencil mark you made earlier — at least an inch above the highest point of visible rot. A straight, flat cut matters here because it determines how cleanly the replacement piece will seat against the existing frame.
Once the cut is made, work a pry bar behind the damaged section and pull it away from the framing. Go slowly. You want to avoid disturbing the adjacent door tracks or the interior wall structure. Pull out any old nails or fasteners left in the studs, and make sure the surface you’re working against is flat and clear.
Step 2: Clean and Treat the Exposed Area
Before anything else goes in, inspect what’s behind that old trim.
Brush away loose debris and sawdust with a stiff brush or shop vacuum, then look carefully at the structural studs. If the framing shows minor surface moisture damage — not structural failure, just slight softening — apply a liquid wood hardener or copper-based wood preservative directly to those areas. This step tends to get skipped, but it’s what keeps the rot from coming back. Let the treatment dry fully before moving on.
Step 3: Measure and Cut the Replacement Piece
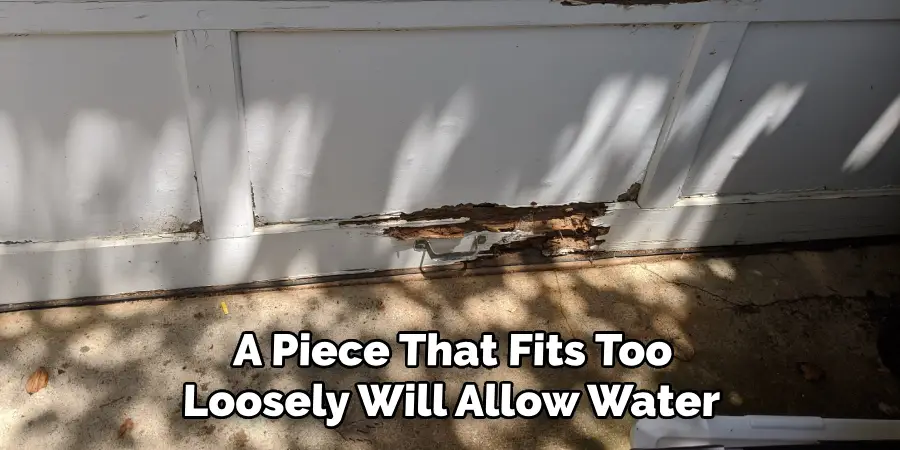
Measure the vertical distance from the concrete floor to the bottom of the healthy wood above, then confirm the width and depth of the existing frame. Measure twice. A piece that fits too loosely will allow water to work its way back in over time.
Transfer those measurements to your replacement material and make your cuts. One thing worth checking: if your concrete floor has a slight slope away from the door for drainage purposes, you may need to angle the bottom edge of the new piece to match. It’s a small detail, but it affects both the fit and the long-term performance of the seal.
Step 4: Test Fit Before Committing
Slide the cut piece into the opening before you reach for any adhesive or fasteners. It should fit snugly — not forced, but not rattling around either. The front face should sit flush with the existing upper frame, and the seam where new meets old should be tight.
If it binds against the concrete, remove the piece and take a little material off with a sanding block or plane. Work in small passes. A proper dry fit takes a few extra minutes but means the finished repair will look clean and hold up the way it should.
Step 5: Fasten the Replacement Piece
Apply a bead of exterior-grade construction adhesive to the back of the new block, then press it into position. Keep the face aligned with the upper jamb as you work.
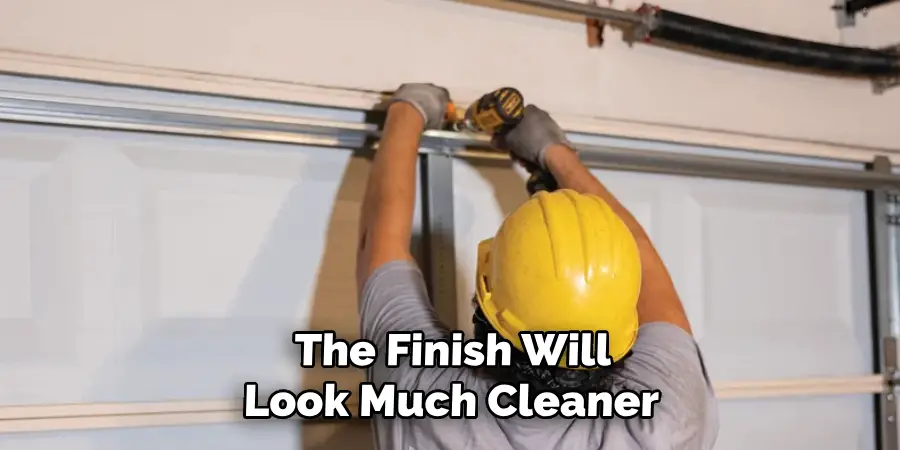
Drive exterior-grade screws or galvanized nails through the face of the trim and into the solid framing behind it, spacing fasteners every few inches to keep the material from warping through seasonal temperature swings. If you’re using screws, countersink the heads slightly below the surface — you’ll fill those later and the finish will look much cleaner.
Step 6: Seal the Joints and Fastener Holes
This step has more impact on the long-term outcome than most people expect.
Fill the countersunk screw holes with exterior wood filler or epoxy putty, smooth it flat with a putty knife, and let it cure. Once it’s set, sand lightly with fine-grit paper until it’s flush with the surrounding surface.
Then load your caulking gun with paintable exterior acrylic latex caulk and run a continuous bead along the horizontal seam between the new and old wood. Add caulk along the vertical edges where the trim meets the siding and where it contacts the weatherstripping. Smooth each bead with a dampened finger, pressing the caulk into the seam so it actually fills the gap rather than just bridging it.
Step 7: Prime and Paint the Repaired Frame
For pressure-treated lumber, apply an exterior primer before painting — it seals the grain and gives the topcoat something solid to bond to. PVC trim generally doesn’t require primer, though it’s worth checking the manufacturer’s guidance for the specific product you used.
Once the primer is dry, apply two coats of exterior acrylic latex paint matched to your existing trim color. A high-density foam roller or a synthetic bristle brush both work well here. Beyond making the repair blend in visually, the paint provides the outermost layer of protection against UV exposure and moisture.
Following these steps on how to replace rotten wood at bottom of garage door frame can help you maintain the structural integrity and aesthetic appeal of your garage.
Common Mistakes to Avoid
Using standard interior lumber for an exterior repair is probably the most common error — it absorbs water quickly and may show signs of decay again within a single season. Equally problematic is placing the new wood so it sits flush against the concrete with no gap.
Leaving about a quarter inch of clearance at the bottom keeps the material from wicking up standing water. Rushing the caulk application, or using a non-exterior-rated product, leaves thin gaps that driving rain will eventually find.
Troubleshooting
Sometimes the rot turns out to go deeper than the trim itself. After removing the damaged section, you might find that the structural stud behind the frame is compromised. If the damage is minor — surface softening rather than structural failure — scraping away the loose material and applying a two-part epoxy consolidant can be enough.
If the stud crumbles and won’t hold a fastener, that’s a different situation. You’ll need to sister a new piece of structural lumber alongside the damaged stud before finishing the cosmetic repair.
When to Call a Professional?
Most trim-level rot repairs are well within the DIY range, but a few situations call for a licensed contractor. If the decay extends more than a couple of feet up the frame, or if it appears to have reached the load-bearing header above the door, the structural integrity of the opening may be at risk.
Similarly, if you open up the frame and find active termite or carpenter ant damage, stop and call a professional. Pest-related structural repairs typically require both remediation and specialized work that goes beyond replacing trim.
Frequently Asked Questions
What is the Best Material to Prevent Garage Door Frame Rot?
Cellular PVC trim is generally the most practical choice for ground-contact areas on a garage door frame. It’s fully synthetic, impervious to moisture, and won’t attract wood-boring insects. If you’d rather work with real wood, pressure-treated lumber or naturally rot-resistant species like cedar or redwood hold up well when properly sealed and maintained.
How Can I Stop Water From Pooling Near My Garage Door?
Drainage and sealing work together here. Confirm that your driveway slopes away from the garage — even a slight grade makes a difference. Keep gutters clear, so roof runoff doesn’t pour directly onto the concrete apron. Adding a rubber threshold seal along the base of the door creates a physical barrier that keeps driven rain from reaching the side frames.
Does Homeowners Insurance Cover Rotted Wood Repairs?
In most cases, no. Standard policies treat wood rot as a maintenance issue — gradual deterioration that the homeowner is expected to prevent and address. Insurance typically covers sudden, accidental water damage, like a burst pipe, rather than long-term weather exposure. The repair cost falls on the homeowner.
Keeping the Repair in Good Shape
Finishing the repair is the start of the maintenance cycle, not the end of it.
Check the bottom of your garage door frames each spring and fall. Look for cracking paint, failing caulk, or any sign that water is pooling on the concrete near the jamb. Touching up the paint and recaulking at the first sign of separation takes maybe 20 minutes and prevents the whole cycle from starting over. Keep those protective layers intact, and the repair should hold for many years. Thanks for reading this guide on how to replace rotten wood at bottom of garage door frame.

I am Rick. I grew up helping my dad with his handyman service. I learned a lot from him about how to fix things, and also about how to work hard and take care of business. These days, I’m still into fixing things- only now, I’m doing it for a living.
I’m always looking for new ways to help people grow and develop. That’s why I have created this blog to share all my experience and knowledge so
that I can help people who are interested in DIY repair.