
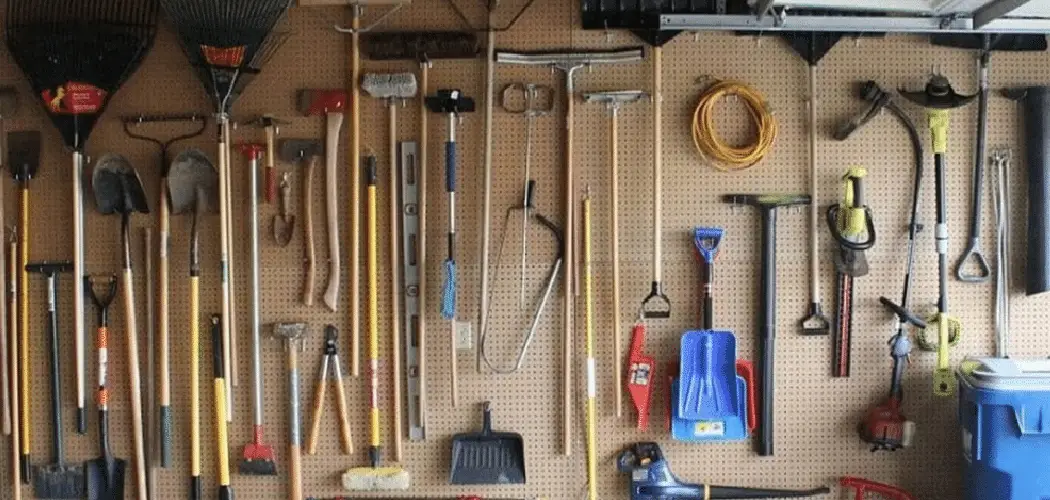
Your garage is more than just a place to park the car. For many of us, it doubles as a workshop, a storage room, and the heart of every weekend project. But if you own power tools, you know how quickly that space can turn into a cluttered mess. Drills pile up on the workbench, cords tangle in the corners, and saws end up buried under boxes. Sound familiar?

Storing your power tools the right way makes a huge difference. It keeps them safe, extends their lifespan, and saves you time when you need them most. A well-organized garage also protects your investment, since quality tools can cost a small fortune to replace.
In this guide on how to store power tools in garage, we’ll walk you through everything you need to know about storing power tools in your garage. Let’s get your garage in order.
What are the Benefits?
Taking the time to store your power tools properly pays off in more ways than one. Here are the biggest reasons to make it a priority.
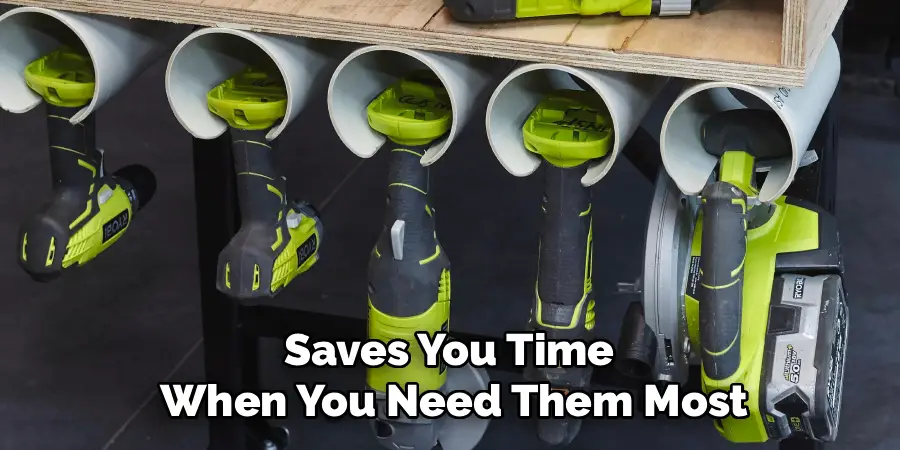
- Longer tool life. Power tools are sensitive to moisture, dust, and temperature swings. When you store them correctly, you protect the motors, batteries, and metal parts from rust and wear. That means your tools last for years instead of failing early.
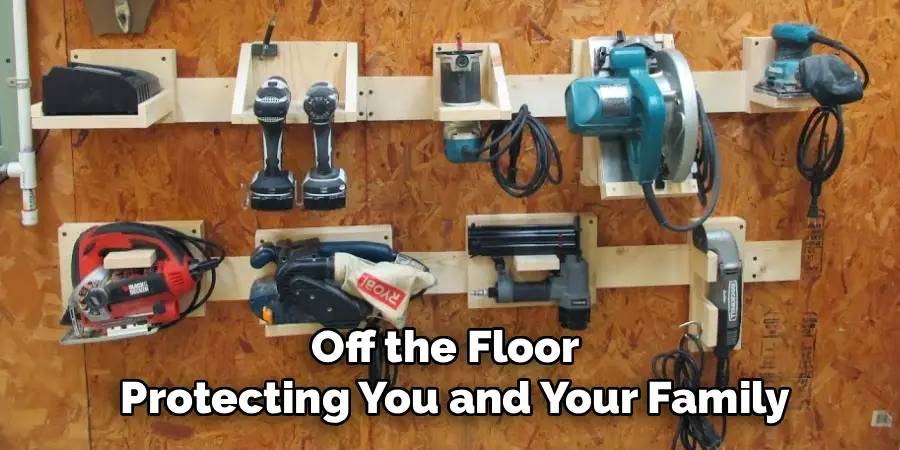
- Better safety. Loose tools and tangled cords are accidents waiting to happen. Sharp blades and heavy equipment left lying around can cause serious injuries. Organized storage keeps dangerous items out of reach and off the floor, protecting you and your family.
- Saves time. Ever spent twenty minutes hunting for your impact driver? A good storage system means every tool has a home. You grab what you need and get straight to work, with no frustrating searches.
- Saves money. When tools are damaged or lost, you end up buying replacements. Proper storage prevents that. You also avoid buying duplicates of tools you already own but simply couldn’t find.
- More usable space. Clearing clutter frees up your garage for other projects, hobbies, or parking. A tidy space feels bigger and much more enjoyable to work in.
- Boosts productivity. When your workspace is clean and organized, you focus better. Everything flows smoothly, and projects get done faster.
What Will You Need?
Before you start, gather the right supplies. Having these items on hand makes the process smooth and simple.
- Wall-mounted pegboards
- Sturdy shelving units
- Tool cabinets or chests
- Wall hooks and brackets
- Storage bins and containers
- Labels and a label maker
- Cord organizers or reels
- Dehumidifier or moisture absorbers
- Original cases
- Cleaning supplies
- Measuring tape and marker
- Screwdriver, drill, and mounting screws
With these supplies ready, you’re set to build a storage system that lasts.
10 Easy Steps on How to Store Power Tools in Garage
Step 1: Empty and Assess Your Space
Start with a clean slate. Remove every tool, box, and item from your garage shelves and workbench. Lay everything out where you can see it. This gives you a clear picture of how many tools you own and how much space you’re working with.
Take a good look at your garage. Note the wall space, ceiling height, and any awkward corners. Measure the areas where you plan to add storage. This assessment helps you plan smart and avoid buying supplies that won’t fit. Spend time here, because a solid start makes the rest of the process much easier.
Step 2: Sort and Declutter Your Tools
Now that everything is out, sort through it all. Group your tools by type: drills, saws, sanders, and so on. As you sort, be honest about what you actually use. Broken tools, duplicates, and items you haven’t touched in years just take up space.
Set aside anything you no longer need. You can sell, donate, or recycle these items. Decluttering now means you only store the tools that matter. This step alone can free up a surprising amount of room and make organizing far simpler.
Step 3: Clean Every Tool Before Storage
Never store a dirty tool. Dust, grime, and moisture cause rust and damage over time. Wipe down each tool with a clean rag. Use a brush to clear sawdust from vents and moving parts.
For metal surfaces, apply a light coat of lubricant to prevent rust. Check the cords for any fraying or damage while you’re at it. Clean tools last longer and work better. Taking a few minutes now protects your investment for years to come.
Step 4: Choose the Right Storage Zones
Divide your garage into zones based on how often you use certain tools. Keep your everyday tools within easy reach, near your workbench. Store seasonal or rarely used tools higher up or in less accessible spots.
Think about workflow. Place related tools together so you can grab everything you need for a job in one spot. Creating zones keeps your garage logical and efficient. You’ll always know exactly where to look.
Step 5: Install Pegboards for Hand-Held Tools
Pegboards are a garage storage classic for good reason. They keep smaller power tools and accessories visible and within reach. Mount a pegboard on an open wall near your work area.
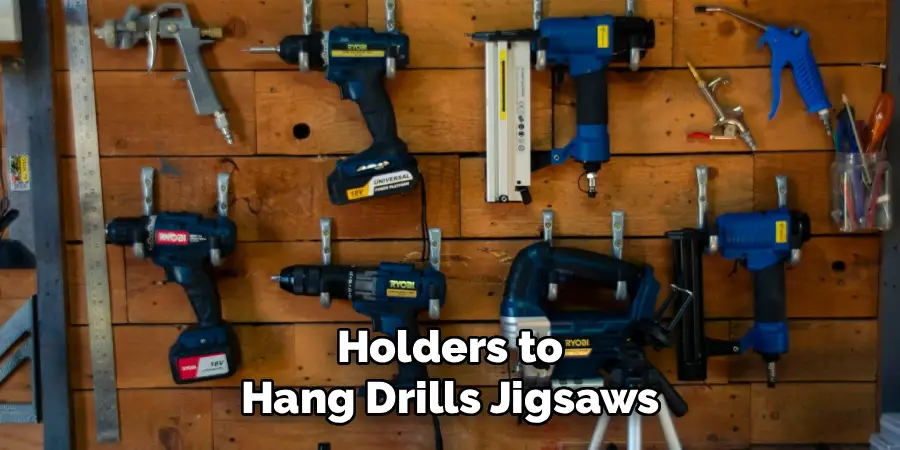
Add hooks and holders to hang drills, jigsaws, and other lightweight tools. Arrange them so you can see everything at a glance. You can even trace outlines around each tool to mark its spot. This makes it obvious when something is missing and encourages you to put items back.
Step 6: Set Up Shelving for Heavier Equipment
Heavier tools like circular saws, planers, and larger sanders need solid support. Install sturdy metal or heavy-duty plastic shelves along a wall. Make sure the shelves can hold the weight without sagging.
Place the heaviest items on lower shelves to prevent tipping and reduce strain when lifting. Keep lighter items up high. Leave enough space between shelves so you can slide tools in and out easily. Strong shelving keeps your big tools safe and organized.
Step 7: Use Cabinets for Valuable or Dangerous Tools
Some tools deserve extra protection. Expensive equipment and anything with sharp blades belongs in a cabinet. Lockable tool cabinets keep dust out and add security, which matters if you have kids around.
Store items like nail guns, routers, and cutting tools behind closed doors. Cabinets also protect sensitive electronics from moisture and dust. Organize the inside with drawers or dividers so each tool has its place. This keeps your most important gear safe and out of harm’s way.
Step 8: Organize Cords and Batteries
Tangled cords are a headache and a safety hazard. Use cord reels, hooks, or Velcro straps to keep them neat. Coil each cord loosely and hang it near its matching tool.
Batteries need special care. Store them in a cool, dry spot away from extreme temperatures. Keep chargers together in one dedicated area so you always know where they are. Label everything clearly. A little effort here prevents frustration and keeps your cordless tools ready to go.
Step 9: Label Everything Clearly
Labels turn a good system into a great one. Use a label maker or simple stickers to mark shelves, bins, and drawers. Write down what goes where, so anyone in your household can find and return tools easily.
Clear labels save time and reduce clutter over the long run. They also make it easy to spot when something is out of place. Take the extra few minutes to label your storage zones. Your future self will thank you.
Step 10: Protect Against Moisture and Dust
Garages can get damp, and moisture is the enemy of power tools. Add a dehumidifier or place moisture-absorbing packets near your tools. This keeps rust at bay and protects electronic components.
Cover tools you rarely use with cloth or store them in their original cases. Keep the garage clean by sweeping regularly and closing doors to block dust. These simple habits protect your tools and keep your storage system in top shape for years.
5 Things You Should Avoid
Even with a great system, a few common mistakes can undo your hard work. Here’s what to steer clear of.
1. Storing tools while dirty. Putting away tools covered in dust or grime leads to rust and damage. Always clean them first. Skipping this step shortens the life of even the best equipment.
2. Ignoring moisture control. A damp garage will destroy your tools over time. Don’t overlook humidity. Without moisture protection, metal parts rust and electronics fail.
3. Overloading shelves. Piling too much weight on flimsy shelves is dangerous. Overloaded shelves can collapse and cause injury. Always check weight limits and use sturdy supports.
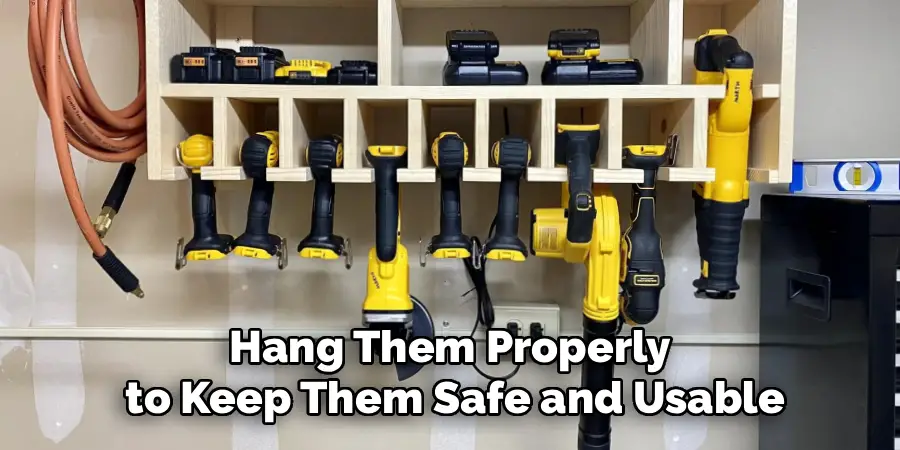
4. Leaving cords tangled. Loose, tangled cords create tripping hazards and can damage over time. Never toss cords in a pile. Coil and hang them properly to keep them safe and usable.
5. Forgetting to lock up dangerous tools. Leaving sharp or powerful tools within easy reach is risky, especially around children. Don’t skip proper storage for hazardous items. Keep them locked away for everyone’s safety.
Conclusion
Storing your power tools the right way transforms your garage from a cluttered mess into an organized, efficient workspace. It’s not just about tidiness. Proper storage protects your investment, keeps you safe, and saves you time on every project.
By following the ten steps in this guide on how to store power tools in garage, you’ll build a system that works for the long haul. Start by clearing out and sorting your tools, then clean them well before putting them away. Set up smart storage zones with pegboards, shelves, and cabinets. Keep cords and batteries organized, label everything clearly, and guard against moisture and dust.
So grab your supplies, set aside an afternoon, and get to work. Your tools, your projects, and your peace of mind will all be better for it. Here’s to a cleaner, safer, and more productive garage.

I am Rick. I grew up helping my dad with his handyman service. I learned a lot from him about how to fix things, and also about how to work hard and take care of business. These days, I’m still into fixing things- only now, I’m doing it for a living.
I’m always looking for new ways to help people grow and develop. That’s why I have created this blog to share all my experience and knowledge so
that I can help people who are interested in DIY repair.