

Bikes piled against the garage wall take up floor space, fall over, and scratch each other every time you reach past them. A wall-mounted horizontal rack solves all of that — and you can build one yourself with basic tools, a few pieces of lumber, and a free afternoon.
Knowing how to build a horizontal bike rack for garage storage is a practical skill that pays off immediately. The result is a sturdy, organized system that holds one bike or several, keeps them off the ground, and frees up floor space for everything else. This guide covers every step from planning and material selection through cutting, assembly, and safe wall mounting — so you can walk into your garage with a plan and walk out with a rack that actually works.
Why Bike Rack For Garage Matters
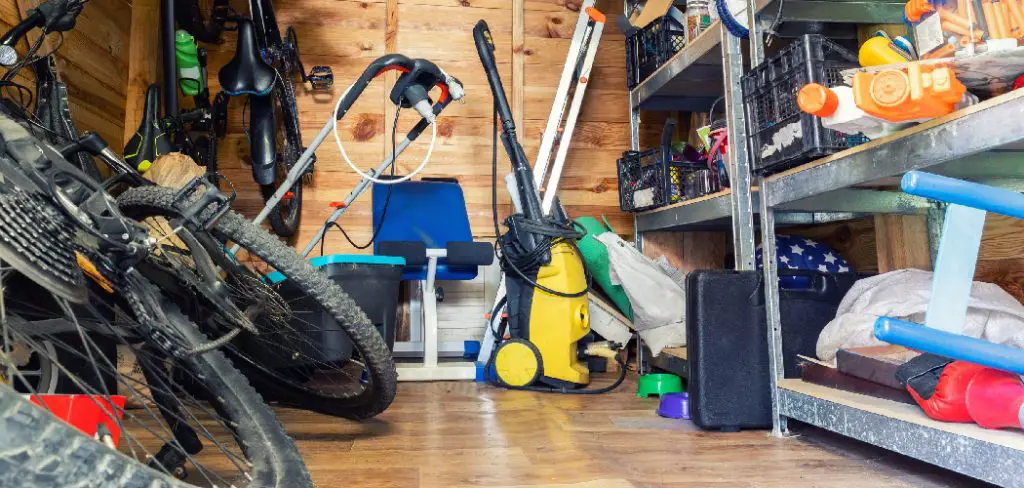
A disorganized garage isn’t just frustrating — it’s a risk. Bikes leaning against walls tip over onto cars, tools, and kids. They scratch frames, bend derailleurs, and create clutter that makes the whole garage harder to use.
Building your own horizontal rack gives you something store-bought options rarely do: a solution sized exactly for your bikes, your wall space, and your budget. You control the spacing, the height, the number of bikes it holds, and the finish. A well-built rack also distributes weight evenly along the wall, which is safer than hooks that stress a single anchor point per bike.
Step-By-Step Guide To How To Build A Horizontal Bike Rack For Garage
Step 1: Plan Your Rack Layout And Measure Your Space
Before buying a single piece of lumber, spend time measuring. Measure the length of your longest bike from front axle to rear axle, and note the handlebar width at its widest point. Also measure the height of your tires to understand how high off the ground the support arms need to sit to keep pedals and chainrings clear.
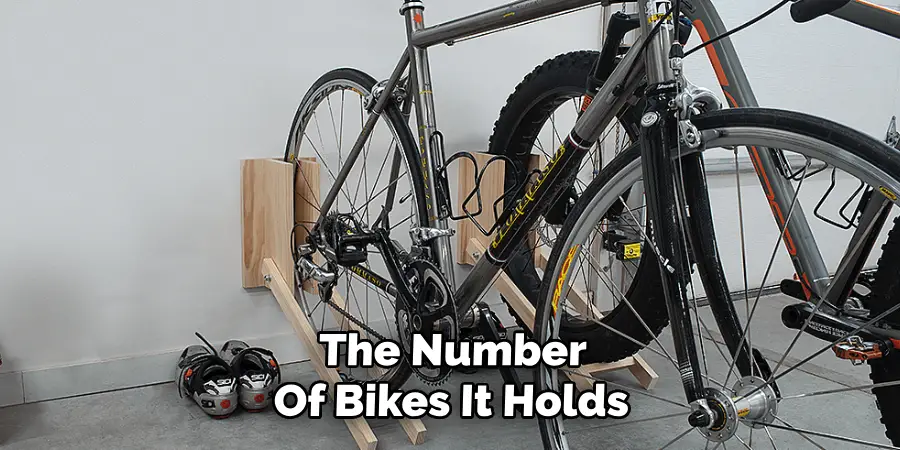
Sketch a simple layout showing how many bikes you want to store, whether you’ll mount them side by side or stagger them at different heights to save space, and where on the wall the rack will go. A staggered layout — alternating bikes nose-in and nose-out — is the most space-efficient arrangement for two or more bikes stored horizontally.
Step 2: Choose Between A Wall-Mounted
A wall-mounted rack anchors directly to wall studs or masonry and is the most stable option for most garages. It takes up zero floor space and handles heavier bikes without wobbling. A freestanding rack works when drilling into walls isn’t an option, but it requires a wider base and sacrifices some stability under load.
For most DIY builders, a wall-mounted frame built from 2×4 lumber is the right starting point. It’s easy to work with standard tools, strong enough for multiple bikes, and inexpensive. If your garage has concrete or cinderblock walls instead of drywall, plan for masonry anchors rather than wood screws — the basic design stays the same, but the fastening method changes.
Step 3: Gather Your Materials And Tools
For a standard wall-mounted two- to four-bike rack, you’ll need 2×4 lumber for the main frame and support arms, wood screws in 2.5-inch and 3-inch lengths, lag screws or structural screws for attaching the frame to studs, foam pipe insulation or pool noodle material to pad the contact points where bikes rest, sandpaper, and a drill with bits.
You’ll also need a stud finder, a level, a measuring tape, a pencil, a miter saw or circular saw for cutting, and safety glasses. If you plan to paint or stain the finished rack, pick up a small can of exterior paint or wood stain. Having everything on hand before you cut your first board keeps the build moving without interruption.

Step 4: Cut Your Frame Components To Size
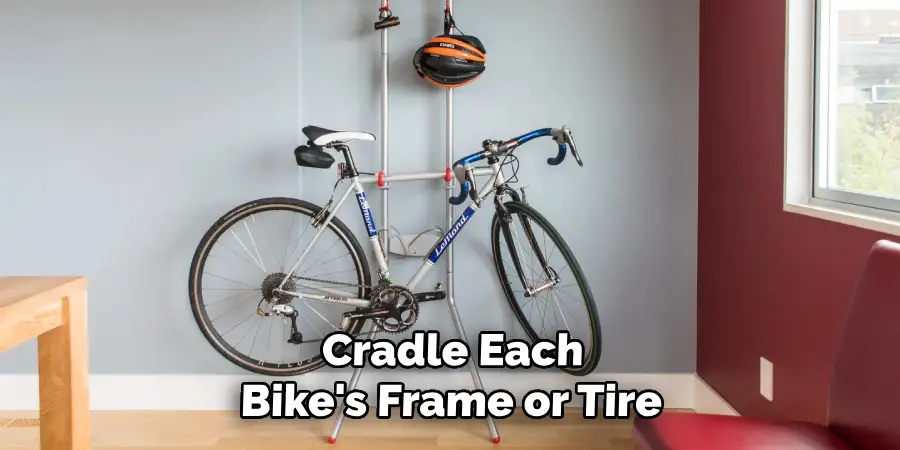
Cut the vertical backing board first — this is the piece that mounts flat against the wall and carries the load. A single 2×6 or doubled 2×4 cut to the width of your rack works well. Then cut your horizontal support arms, which are the pieces that project out from the wall and cradle each bike’s frame or tire.
Support arms typically run 12 to 18 inches long depending on your bike depth and how much clearance you want between the bike and the wall. Cut them all to the same length for a consistent look. Label each piece as you cut so assembly stays straightforward. Sand any rough edges now — it’s easier to do before everything is screwed together
Step 5: Assemble The Frame And Attach Padding
Attach the support arms to the backing board using 3-inch screws driven at a slight upward angle — this helps keep bikes from sliding off the arms under their own weight. Space the arms according to your layout, leaving enough room between bikes for handlebars and pedals to clear each other without touching.
Once the frame is assembled, cut your foam pipe insulation or pool noodle material to cover each support arm fully. Slip it over the arm or split it with a utility knife and press it on. This padding protects wheel rims and bike frames from scratches and keeps bikes from rattling against bare wood. Secure the foam with a small bead of waterproof adhesive or a few zip ties to prevent it from sliding.
Step 6: Rack For Garage Walls Safely
Locate your wall studs with a stud finder and mark them clearly. Standard studs are 16 inches apart, so plan your backing board width to span at least two studs — three or more for heavier loads. Drive lag screws or 3.5-inch structural screws through the backing board and into each stud, using a level to confirm the board is perfectly horizontal before tightening everything down.
If your garage wall is concrete or block, use sleeve anchors or wedge anchors rated for the load. Drill into the masonry with a hammer drill and the correct masonry bit, insert the anchor, and tighten until snug. Never rely solely on drywall anchors for a bike rack — drywall alone cannot support the sustained weight of a loaded rack.
Step 7: Load The Rack And Test Its Stability
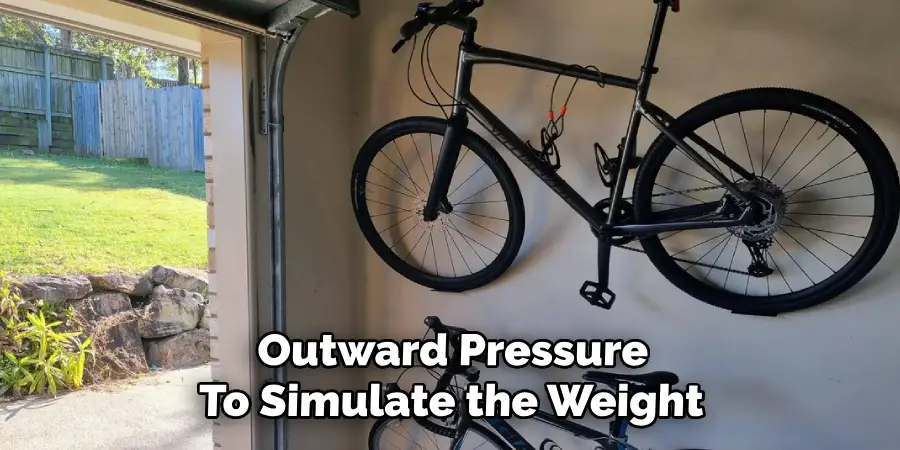
Before hanging all your bikes, test the rack with one bike and check for movement. Grip the backing board and apply downward and outward pressure to simulate the weight and leverage of a loaded rack. Any flexing or creaking at the wall connection means you need additional fasteners or a wider backing board spanning more studs.
Once the single-bike test passes, load all your bikes and check again. Stand back and confirm each bike sits evenly on its support arm without tilting or sliding. Add a small wooden lip or a screw driven partway in at the end of each arm as a stop if any bikes tend to slide outward. A well-built rack should feel completely solid — no wobble, no flex, no movement at the wall.
Frequently Asked Questions
What Type Of Wood Is Best For A DIY Bike Rack?
Standard 2×4 dimensional lumber from any home improvement store is the most practical choice for most garage bike racks. It’s strong, widely available, inexpensive, and easy to cut and fasten with basic tools. For support arms, 2×4 or 2×3 lumber works well. Avoid thin plywood or particleboard for structural components — they don’t hold screws reliably under load.
How Much Weight Can A Wall-Mounted Bike Rack Hold?
A properly built rack secured into wall studs with structural screws can comfortably hold 200 to 300 pounds total across multiple bikes. Individual bike weight rarely exceeds 30 to 35 pounds for standard road or mountain bikes. The limiting factor is always the wall connection — more studs and larger fasteners increase load capacity significantly.
How Far Apart Should Bike Support Arms Be Spaced?
Spacing depends on your bike’s geometry, but 12 to 15 inches between support arms on the same bike and at least 18 to 24 inches between adjacent bikes is a good starting point. Measure the widest point of your handlebars and add a few inches of clearance on each side to make sure bikes don’t contact each other when stored.
Can I Build This Rack Without A Miter Saw?
Yes. A circular saw with a straightedge guide or even a handsaw will cut 2×4 lumber accurately enough for this project. The cuts don’t need to be perfectly precise — small gaps at joints are covered by screws and don’t affect structural integrity. A miter saw makes the job faster and cleaner, but it’s not required for a functional result.
How Do I Prevent The Rack From Scratching My Bike Frames?
Cover every contact point — support arms, any crossbars, and any exposed screw heads near bike contact zones — with foam pipe insulation, pool noodle sections, or adhesive-backed felt padding. These materials are inexpensive and widely available. Check the padding periodically and replace it if it compresses or deteriorates, especially on bikes stored for extended periods.
Conclusion
A DIY bike rack is one of the most satisfying garage projects you can tackle in a single afternoon. The materials are affordable, the skills required are basic, and the result — clean walls, organized bikes, and reclaimed floor space — pays off every time you walk into the garage.
Following a clear plan for how to build a horizontal bike rack for garage storage means you end up with something built to your exact space rather than a compromise that half-fits your wall. Measure carefully, anchor into studs, pad every contact point, and test the rack before fully loading it. Start this weekend and your garage will look noticeably better before the day is done.

I am Rick. I grew up helping my dad with his handyman service. I learned a lot from him about how to fix things, and also about how to work hard and take care of business. These days, I’m still into fixing things- only now, I’m doing it for a living.
I’m always looking for new ways to help people grow and develop. That’s why I have created this blog to share all my experience and knowledge so
that I can help people who are interested in DIY repair.