
A damaged garage door panel can turn a smooth morning into a frustrating one. Maybe a stray basketball left a dent, rust crept in over the years, or a small accident cracked the surface. Whatever the cause, a broken panel affects both how your home looks and how well your door works. The good news is that you don’t always need to buy a whole new door to fix the problem. Learning how to replace garage door panels lets you restore function and appearance while saving a good chunk of money.
This guide walks you through the process from start to finish, using clear steps anyone can follow. You don’t need years of experience to get it right, just patience, the correct tools, and a bit of care around the moving parts. We’ll cover why panel replacement matters, take you through each stage one at a time, and answer the questions people ask most. By the end, you’ll feel confident enough to tackle this repair on your own.
Why Replacing Garage Door Panels Matters
Your garage door is often the largest moving object in your home, and a single damaged panel can weaken the entire system. A bent or cracked section can throw off the door’s balance, strain the opener, and even create safety risks if it fails while opening or closing.
Beyond safety, panels matter for insulation and energy efficiency. A gap or crack lets outside air seep in, which can raise your heating and cooling bills over time. There’s also the appearance to consider, since your garage door makes up a big share of your home’s curb appeal. Fixing one panel instead of buying a full door keeps costs low and reduces waste. In short, timely repairs protect your investment, your comfort, and your wallet.
Step-by-Step Guide to How to Replace Garage Door Panels
Step 1: Gather Your Tools and Match the Panel
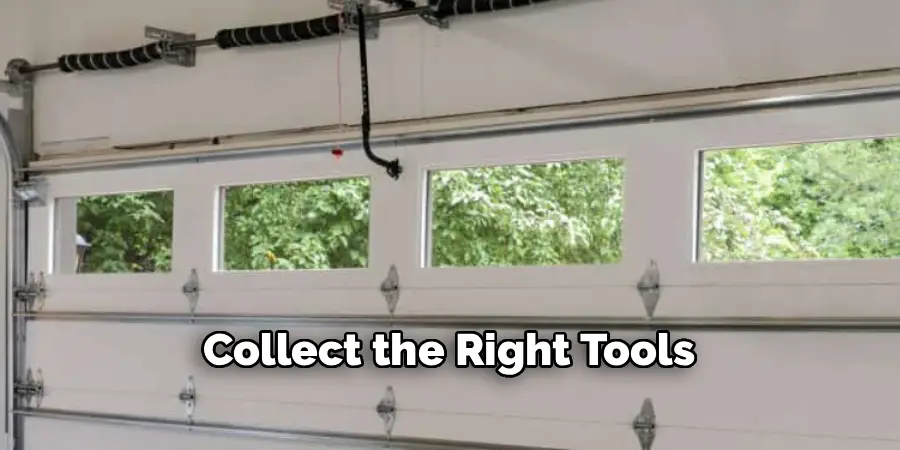
Before you touch anything, collect the right tools and confirm you have the correct replacement panel. You’ll typically need a wrench set, a screwdriver, locking pliers, a ladder, and safety gloves. To match your panel, check the label on the inside of the door or note the brand, model, and color. Take clear photos and measure the width and height so the new section fits perfectly. If your door is older, contact the manufacturer or a local supplier to confirm availability. Getting the exact match now saves you frustration later and ensures a clean, professional-looking result once the work is done.
Step 2: Disconnect the Opener and Release Tension
Safety comes first, so start by unplugging the automatic opener to prevent the door from moving unexpectedly. Pull the red emergency release cord to disconnect the door from the opener carriage. This lets you operate the door by hand and keeps you protected while you work. If your door uses torsion springs, be extremely cautious, because these hold enormous tension. Never attempt to loosen a torsion spring unless you have the proper winding bars and know the technique. When in doubt, call a professional for the spring work. Taking these precautions early is the difference between a safe repair and a serious injury.
Step 3: Open the Door and Secure It in Place
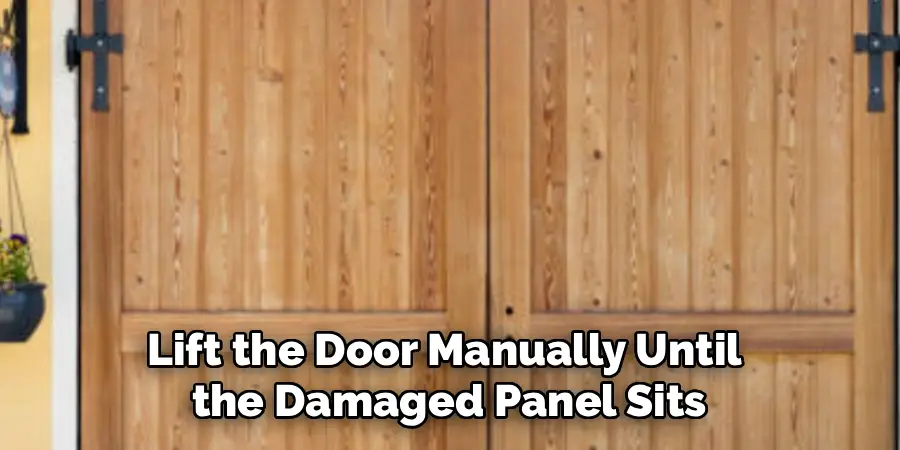
Lift the door manually until the damaged panel sits at a comfortable working height, usually around waist to chest level. Once positioned, clamp locking pliers onto the track just below a roller on each side. These clamps hold the door steady and stop it from sliding down while your hands are busy. Double-check that the door feels stable before moving on. If the panel you’re replacing is at the very bottom, you may only need to lift slightly. For higher panels, raise the door further. A secure door is essential, so take a moment to test that nothing shifts when you gently push it.
Step 4: Remove the Hinges, Rollers, and Brackets
Now you’ll begin taking apart the connections that hold the damaged panel to its neighbors. Using your wrench and screwdriver, remove the hinges linking the broken panel to the sections above and below it. Keep the screws and small parts in a labeled container so nothing gets lost. Next, detach the rollers on each side by sliding them out of the track or unbolting the roller brackets. Work slowly and keep track of which piece goes where. When you learn how to replace garage door panels the careful way, staying organized here makes reassembly far smoother and prevents mix-ups when everything goes back together.
Step 5: Take Out the Damaged Panel
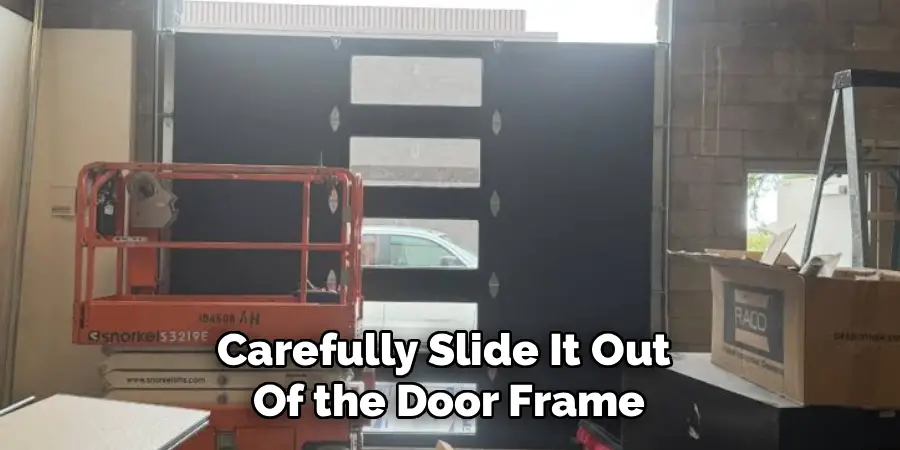
With the hinges, rollers, and brackets removed, the damaged panel should now be free. Carefully slide it out of the door frame, ideally with a helper, since panels can be heavier and more awkward than they look. Support the surrounding panels so they don’t sag or shift once the section is gone. Set the old panel aside somewhere safe and out of your walking path. Take a quick look at the empty space and the neighboring panels to make sure nothing else needs attention, such as rust or worn seals. A clean opening now sets you up for an easy, well-fitted installation.
Step 6: Install the New Panel
Lift the replacement panel into the empty space, again with help if it’s heavy, and slide it into position so the edges line up with the panels above and below. Make sure it sits level and flush, because a crooked panel will affect how the whole door operates. Reattach the hinges using the screws you set aside, connecting the new panel firmly to its neighbors. Then reinstall the rollers into the track and secure the brackets. Knowing how to replace garage door panels properly means checking each connection twice, so tighten every bolt and confirm the panel feels solid before you continue to the final step.
Step 7: Reconnect, Test, and Adjust
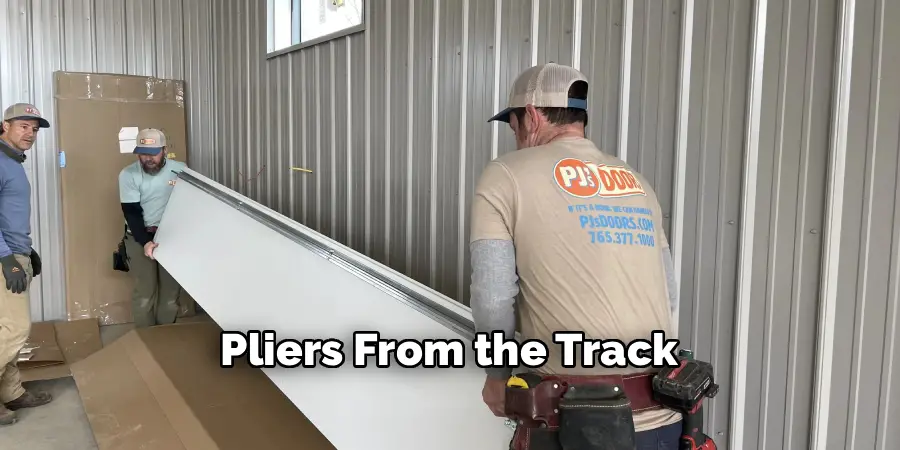
Once the new panel is fully secured, remove the locking pliers from the track. Gently lower the door by hand to confirm it moves smoothly without catching or rubbing. Reconnect the opener by re-engaging the emergency release cord, then plug the unit back in. Run the door through a few full open-and-close cycles, watching closely for any wobble, gaps, or unusual noises. If the door seems slightly off balance, you may need to adjust the roller positions or tighten a bracket. When everything glides quietly and evenly, your repair is complete and your door is ready for daily use once more.
Frequently Asked Questions
Can I Replace Just One Panel Instead of the Whole Door?
Yes, in most cases you can replace a single damaged panel rather than the entire door. As long as the panel is still manufactured and matches your door’s brand, style, and dimensions, a single-section swap works well. This approach saves money and reduces waste. However, if multiple panels are damaged or the door is very old, a full replacement may be the more practical choice.
How Long Does This Repair Usually Take?
For a confident do-it-yourselfer with the right tools, replacing a single panel typically takes two to four hours. Timing depends on the panel’s location, the door’s design, and whether springs are involved. Bottom panels are usually quickest, while upper panels take longer because the door must be raised. Working with a helper speeds things up considerably and makes handling heavy sections much safer.
Do I Need to Deal With the Springs?
Not always. If you’re replacing a lower panel, you can often complete the job without touching the springs at all. For upper panels or doors under heavy tension, spring involvement may be necessary. Torsion springs are dangerous and require special winding bars plus proper technique. If your repair involves adjusting or releasing spring tension, hiring a trained professional is strongly recommended for your safety.
How Do I Find the Exact Matching Panel?
Start by checking the label inside your door, which usually lists the manufacturer and model. Note the color, texture, and design, then measure the panel’s height and width precisely. Take clear photos to bring to a supplier. Contact the door’s manufacturer or a local garage door dealer to confirm the panel is still available. Matching everything carefully ensures a seamless appearance once installed.
When Should I Call a Professional Instead?
Call a professional if your door uses high-tension torsion springs, if several panels are damaged, or if you feel unsure at any point. Experts also help when the door is badly out of balance or when specialized parts are hard to source. There’s no shame in asking for support, and a professional touch guarantees the job is done safely, correctly, and with lasting results.
Conclusion
Fixing a damaged section of your garage door doesn’t have to be intimidating. With the right tools, a careful approach, and a clear plan, you can restore both the look and function of your door in an afternoon. We covered why timely repairs protect your safety, energy efficiency, and curb appeal, then walked through each step from matching the panel to testing the finished door. The key is patience, especially around moving parts and springs, where safety must always come first.
Now that you understand how to replace garage door panels from start to finish, you’re ready to take on the project with confidence. Gather your supplies, follow each step in order, and don’t hesitate to call a professional when springs or multiple panels are involved. A smooth, quiet, great-looking door is well within your reach, so go ahead and give your garage the upgrade it deserves.

I am Rick. I grew up helping my dad with his handyman service. I learned a lot from him about how to fix things, and also about how to work hard and take care of business. These days, I’m still into fixing things- only now, I’m doing it for a living.
I’m always looking for new ways to help people grow and develop. That’s why I have created this blog to share all my experience and knowledge so
that I can help people who are interested in DIY repair.