
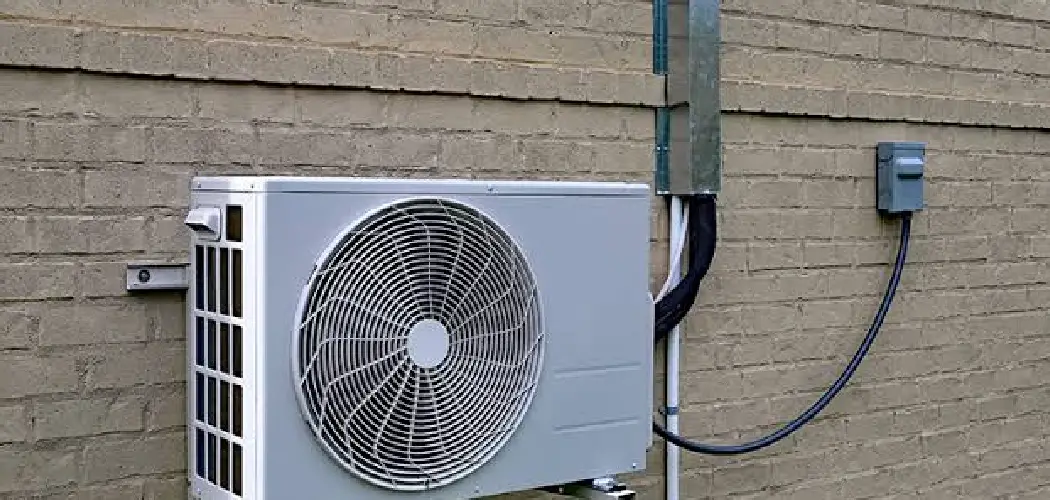

A hot garage can turn any project into a sweaty struggle. Whether you use the space as a workshop, a home gym, or a hangout spot, high temperatures make it hard to enjoy. The good news is that you don’t need a window to stay cool. Learning how to put ac in garage without window is easier than most people think, and you have several practical options to pick from.
This guide walks you through everything step by step, using plain language and clear directions. You’ll discover which cooling units work best, how to vent them properly, and how to keep your setup running smoothly. No prior experience is needed. Each section builds on the last, so beginners and seasoned DIYers alike can follow along with confidence. By the end, you’ll know exactly what to buy, where to place it, and how to get lasting comfort in your garage. Let’s get your space cool, comfortable, and ready for whatever you throw at it, without spending a fortune or hiring a pro.
Why Cooling A Windowless Garage Matters
A garage without proper airflow can hit dangerous temperatures during summer. Heat buildup damages tools, warps materials, and shortens the life of anything stored inside. More importantly, it puts your health at risk when you work in there for long stretches.
Cooling a windowless garage protects both you and your belongings. It makes the space usable year-round, whether for hobbies, workouts, or extra storage. A comfortable environment also boosts productivity and helps you stay safe from heat-related fatigue.
The best part is that modern cooling solutions are affordable and flexible. You don’t need permanent construction or costly renovations. With the right approach, you gain real comfort while keeping your budget intact and your options open for future changes.
Step-By-Step Guide To How To Put AC In Garage Without Window
Step 1: Assess Your Garage Size And Heat Sources
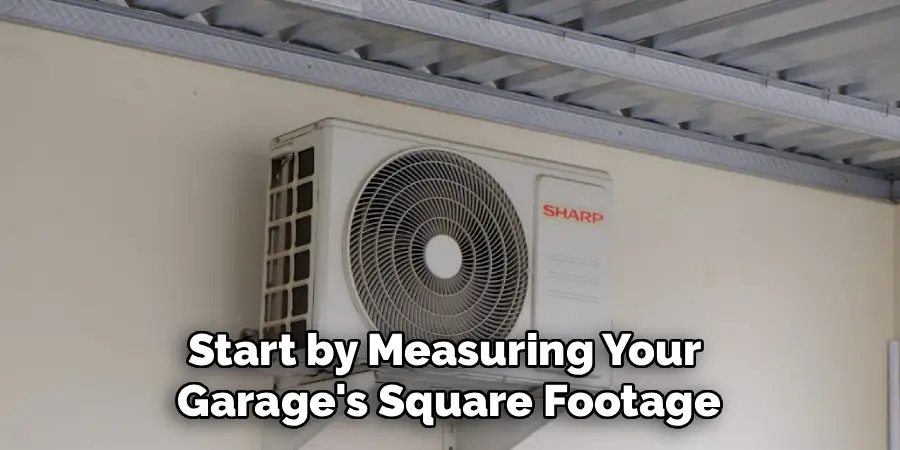
Start by measuring your garage’s square footage. Multiply the length by the width to get the floor area, then note the ceiling height. These numbers help you choose a unit with the right cooling power, measured in BTUs.
Next, look for heat sources that make the space warmer. Sun-facing walls, uninsulated ceilings, and heat-producing tools all raise the temperature. Identify how many people typically use the space too, since bodies add warmth. Understanding these factors upfront prevents you from buying a unit that’s too weak. A quick assessment saves money and guarantees your cooling setup performs the way you expect.
Step 2: Choose The Right Type Of Cooling Unit
Now decide which cooling option fits your needs. Portable air conditioners are the most popular choice because they roll anywhere and require no permanent install. Mini-split systems cost more but deliver powerful, efficient cooling with a sleek wall-mounted design.
You might also consider a through-the-wall unit if you’re comfortable cutting a small opening. Each type has trade-offs in price, power, and effort. For most beginners, a portable AC offers the easiest entry point. Match your choice to your garage size and how often you’ll use the space. Picking the right unit early makes every following step far simpler and smoother.
Step 3: Plan Your Venting Route
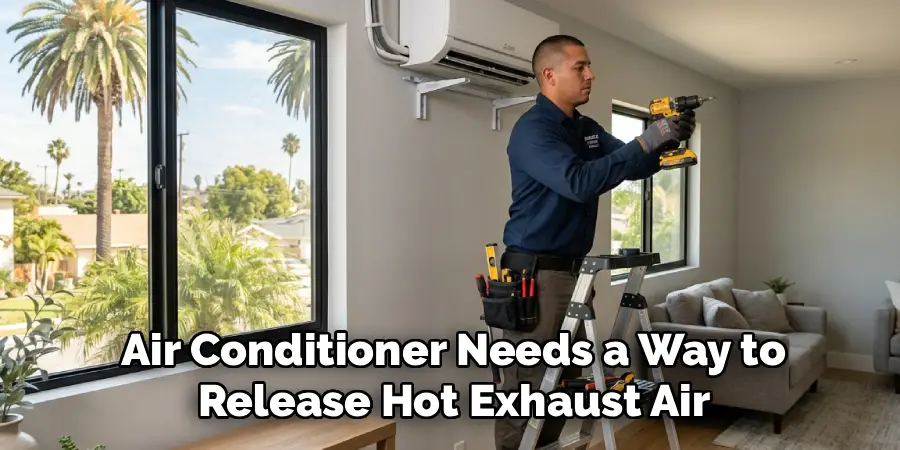
Every air conditioner needs a way to release hot exhaust air. Since you have no window, you’ll need a creative venting path. Most people vent through a wall, the ceiling, or a gap in the garage door. Choose the shortest, most direct route to keep the system efficient.
Learning how to put ac in garage without window really comes down to smart venting. A poor vent path traps hot air and makes the unit work harder. Before drilling or cutting anything, mark your route clearly and double-check measurements. A well-planned exhaust path keeps your garage cool and your energy bills low all season long.
Step 4: Create A Secure Vent Opening
With your route mapped, it’s time to make the vent opening. For wall venting, cut a hole slightly larger than your exhaust hose diameter, then seal the edges to block leaks. If you prefer not to cut, a garage door vent kit slides into the door gap and needs no permanent changes.
Always wear safety glasses and check for wiring or pipes before cutting. Use foam board or a fitted panel to hold the hose steady and seal the gap around it. A tight, secure opening stops warm air from sneaking back in, which keeps your cooling steady and your setup looking clean and professional.
Step 5: Position And Connect Your Unit
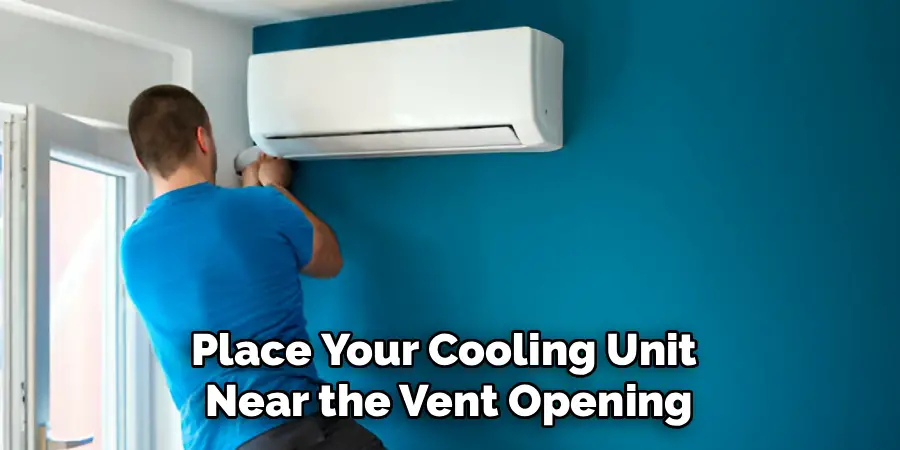
Place your cooling unit near the vent opening to keep the hose short and direct. Attach the exhaust hose firmly to both the unit and the vent, making sure every connection is snug. Loose fittings let hot air escape back into the room and reduce efficiency.
Set the unit on a level surface away from clutter so air flows freely around it. Give it a few inches of clearance on all sides. Once connected, plug it into a properly rated outlet, avoiding cheap extension cords. When figuring out how to put ac in garage without window, proper placement makes the difference between weak airflow and cool, refreshing comfort.
Step 6: Improve Insulation And Seal Air Leaks
Even the best cooling unit struggles in a leaky garage. Seal gaps around doors, walls, and the ceiling to keep cool air inside. Weatherstripping around the garage door works wonders, and expanding foam fills stubborn cracks quickly.
Adding insulation to walls and the garage door boosts performance dramatically. Reflective foam panels are affordable and easy to install without special tools. Better insulation means your unit runs less often, saving energy and lowering your bills. This step often gets skipped, but it’s one of the most powerful ways to lock in comfort. A sealed, insulated garage stays cooler with far less effort.
Step 7: Test, Adjust, And Maintain Your Setup
Turn on your unit and let it run for a while. Feel around the vent and hose connections for any escaping warm air, then tighten or reseal as needed. Check that cool air spreads evenly across the space and adjust the unit’s position if some corners stay warm.

Ongoing care keeps everything working well. Clean or replace filters every few weeks, and empty the water tank if your model collects condensation. Wipe down vents to prevent dust buildup. Regular maintenance extends your unit’s life and keeps cooling strong. A little attention now saves you from breakdowns and repairs during the hottest days.
Frequently Asked Questions
Can I Use A Portable AC Without A Window?
Yes, absolutely. Portable air conditioners simply need a way to vent hot exhaust air, and a window is only one option. You can vent through a wall, the ceiling, a drop ceiling, or a garage door vent kit. As long as the exhaust hose reaches the outside air, your portable unit will cool the space effectively.
How Many BTUs Do I Need For My Garage?
BTUs depend on your garage size and heat exposure. As a rough guide, a two-car garage around 400 square feet usually needs 12,000 to 14,000 BTUs. Add more cooling power if your garage faces direct sun, lacks insulation, or holds heat-producing equipment. Choosing the right BTU rating ensures your unit cools comfortably without overworking itself or wasting energy.
Is A Mini-Split Worth The Extra Cost?
For many garage owners, yes. Mini-split systems cost more upfront and often need professional installation, but they deliver quiet, efficient, and powerful cooling. They also provide heating in colder months, making them a year-round solution. If you use your garage often or want a permanent, low-maintenance option, the investment usually pays off through lower energy bills and lasting comfort.
Do I Need To Insulate Before Installing AC?
Insulation isn’t strictly required, but it makes a huge difference. Without it, cool air escapes fast and your unit works overtime to keep up. Adding wall insulation, sealing gaps, and weatherstripping the garage door helps trap cool air inside. This lets you run a smaller, cheaper unit while enjoying better results and noticeably lower electricity costs.
How Do I Vent Hot Air Without A Window?
You have several great options. Many people vent through an exterior wall by cutting a small, sealed hole for the exhaust hose. Others use a garage door vent kit that fits into the door gap with no cutting. A drop-ceiling vent or dryer vent opening can also work. Just keep the hose short and the seal tight for best results.
Conclusion
Cooling a garage without a window is completely doable, even for total beginners. By measuring your space, choosing the right unit, planning a smart vent route, and sealing air leaks, you create a comfortable environment that lasts all summer. Each step builds toward a setup that runs efficiently and keeps your garage usable no matter the season.
Remember that good insulation and regular maintenance make your cooling system work smarter, not harder. These small efforts protect your investment and save money over time. Now that you understand how to put ac in garage without window, you have everything you need to take action. Grab your measurements, pick your unit, and start today. A cool, comfortable garage is closer than you think, and the results are well worth the effort.

I am Rick. I grew up helping my dad with his handyman service. I learned a lot from him about how to fix things, and also about how to work hard and take care of business. These days, I’m still into fixing things- only now, I’m doing it for a living.
I’m always looking for new ways to help people grow and develop. That’s why I have created this blog to share all my experience and knowledge so
that I can help people who are interested in DIY repair.