
Getting a garage door remote to work should feel simple, yet many people freeze up the moment they hold a new remote in their hand. That is completely normal, and you are in the right place. Learning how to program remote for chamberlain garage door opener systems is far easier than most beginners expect, and once you see the process laid out clearly, you will wonder why you ever worried about it.
Your Chamberlain remote talks to the motor unit mounted on your garage ceiling. When these two devices share the same code, your door opens and closes with one press. When they do not, nothing happens. Programming simply teaches the opener to recognize and trust your remote.
In the sections below, we walk you through everything step by step, using plain language and clear guidance. Whether you replaced a lost remote, added a new car, or bought a fresh opener, this guide meets you exactly where you are. Take a breath, grab your remote, and let’s get your garage working the way it should.
Why Programming Your Chamberlain Garage Door Remote Matters
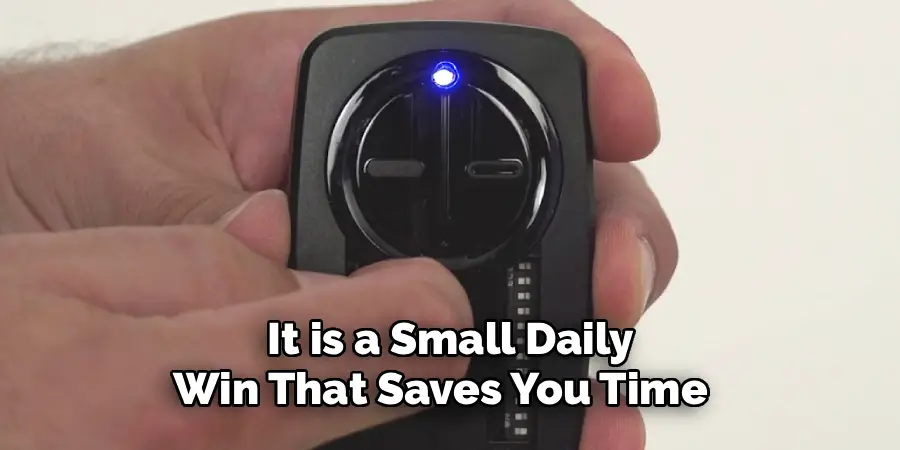
A properly programmed remote is more than a convenience, it is a small daily win that saves you time and stress. Instead of fumbling with keys or stepping out into rain and snow, you press one button and glide inside. That smooth experience is exactly why this task deserves your attention, even if technology usually makes you nervous.
There is also a safety and security angle worth understanding. Modern Chamberlain openers use rolling code technology, which changes the access signal every time you use the remote. This blocks would-be intruders from copying your code. When you program the remote correctly, you activate this protection and keep your home safer. In short, a few minutes of setup rewards you with security, reliability, and everyday peace of mind.
Step-by-Step Guide to How To Program Remote for Chamberlain Garage Door Opener
The following seven steps show you how to program remote for chamberlain garage door opener units from start to finish. Work through them in order, stay patient, and you will finish with a fully working remote.
Step 1: Gather Your Tools And Identify Your Opener
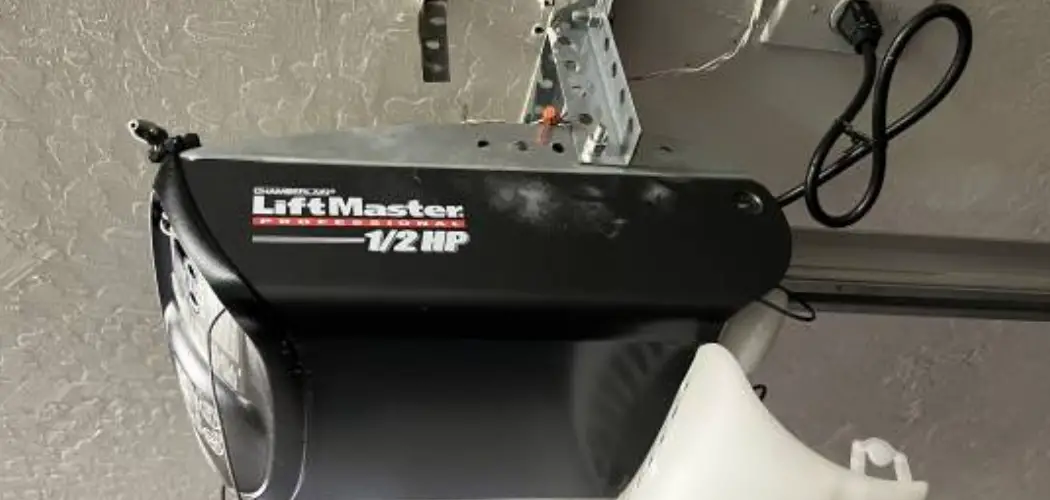
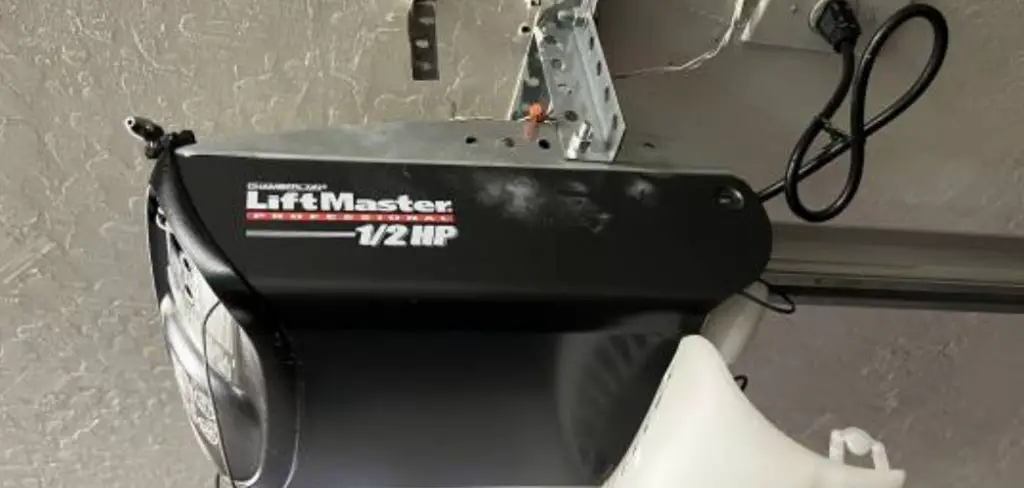
Before touching any buttons, take a moment to prepare. You will need your Chamberlain remote, a sturdy step stool or ladder, and clear access to the motor unit on your ceiling. Look at the back or side of that motor unit and note the model number, since older and newer models differ slightly.
Having everything ready prevents frustrating trips up and down the ladder. It also helps to check that your remote has a fresh battery installed. A weak battery is one of the most common reasons programming appears to fail, so start strong with power you can trust.
Step 2: Locate The Learn Button On The Motor Unit
The “learn” button is the heart of this entire process. You will usually find it on the back or side panel of the motor unit, often near the antenna wire that hangs down. On many Chamberlain models, this button sits beside a small colored light, which may be yellow, purple, green, or red depending on your unit’s age.
Take note of the button’s color, because it tells you which programming timing to follow. Once you spot it, position your ladder so you can comfortably reach the button while still holding your remote in your other hand.
Step 3: Press The Learn Button To Enter Programming Mode
Now the real action begins. Press and release the learn button once. You should see the small indicator light turn on and stay lit for about thirty seconds. This glowing light means your opener has entered programming mode and is actively listening for a signal from a remote.
Time matters here, so move to the next step quickly. If the light switches off before you finish, do not stress. You simply press the learn button again to restart the window. This step is a common point where beginners learning how to program remote for chamberlain garage door opener devices feel rushed, so stay calm and steady.
Step 4: Press The Button On Your Remote
While that indicator light is still glowing, press the button on your Chamberlain remote that you want to control the door. Hold it for a second or two, then release. In most cases, the light on the motor unit will blink, flash off, or the opener may click audibly to confirm it received the signal.
That confirmation is your green light, meaning the two devices have now shared their code. If nothing happens, you likely ran out of time. Return to the previous step, press the learn button again, and repeat the remote press without delay.
Step 5: Test The Remote Right Away
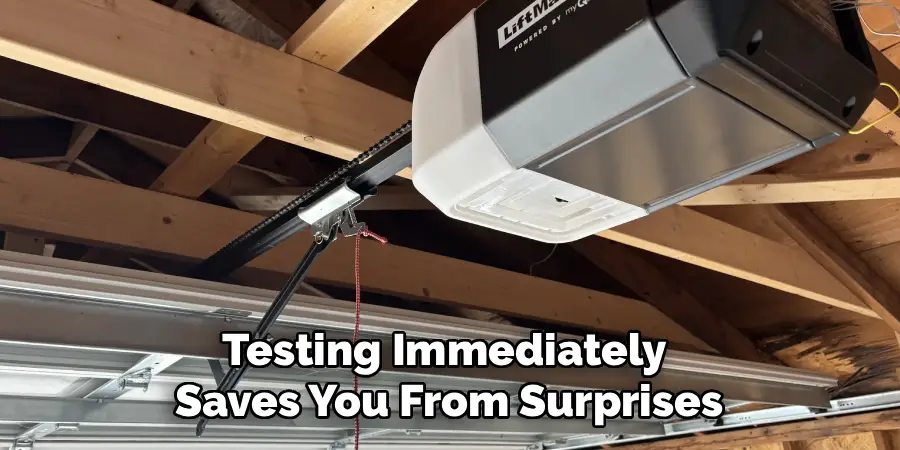
Testing immediately saves you from surprises later. Step away from the ladder, stand at a normal distance, and press the programmed button on your remote. Your garage door should begin moving up or down within a second. Watch the door move fully and listen for smooth operation.
If it works, congratulations, you have completed the core setup successfully. If the door does not respond, do not assume the process failed entirely. Weak batteries, timing issues, or standing too far away can all cause a missed test. Move closer, replace the battery if needed, and try once more.
Step 6: Program Additional Buttons Or Extra Remotes
Many Chamberlain remotes control multiple doors, and many households own several remotes. To add another button or a second remote, simply repeat the same routine. Press the learn button, wait for the light, then press the new button or new remote within the timing window.
Each button and each remote stores its own instruction, so you can control two or three doors from one handy device. This flexibility means every driver in your family can carry their own remote. Just work through them one at a time to avoid confusion, and test each addition before moving on.
Step 7: Erase And Reset If Something Goes Wrong
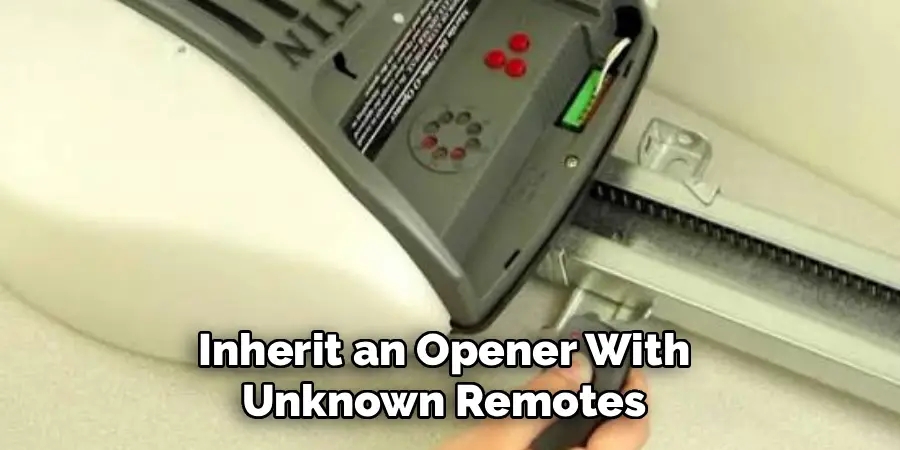
Sometimes older codes cause conflicts, or you inherit an opener with unknown remotes still programmed. When that happens, a full reset clears the slate. Press and hold the learn button for about six to ten seconds until the indicator light goes out completely. This erases every remote stored in the opener’s memory.
After erasing, you start fresh by reprogramming each remote using the steps above. This reset is especially useful for new homeowners who want to lock out any previous owners. Think of it as a clean, secure restart that puts you fully in control.
Frequently Asked Questions
Why Is My Chamberlain Remote Not Working After Programming?
The most common culprit is a weak or dead battery, so replace it first. Timing issues also play a role, since the learn button only stays active for about thirty seconds. Standing too far from the opener during testing can hide a successful setup. Move closer, install a fresh battery, and repeat the programming steps calmly to fix most problems.
How Do I Find My Chamberlain Opener Model Number?
Look on the motor unit mounted to your garage ceiling, usually on the back panel, side, or under the light cover. The model number often appears on a printed sticker alongside a manufacture date. Knowing this number helps you match the correct instructions and locate the learn button, since button colors and placement vary between older and newer Chamberlain models.
Can I Program A Universal Remote To A Chamberlain Opener?
Yes, many universal remotes work well with Chamberlain openers, especially those supporting rolling code Security+ technology. The programming steps stay similar, though you may need to enter a brand code first. Always check the universal remote’s included instructions for Chamberlain-specific guidance. When in doubt, expert support lines and product manuals offer clear, step by step help tailored to your exact remote model.
How Many Remotes Can One Chamberlain Opener Store?
Most Chamberlain openers store multiple remotes, commonly holding several devices at once depending on the model. This lets each family member carry their own remote without any conflict. If you reach the limit, the oldest stored code may drop off automatically. When that happens, a full reset clears everything so you can reprogram only the remotes you currently use.
What Does The Learn Button Color Mean?
The learn button color signals which generation your opener belongs to and which security technology it uses. Yellow, purple, red, and green buttons each point to different code systems and timing windows. Matching your remote to the correct button color ensures smooth programming. If your instructions do not seem to work, double-check the color and follow the guidance made for that specific type.
Conclusion
You now have everything you need to feel confident, and the whole task truly comes down to a handful of calm, clear steps. Gather your tools, find the learn button, press it, then press your remote, and finish with a quick test. Add extra remotes when you need them, and reset the memory whenever you want a secure, fresh start. Each step builds on the last, so working in order keeps things simple and stress-free.
Mastering how to program remote for chamberlain garage door opener systems gives you a small but satisfying skill that pays off every single day. No more fumbling, no more frustration, just smooth, reliable access to your garage. Grab your remote, follow the steps above, and enjoy the confidence that comes from doing it yourself. If you ever hit a snag, revisit this guide, take your time, and remember that help is always within reach.

I am Rick. I grew up helping my dad with his handyman service. I learned a lot from him about how to fix things, and also about how to work hard and take care of business. These days, I’m still into fixing things- only now, I’m doing it for a living.
I’m always looking for new ways to help people grow and develop. That’s why I have created this blog to share all my experience and knowledge so
that I can help people who are interested in DIY repair.