
If you have ever tripped over a string trimmer lying across the garage floor, you know exactly why you are reading this guide. The weed eater is one of the most awkwardly shaped tools in any homeowner’s arsenal. It is long, unbalanced, and refuses to stand up on its own. Leaning it in a corner usually results in it sliding down the wall, taking a broom or a rake with it in a domino effect of clutter.
Leaving lawn care equipment on the ground isn’t just an annoyance; it is a safety hazard and a recipe for damaging your tools. The garage is often a high-traffic zone, serving as a parking spot, a workshop, and a storage unit all in one. Every square foot of floor space is valuable real estate.
This guide on how to hang weed eater in garage will walk you through the entire process, from selecting the right hardware to the final installation, ensuring your trimmer is secure and ready for the next mow.
What Will You Need?
To complete this project successfully, you need to gather the right materials. Attempting this with makeshift tools often leads to a loose mount that eventually rips out of the drywall. Here is your shopping list for a secure installation:
- Wall Mount or Hook: You can purchase specific weed-eater hangers or use heavy-duty utility U-hooks. Ensure the hook has a rubberized coating to prevent slipping and scratching.
- Power Drill: Essential for drilling pilot holes and driving screws.
- Stud Finder: Drywall anchors are rarely strong enough for heavy gas trimmers. You need to find the wooden stud behind the wall.
- Drill Bits: A set that includes sizes for pilot holes.
- Screws: Heavy-duty wood screws (usually 2 to 3 inches long) are best for securing the mount into the stud.
- Tape Measure: To ensure you have enough clearance.
- Level: To make sure your installation is straight.
- Pencil: For marking your drill spots.
- Safety Glasses: Always protect your eyes when drilling.
10 Easy Steps on How to Hang Weed Eater in Garage
Getting your weed eater on the wall isn’t rocket science, but doing it right ensures it stays there. Follow these ten steps to create a permanent, sturdy home for your trimmer.
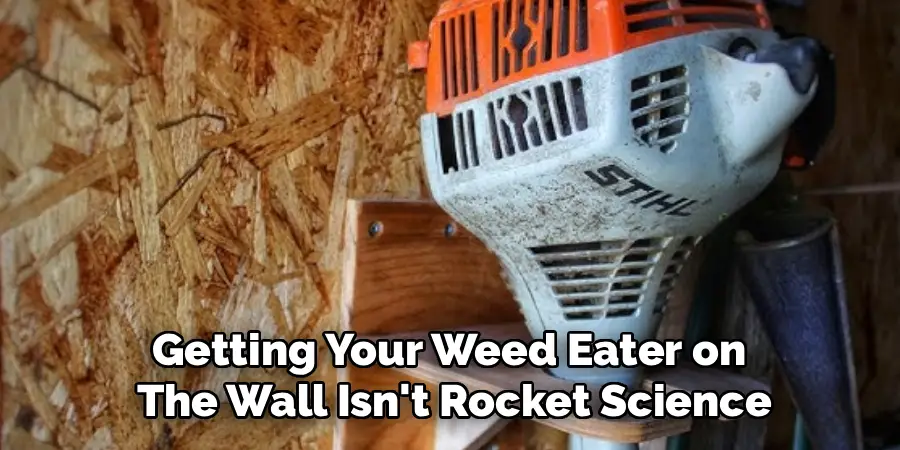
1. Assess Your Available Wall Space
Before you buy any hardware, walk into your garage and look for the ideal location. You need a spot that offers enough vertical clearance for the full length of the trimmer. Weed eaters can be upwards of five or six feet long.
Consider your workflow. It is best to hang the trimmer near the garage door so you can easily grab it on your way out to the yard. However, avoid placing it where the car door swings open, or in a narrow walkway where you might bump into the engine block with your shoulder. If you have an electric trimmer, try to locate a spot near a power outlet so you can charge the battery while it is stored.
2. Choose the Right Mounting Hardware
Not all hooks are created equal. You have a few options here. The most popular choice is a dedicated string trimmer rack, which usually supports the tool by the handle or the shaft. These often come with a shelf for extra trimming line.
Alternatively, a heavy-duty “double arm” utility hook is a versatile and cheaper option. These are standard U-shaped hooks found at any hardware store. Make sure the gap between the arms is wide enough to fit the shaft of your trimmer but narrow enough to catch the handle or the guard housing so it doesn’t slide through. Avoid using single nails or lightweight picture hooks; the vibration of the garage door opening and closing will eventually shake them loose.
3. Clean the Weed Eater Thoroughly
This step is often overlooked, but it is crucial for a clean garage. Your weed eater is likely covered in dried grass, dirt, and maybe some oil residue. If you hang it up dirty, all that debris will eventually dry out and fall onto your clean garage floor or workbench.
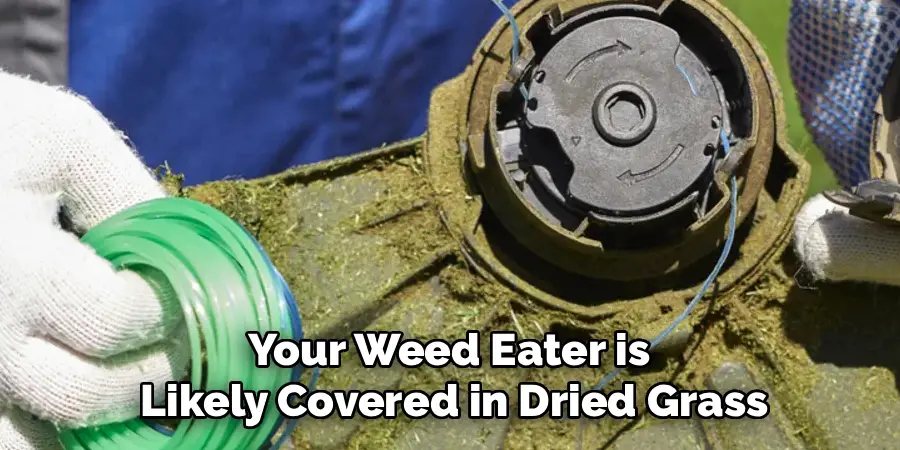
Take a stiff brush and clean off the cutting guard. Wipe down the shaft with a damp cloth. If you have a gas trimmer, wipe any grease off the engine housing. This also gives you a chance to inspect the tool for any damage before putting it away.
4. Locate the Wall Studs
Your weed eater might weigh anywhere from 10 to 20 pounds. While that doesn’t sound like much, the leverage exerted when you pull the tool off the wall can rip standard drywall anchors right out of the sheetrock. You must anchor this mount into a wooden stud.
Use an electronic stud finder to locate the beams behind the drywall. If you don’t have one, look for the vertical rows of screws holding the drywall up, or tap on the wall until you hear a solid “thud” rather than a hollow sound. Mark the center of the stud with your pencil.
5. Determine the Hanging Height
Hold the weed eater up against the wall at your desired height. You want the engine (the heaviest part) to be at a comfortable lifting level—usually around chest or shoulder height. If you hang it too high, you risk dropping it on your head when you try to retrieve it. If you hang it too low, the cutting head might drag on the ground or get kicked.
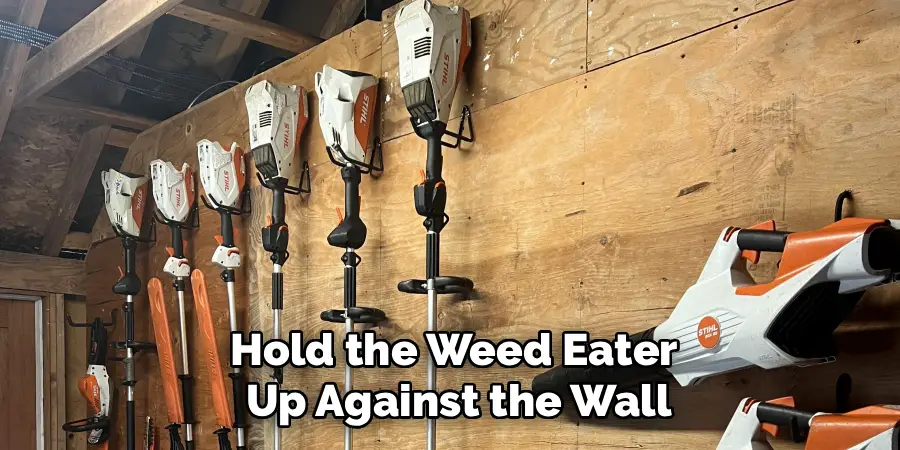
Once you have the tool positioned where you want it, mark the wall just above the handle or bracket point. Set the tool down, pick up your mounting bracket, align it with the stud mark and the height mark, and use your pencil to mark the exact screw holes.
6. Double-check With a Level
There is nothing more frustrating than stepping back to admire your work and realizing the hook is crooked. While a crooked hook will still hold the tool, it looks unprofessional and can cause the tool to slide to one side, creating an imbalance.
Place a small torpedo level on top of the mounting bracket while you hold it against your pencil marks. Adjust the bracket until the bubble is perfectly centered. If you don’t have a level, you can measure the distance from the ceiling down to each screw hole to ensure they are even, but a level is much more accurate.
7. Drill Your Pilot Holes
Never try to drive a thick wood screw directly into a stud without drilling a hole first. Doing so can split the wood framing, which weakens the hold and ruins the structural integrity of the stud.
Select a drill bit that is slightly thinner than the shank of your screw (the solid part, not the threads). Drill straight into the stud at your marked points. Go deep enough to accommodate the length of the screw. This step makes driving the screws much easier and ensures a tighter grip.
8. Secure the Mount to the Wall
Switch your drill bit to a screwdriver bit (usually Phillips or Torx head). Line up your bracket with the pilot holes. Drive the top screw in first, but don’t tighten it all the way just yet. This allows you to make minor adjustments to the alignment.
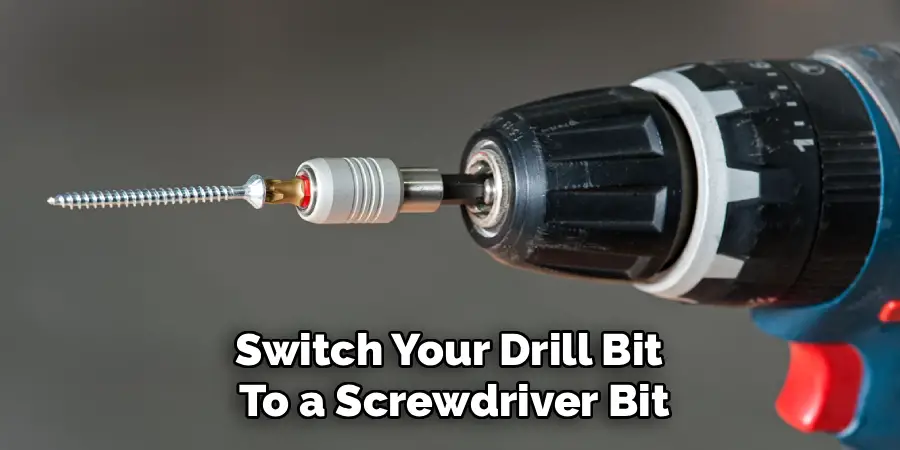
Drive the bottom screw in. Once both are seated, tighten them firmly. Be careful not to over-tighten, as you could strip the wood or crack the plastic mounting bracket. Give the bracket a firm tug with your hand to ensure there is no wiggle. It should feel like part of the wall.
9. Hang the Weed Eater
Lift your trimmer and gently lower it onto the hook or rack. Depending on your specific bracket, you might be hanging it by the D-handle, the shaft, or the main engine housing.
Ensure the tool is balanced. It shouldn’t be tilting precariously to one side. If you are using a vertical shaft hanger, gravity should do the work, keeping the tool straight up and down. If the trimmer tends to swing or rotate, you may need to install a second, smaller hook lower down the wall to clip the shaft into place and keep it stationary.
10. Organize the Accessories
You aren’t finished yet. A weed eater requires accessories—spools of trimmer line, spare batteries, chargers, or fuel cans. Don’t leave these on the floor or lost in a drawer.
If your rack has a built-in shelf, place the line there. If not, install a small basket or a simple nail next to the trimmer to hang coils of line. If you have an electric model, mount the battery charger on the wall right next to the tool so you can charge it while it hangs. Keeping everything together saves you from hunting for parts the next time you need to mow.
5 Things You Should Avoid
Even with the best intentions, homeowners make mistakes that can damage their tools or their walls. Here are five pitfalls to steer clear of.
- Hanging Gas Trimmers With a Full Tank Upside Down: If you have a gas-powered unit, be very careful about hanging it with the engine at the bottom. Fuel can leak through the vent cap or flood the carburetor, making it difficult to start later. Always check your manual for the manufacturer’s recommended storage orientation.
- Using Drywall Anchors: We mentioned this earlier, but it bears repeating. Plastic toggle bolts or expansion anchors are designed for pictures and lightweight shelving, not heavy power tools that are frequently removed and replaced.
- Hanging Near Heat Sources: Avoid installing your mount near a water heater, furnace, or in direct sunlight through a window. Excessive heat can warp plastic guards, degrade rubber hoses on gas engines, and shorten the lifespan of batteries.
- Ignoring the Guard: Never hang the trimmer by the plastic debris guard at the bottom. This plastic is designed to deflect grass, not support the weight of a heavy engine. It will crack over time, rendering the tool unsafe to use.
- Placement Over Cars: Do not hang heavy power tools on the wall directly above where you park your car. If the hook fails or if you fumble the tool while taking it down, you will end up with a dented hood or a smashed windshield.
Conclusion
Transforming your garage from a chaotic storage unit into an organized workspace starts with one tool at a time.
Hanging your weed eater is a quick, inexpensive project that pays immediate dividends. You will stop tripping over the shaft, you will protect your expensive equipment from damage, and you will gain a sense of satisfaction every time you walk into a tidy room.
Hopefully, this guide on how to hang weed eater in garage has provided you with some useful tips and inspiration to get started on your own garage organization journey. Happy organizing!

I am Rick. I grew up helping my dad with his handyman service. I learned a lot from him about how to fix things, and also about how to work hard and take care of business. These days, I’m still into fixing things- only now, I’m doing it for a living.
I’m always looking for new ways to help people grow and develop. That’s why I have created this blog to share all my experience and knowledge so
that I can help people who are interested in DIY repair.