
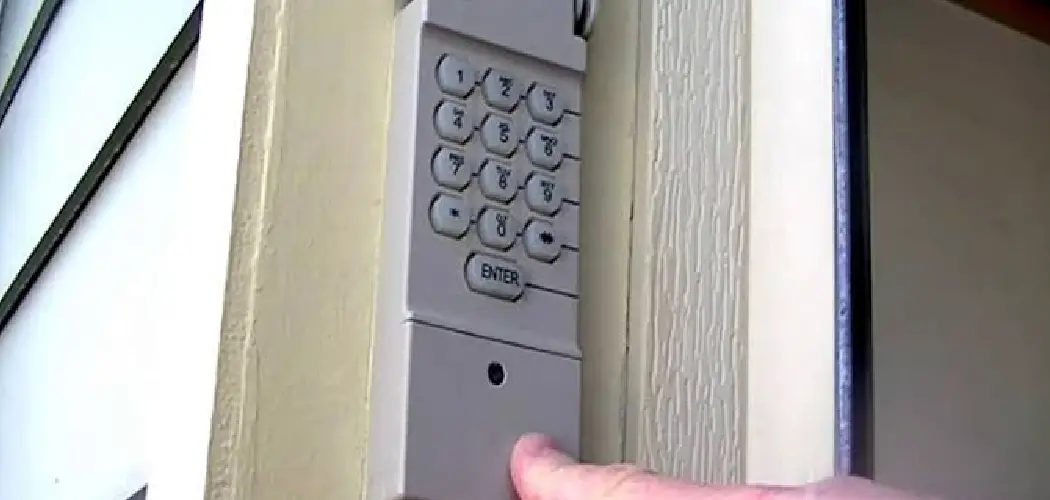
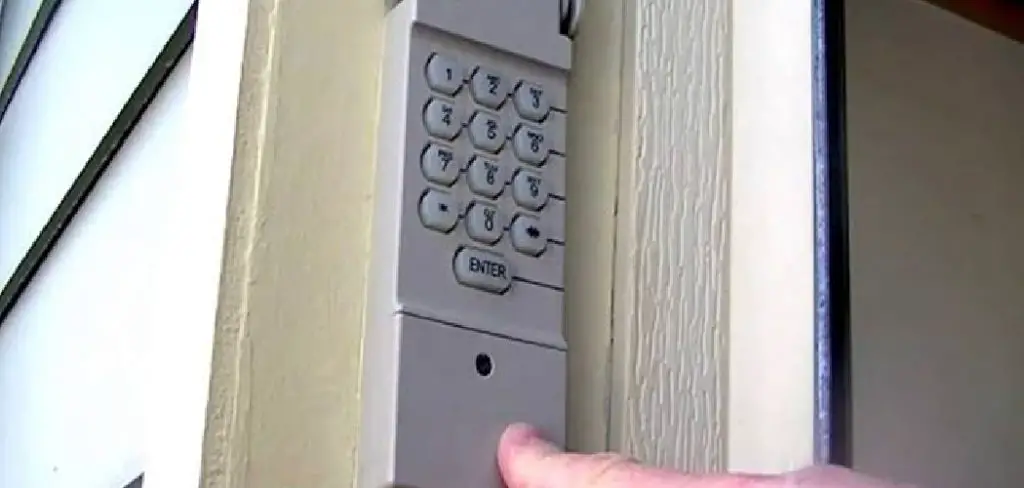
To use a garage door keypad, find the “Learn” or “Smart” button on your opener, choose a 4-digit PIN, then press Enter or Save to sync the code. After that, you just punch in the PIN whenever you need to open or close the door — no remote required.
Garage door keypads solve a problem most of us don’t think about until we’re standing outside, locked out, patting down our pockets for a remote that’s somewhere inside the house we just left. A numeric code fixes that. Type it in, and the door opens, even if your keys are nowhere to be found.
Still, if you’ve never programmed one before, the process can seem more complicated than it actually is. This guide on how to use a garage door keypad walks through how a garage door keypad functions, what to gather beforehand, and eight steps to get yours working properly. We’ll also look at a few mistakes people tend to make along the way, and when it might be worth calling someone in to help.
How Does A Garage Door Keypad Work?
A keypad talks to your garage door opener wirelessly, in much the same way a remote does. Enter the right PIN, and the keypad fires off a radio signal to the opener’s receiver, which tells the motor to get moving.
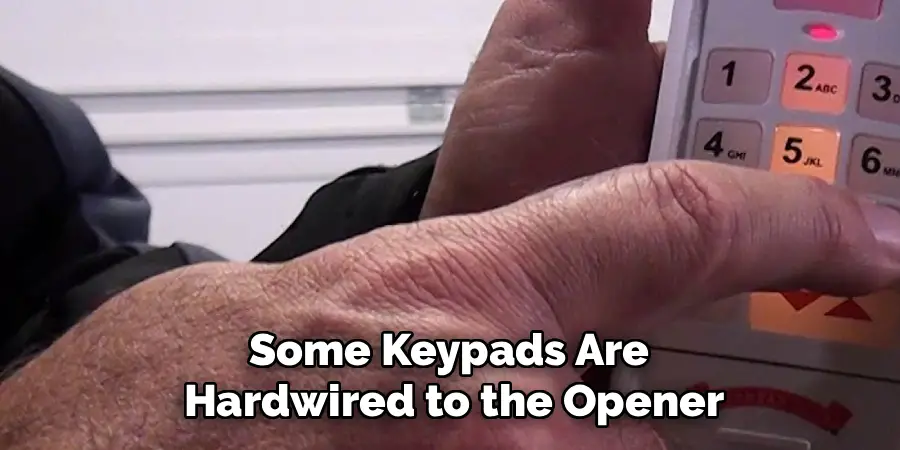
Some keypads are hardwired to the opener; most these days run on batteries instead, since that avoids the hassle of running a cable through the garage wall. Once it’s set up, the keypad holds your chosen code in memory and sends out the matching signal every time you type it correctly.
What You Need Before Using A Garage Door Keypad
A little prep goes a long way here. Before touching any buttons, round up the following:
Garage Door Opener Manual
Your manual will show you exactly where to find the “Learn” button — this detail changes depending on brand and model, so don’t assume yours works the same way a neighbor’s does.
Garage Door Keypad
Confirm it’s actually compatible with your opener’s brand. Keypads aren’t universal, no matter how similar they look on the shelf.
Ladder Or Step Stool
Openers usually sit mounted on the ceiling, so you’ll likely need a boost to reach the unit without straining.
Fresh Batteries
Wireless keypad? Put new batteries in before you start. A dying battery mid-setup is a common and entirely avoidable headache.
A 4-Digit PIN In Mind
Pick something you’ll actually remember, but skip anything too obvious — “1234” might as well be no code at all.
8 Simple Steps on How To Use A Garage Door Keypad
Step 1: Locate The “Learn” Button On Your Opener
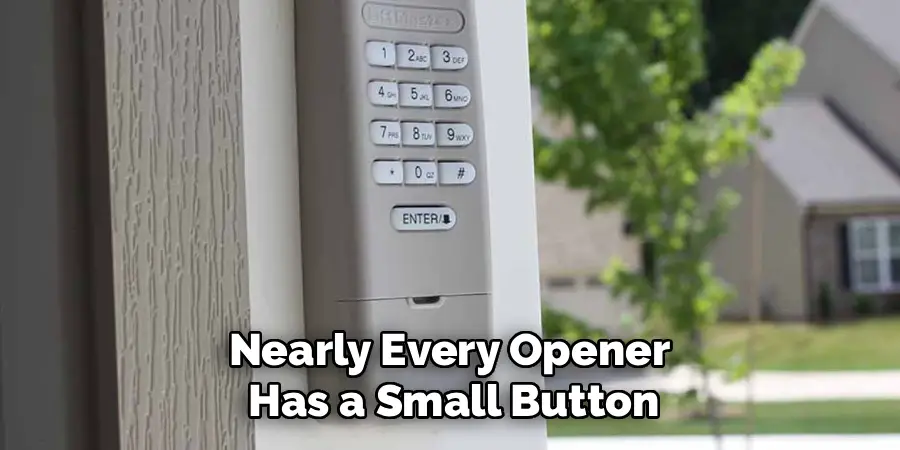
Nearly every opener has a small button — labeled “Learn,” “Smart,” or “Program” — somewhere on the motor unit, usually close to where the antenna extends. Occasionally it hides behind a small panel that needs removing first. Brands like Chamberlain, LiftMaster, and Genie place theirs differently, so check the manual if it’s not obvious at a glance.
Step 2: Press And Release The “Learn” Button
A single press and release puts the opener into programming mode. This typically lasts around 30 seconds, signaled by a light near the button turning on or blinking. You’ll want to move through the next step before that window closes — not frantically, just without dawdling.
Step 3: Enter Your Desired 4-Digit PIN On The Keypad
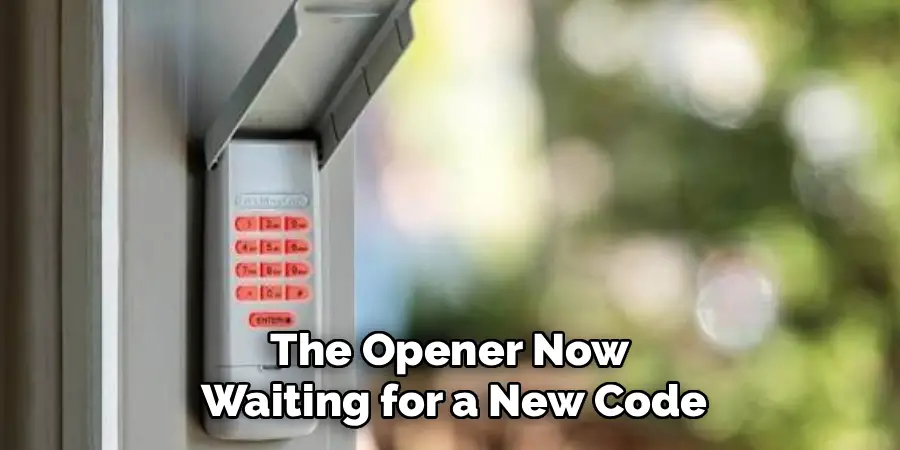
With the opener now waiting for a new code, head to the keypad and enter your chosen four digits. Press each number deliberately; rushed input is a frequent cause of failed syncing. Some keypads want you to hit “Enter” afterward; others use a different confirmation key — check the instructions that came with yours if you’re not certain.
Step 4: Press The Enter Or Program Button On The Keypad
Confirm the PIN by pressing the “Enter” or “Program” button. This sends the code to the opener, which stores it for future use. A flashing light or an audible click from the opener usually means it worked.
Step 5: Test The Keypad By Entering The Code
Head outside and type the same PIN into the keypad. The door should respond within a few seconds. If it doesn’t, that’s not unusual on a first try — it generally just means the code didn’t save. Go back to Step 2 and try again.
Step 6: Adjust The Keypad’s Sensitivity Or Backlight Settings
Many newer keypads include extras worth exploring: backlighting for visibility at night, adjustable button sensitivity, even an auto-lock feature that kicks in after repeated failed attempts. None of these are essential, but they’re worth a few minutes of your time.
Step 7: Mount The Keypad Near Your Garage Door
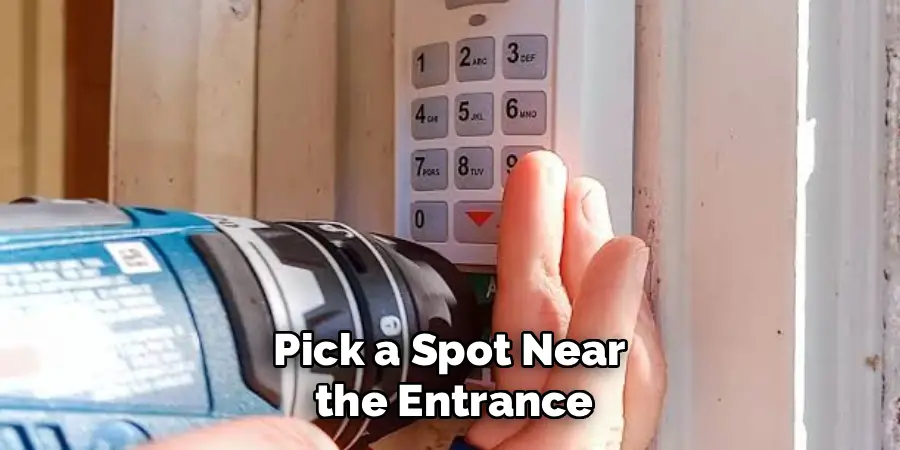
If it isn’t installed yet, pick a spot near the entrance that’s easy to reach from outside, then secure it using the hardware provided. Try to shield it from direct rain or prolonged sun exposure — weather takes a toll on these units faster than people expect.
Step 8: Keep Your PIN Private And Update It Periodically
Treat the code the way you’d treat any other security measure. Don’t hand it out casually, and consider changing it every few months. If you ever suspect someone unauthorized has gotten hold of it, just repeat the programming steps with a new PIN.
Following these steps on how to use a garage door keypad will help you get reliable, secure access without relying on a remote. Once you get used to the process, entering your PIN becomes just another part of arriving home. If the keypad starts responding inconsistently, replace the batteries and clean the buttons before assuming it needs to be replaced.
Common Mistakes To Avoid
Choosing an overly simple PIN — “1234,” a repeating digit, anything a stranger could guess in two tries — remains one of the most common missteps. Skipping the test step right after programming is another; it’s an easy way to end up confused later, wondering whether the code ever saved in the first place.
Battery maintenance gets overlooked often, too, particularly with wireless models. A keypad running low on power can turn sluggish or unresponsive, and that tends to get mistaken for a bigger mechanical problem when a fresh set of batteries would have solved it in thirty seconds. And mounting the keypad somewhere exposed to direct sun or rain? That’s a reliable way to shorten its lifespan well before it should need replacing.
When To Call A Professional?
Programming a keypad is usually something you can manage on your own. That said, a few situations call for outside help. If you’ve gone through the steps several times with no luck, the issue might sit deeper — in the opener’s receiver or its internal wiring — and that’s not something worth troubleshooting indefinitely on your own.
Older openers without a visible “Learn” button present a similar case. A professional can point you toward a compatible keypad or suggest whether an upgrade makes more sense. Forcing a connection between mismatched systems occasionally causes damage, so when you’re unsure, it’s reasonable to get an expert opinion before pushing further.
Frequently Asked Questions
Can I Use The Same Keypad For Multiple Garage Doors?
Some models support multiple codes tied to different doors, though this varies. Check your keypad’s manual to see whether multi-door programming is an option for your particular unit. If it is, assign each door its own button or code according to the manufacturer’s instructions. This setup can be convenient for homes with separate garage bays, but all openers must be compatible with the keypad. Keep the programming instructions somewhere accessible in case the keypad needs to be reset later.
What Should I Do If My Keypad Stops Working?
Start with the batteries — that resolves the majority of keypad issues. If the problem continues, try reprogramming using the steps above, or reach out to the manufacturer directly for support.
Is It Safe To Use A Garage Door Keypad In All Weather Conditions?
Most keypads handle everyday outdoor conditions fine, but extreme heat, cold, or moisture can wear on them over time. An outdoor-rated keypad installed somewhere sheltered will hold up considerably longer.
How Often Should I Change My Garage Door Keypad Code?
There’s no hard rule, but every three to six months is a reasonable habit. Change it right away, though, if you suspect someone who shouldn’t have access has gotten hold of it. The same goes for old service providers, former tenants, or anyone else who no longer needs access to your garage. Choose a code that is easy for your household to remember but not obvious, such as your address, birthday, or phone number.
Final Thoughts On Using Your Garage Door Keypad
A garage door keypad seems minor until you’ve used one for a few weeks and realize how rarely you think about your remote anymore. Once you understand how it communicates with the opener and work through the setup correctly, using it daily becomes almost automatic.
Keep the PIN to yourself, check the batteries now and then, and don’t be reluctant to call in a professional if something seems off. Set up properly, a keypad gives you reliable, keyless access to your garage for years without much thought required. Thanks for reading this guide on how to use a garage door keypad.

I am Rick. I grew up helping my dad with his handyman service. I learned a lot from him about how to fix things, and also about how to work hard and take care of business. These days, I’m still into fixing things- only now, I’m doing it for a living.
I’m always looking for new ways to help people grow and develop. That’s why I have created this blog to share all my experience and knowledge so
that I can help people who are interested in DIY repair.