
We have all experienced that moment of hesitation when pulling into a garage. You inch forward, craning your neck to see over the hood, trying to judge the distance between your front bumper and the workbench, lawnmower, or solid concrete wall waiting ahead. You stop, put it in park, and get out, only to realize you are still three feet away.
Parking in a tight space shouldn’t be a source of daily anxiety. While modern cars often come equipped with backup cameras and proximity sensors, these technological aids aren’t foolproof, and they certainly aren’t present in every vehicle. Sometimes, the most effective solution is the simplest one.
This guide on how to hang tennis ball in garage for parking will walk you through the process of setting up this simple parking aid so you can protect your car and your garage.
What Will You Need?
You likely have most of these items lying around your house already. To complete this project, gather the following:
- A Tennis Ball: Used is fine, as long as it still holds its shape.
- String or Twine: Lightweight nylon cord or strong cotton twine works best. Avoid fishing line, as it can be hard to see in dim lighting.
- A Screw Hook or Eyelet: A simple metal cup hook is usually sufficient.
- Scissors: To cut the string.
- A Step Ladder: To reach the garage ceiling.
- A Drill (Optional): Helpful for making a hole in the tennis ball, though a sharp knife can also work.
- A Tape Measure: To gauge the length of string needed.
- A Lighter (Optional): To singe the ends of synthetic rope so it doesn’t fray.
10 Easy Steps on How to Hang Tennis Ball in Garage for Parking
Follow these steps carefully to ensure your parking aid is accurate and secure.
Step 1: Position Your Vehicle Perfectly
The first step is the most critical because it dictates where everything else will go. Pull your car into the garage and park it exactly where you want it to end up every day. You need to ensure you have enough clearance in the front to walk past the hood if necessary, but more importantly, you need to ensure the garage door can close safely behind the bumper.
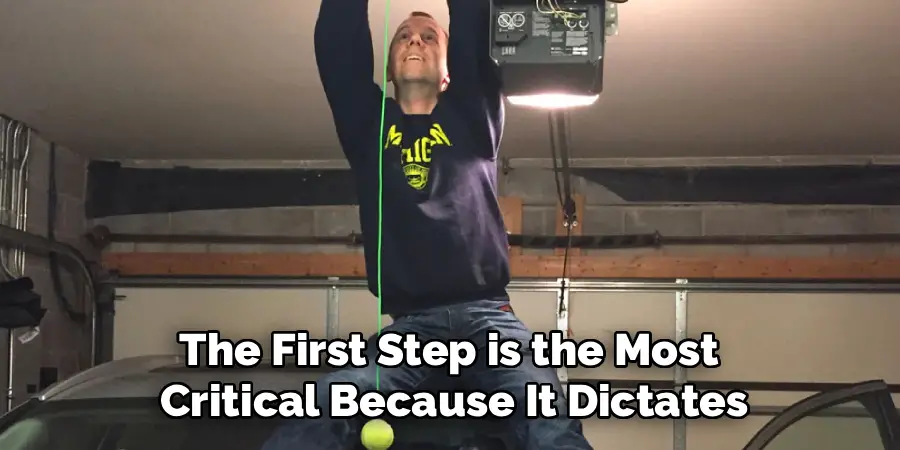
Open the garage door and check the clearance. Ideally, you want at least a foot of space between your rear bumper and the garage door track to prevent accidental scrapes. Once you are satisfied with the car’s position, put the vehicle in park and turn off the engine. Do not move the car until the project is finished.
Step 2: Determine the Anchor Point
You need to find the spot on the ceiling directly above the area where you want the tennis ball to hang. For most drivers, the best contact point is the center of the driver’s side windshield. This location is directly in your line of sight, meaning you won’t have to lean over or squint to see the ball as you approach.
Climb your ladder carefully. Using your eye as a guide (or a plumb bob if you want to be technically precise), locate the spot on the ceiling that corresponds vertically to the center of your windshield. It doesn’t have to be laser-perfect, but getting it close ensures the ball hits the glass rather than the roof or hood.
Step 3: Locate a Stud or Joist
Drywall alone is not strong enough to hold a screw hook securely over time, even for something as light as a tennis ball. Constant vibration from the garage door opening and closing can cause a hook in plain drywall to wiggle loose and fall out.

Use a stud finder to locate a ceiling joist near the spot you identified in Step 2. If the joist isn’t exactly where you need it, that is okay. You can screw the hook into the nearest joist and the string will hang slightly at an angle, or you can attach a small block of wood between two joists if you need absolute precision. For a tennis ball, being an inch or two off-center usually doesn’t matter.
Step 4: Install the Ceiling Hook
Once you have found your joist, it is time to install the hardware. If you are using a standard cup hook or eyelet, it is often easier to drill a small pilot hole first. This prevents the wood from splitting and makes it much easier to twist the hook in by hand.
Drill a small hole into the marked spot on the joist. Then, insert the screw hook and twist it clockwise until it is flush with the ceiling drywall. Give it a gentle tug to ensure it is bit into the wood and feels secure.
Step 5: Measure and Cut Your String
You need enough string to reach from the ceiling hook down to your windshield, plus extra for tying knots. The easiest way to do this is to take your spool of string up the ladder, tie one end loosely to the hook, and unspool it until it touches the windshield of your parked car.

Add about 12 inches of extra length to this measurement to account for the knots you will tie at the top and inside the ball. Cut the string with your scissors. If you are using nylon cord, use a lighter to quickly melt the cut ends so they don’t fray while you are working.
Step 6: Prepare the Tennis Ball
You now need to create a way to attach the string to the ball. Tennis balls are surprisingly tough to puncture because of the thick rubber core, so be careful.
You can use a power drill with a small bit to drill a hole straight through the center of the ball. Alternatively, you can use a serrated knife or an awl to pierce two small holes opposite each other. If you want the ball to hang straight, ensure the holes are directly across from one another.
Step 7: Thread the String Through the Ball
This can be the trickiest part of the operation. Take one end of your cut string and feed it through the holes you just made in the tennis ball. If the string is flimsy, you might need to use a bent paperclip or a crochet hook to help pull it through the other side.
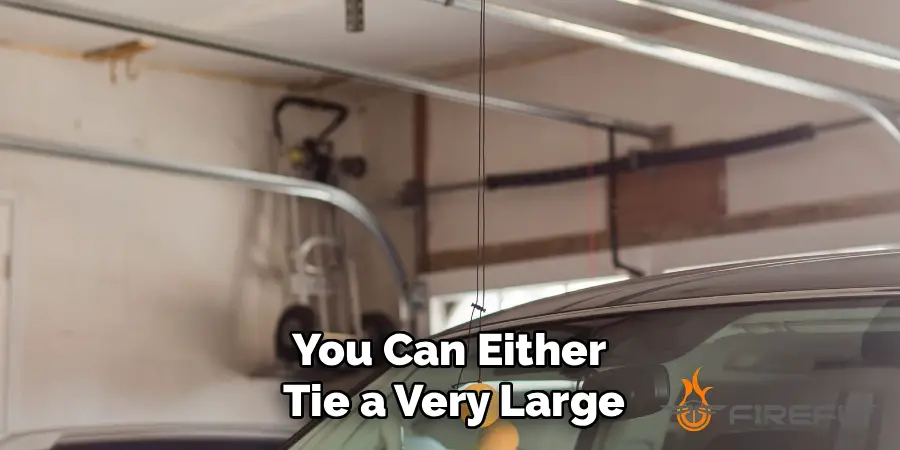
Once the string is through, you have two options. You can either tie a very large, bulky knot at the bottom so it can’t slip back through the hole, or you can tie the string around the outside of the ball if you didn’t drill through it. The internal knot method looks cleaner. To make it extra secure, tie the string around a small washer or a toothpick before pulling it back inside the ball; this acts as a toggle and prevents the string from ever slipping out.
Step 8: Attach the Assembly to the Ceiling
Take your tennis ball on a string back up the ladder. Thread the free end of the string through the eyelet or over the hook you installed in Step 4. Do not tie it off permanently yet. You need the ability to adjust the height in the next step. Just loop it through so it holds the weight of the ball while you climb down to check the positioning.
Step 9: Adjust the Height
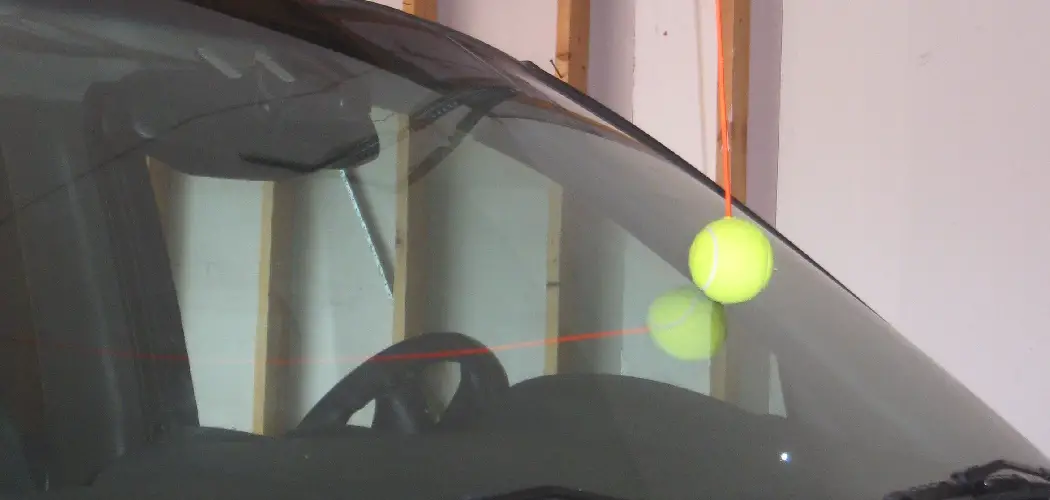
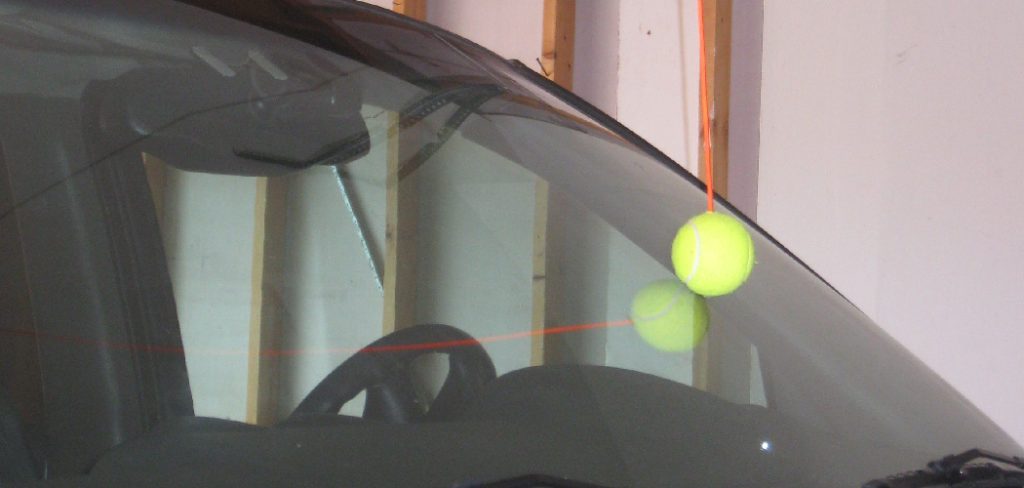
This is the moment of truth. You want the tennis ball to hang at a specific height: it should gently touch the windshield of your car when the car is perfectly parked.
Ideally, position the ball so it taps the glass right in front of the driver’s face. It shouldn’t be so low that it rests on the dashboard (where it might roll around), nor so high that it only brushes the roof (where you can’t see it). Adjust the string at the ceiling hook until the ball is resting lightly against the windshield glass.
Step 10: Secure and Test
Once the height is perfect, climb back up the ladder and tie a secure double knot at the ceiling hook. Trim off any excess string so it looks neat.
Now, perform a test run. Back your car out of the garage, then slowly drive back in. Watch the hanging ball. As you approach, it should align with your windshield. Continue inching forward until the ball makes contact with the glass. Stop immediately. Put the car in park and get out to verify that your bumper is safely clear of the garage door. If it is, you are done!
5 Things You Should Avoid
While this is a straightforward project, there are a few common pitfalls to avoid to ensure safety and effectiveness.
- Don’t Use a Golf Ball: It might seem like a good alternative, but a golf ball is hard and heavy. If you pull in too quickly, it can swing and crack your windshield.
- Avoid Using Fishing Line: While “invisible” string sounds nice, it is hard to see in a dark garage. You might walk into it when the car isn’t there. Use a visible white string or twine.
- Don’t Rely Solely on the Ball: The ball is a visual aid, not a brake. You still need to be attentive and keep your foot on the brake pedal as you approach the wall.
- Watch the Garage Door Path: Ensure your string and ball are not hanging in the path of the garage door opener’s chain or the door itself, which could cause a mechanical tangle.
- Don’t Ignore Passengers: If you have two cars or frequent passengers, make sure the string isn’t hanging in a walking path where someone carrying groceries might get tangled in it.
Conclusion
Setting up a tennis ball parking aid is one of the most practical home improvement projects you can do. It costs almost nothing, takes less than an hour, and saves you from the stress of guessing your distance every time you come home. By following these steps, you will protect your vehicle and your garage, ensuring a perfect park every single time.
Hopefully, this guide on how to hang tennis ball in garage for parking has helped teach you how to set up a tennis ball parking aid. As with any DIY project, it is important to prioritize safety and use caution when working with tools or ladders.
So grab a ladder and a tennis ball, and banish parking anxiety for good.

I am Rick. I grew up helping my dad with his handyman service. I learned a lot from him about how to fix things, and also about how to work hard and take care of business. These days, I’m still into fixing things- only now, I’m doing it for a living.
I’m always looking for new ways to help people grow and develop. That’s why I have created this blog to share all my experience and knowledge so
that I can help people who are interested in DIY repair.