
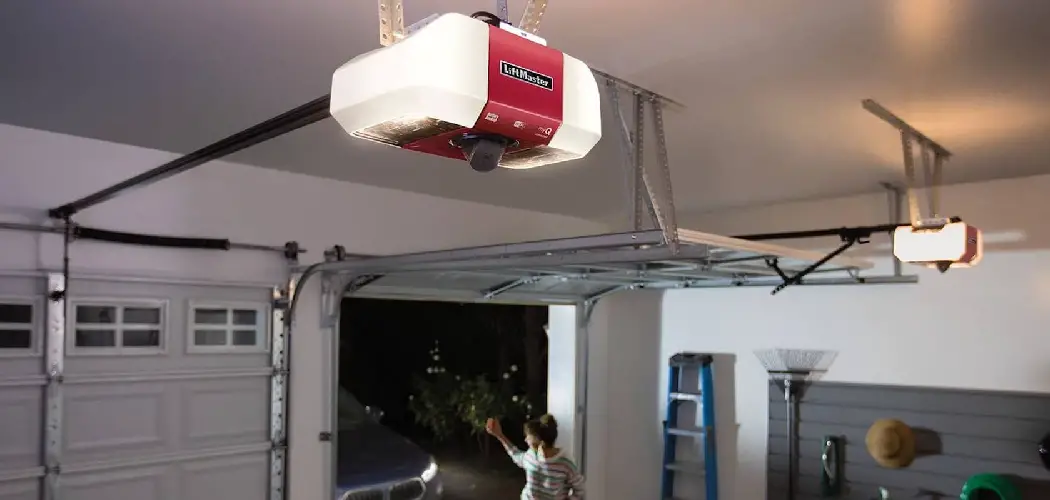
Smart home technology has seamlessly integrated into our daily lives, offering convenience and control with just a tap on our smartphones. Devices like the MyQ smart garage door opener have transformed a simple garage into a connected, secure part of our home ecosystem, allowing us to monitor and control access from anywhere in the world. However, this digital convenience is tethered to a stable internet connection. When you change your home WiFi network—whether getting a new internet provider, upgrading your router, or simply changing your password—that connection breaks, and your smart devices go offline. Suddenly, your futuristic garage is just a garage again.

This article provides a clear, simple, and comprehensive guide on how to change wifi on myq. Many users worry that this process will be complicated, but rest assured, reconnecting your device is a quick task that does not require deep technical expertise. We will walk you through the necessary steps using the MyQ app, cover common troubleshooting issues, and help you ensure your smart garage is back online and fully functional in minutes.
Why You Need to Update Your MyQ WiFi Settings
Understanding why your MyQ device has gone offline is the first step in resolving the issue. Your smart garage hub or opener is like any other Wi-Fi-enabled device in your home; it stores the network name (SSID) and password to maintain its connection to the internet. When that information changes, the device can no longer communicate with the MyQ servers, and it will appear as “Offline” in your app. Several common scenarios necessitate an update to your MyQ WiFi settings.
New Internet Service Provider (ISP)
Switching your internet service provider is a primary reason for this task. When a new provider installs their service, they typically provide a new router or gateway that comes with its own unique network name and password. Your MyQ device, still trying to connect to the old, now-defunct network, will fail to get online. You must manually introduce it to the new network.
Updated WiFi Password
For security reasons, it is a good practice to periodically change your WiFi password. However, the moment you save that new password on your router, every single device connected to it—from your laptop and phone to your smart thermostat and, yes, your MyQ opener—is immediately disconnected. Each one must be updated with the new credentials to restore its connection.
New Router or Mesh System
Upgrading your home networking equipment will also require you to reconnect your devices. Whether you are replacing an old, underperforming router with a newer model or installing a modern mesh WiFi system for better coverage throughout your home, you will be creating a new network environment. Your MyQ hub needs to be configured to join this new and improved network to resume its function.
Before You Begin: Pre-Update Checklist
Gather Necessary Tools and Information
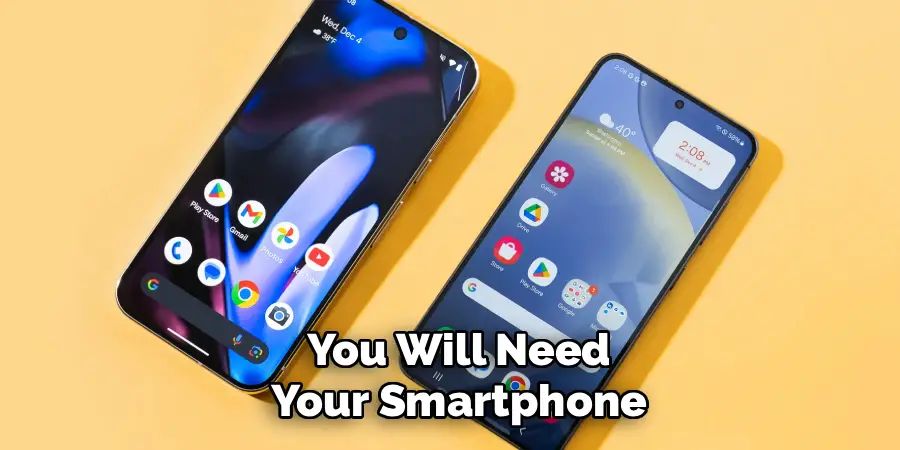
To ensure the reconnection process is as smooth and quick as possible, it is best to gather a few essential items before you start. Having everything ready will prevent you from having to pause midway through the setup wizard to find a password or a stepladder. First and foremost, you will need your smartphone with the MyQ app already installed. Make sure you are logged into your account. The app is the central tool you will use to guide the hub through the reconnection process.
Next, have your new WiFi network details at hand. You will need the exact network name (SSID) and the new password. Write them down clearly to avoid any typos during the setup, as an incorrect password is the most common point of failure. It is important to note that most MyQ devices are only compatible with 2.4 GHz WiFi networks, so ensure you are connecting to the 2.4 GHz band if your router broadcasts separate networks for 2.4 GHz and 5 GHz.
Prepare for Physical Access
Finally, you will need physical access to your MyQ Smart Garage Hub or the garage door opener unit itself. The setup process requires you to press a button on the device to put it into pairing mode. This means you will likely need a sturdy, stable ladder to safely reach the unit where it is mounted on your garage ceiling or wall. Having everything at your fingertips will make the process more efficient and reduce the chance of interruptions.
Locating the Setup Buttons on Your MyQ Device
The next step is to identify the physical hardware you will need to interact with. Chamberlain, the maker of MyQ, offers this technology in a few different forms, and the location of the setup button can vary.
For Smart Garage Hubs
If you have a separate MyQ Smart Garage Hub—a small, square device that is often mounted on the ceiling near your existing garage door opener—you will be looking for a settings or gear button. This is typically a black button on the side of the hub, often marked with a gear icon or sometimes the number ‘1’. This button is used to initiate the setup and WiFi clearing process.
For WiFi-Enabled Garage Door Openers
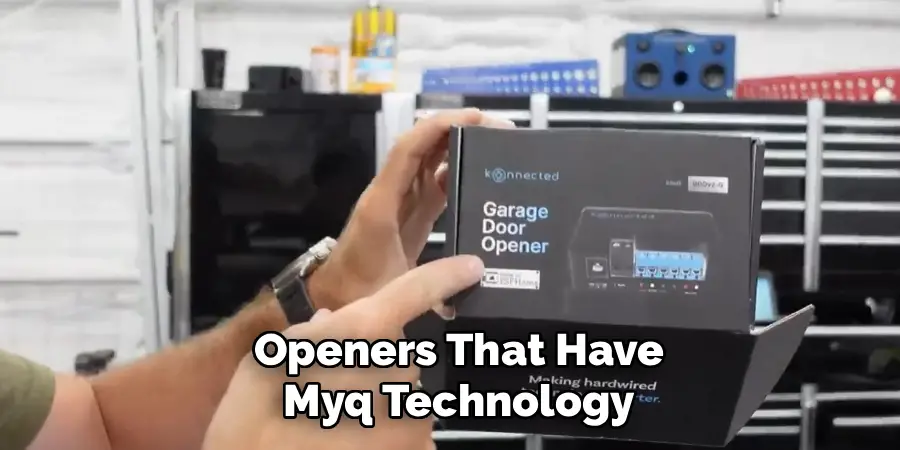
For newer garage door openers that have MyQ technology built directly into the motor unit (common in many modern Chamberlain and LiftMaster models), the programming button serves multiple functions. Instead of a gear icon, you will typically be looking for a small, square button, often referred to as the “Learn” button. It is usually found on the back or side panel of the motor unit, frequently under a light cover. This button is often colored yellow or purple, and pressing it in a specific sequence will initiate the WiFi setup mode.
A Guide on How to Change WiFi on MyQ
With all your preparations complete, you are now ready to reconnect your device. This primary guide will walk you through the step-by-step process. The language in the app is very user-friendly, but this breakdown will ensure you know exactly what to expect.
Step 1: Clear the Old WiFi Settings from the Hub
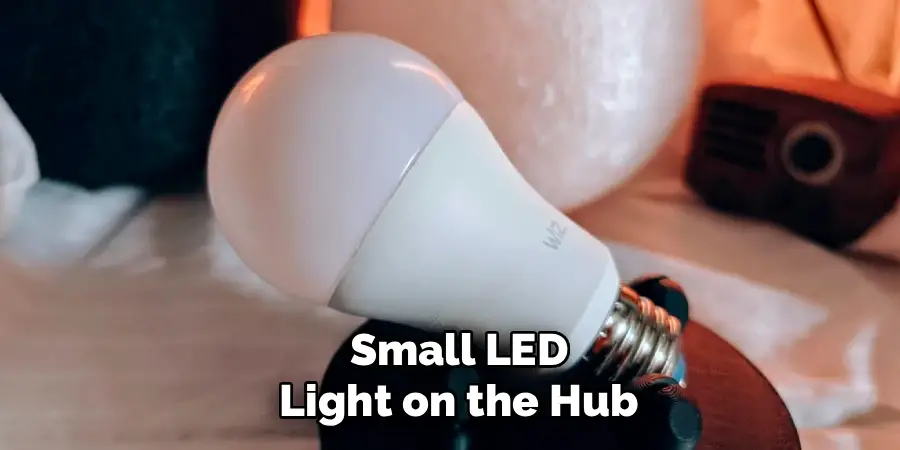
Before you can teach your MyQ device the new network information, you must first make it forget the old settings. For a standalone MyQ Smart Garage Hub, press and hold the settings (gear) button on the side of the device for about 6 to 10 seconds. You should watch the small LED light on the hub; it will typically blink blue and then turn off. This action erases the old network credentials and prepares the device to learn new ones. For garage door openers with built-in MyQ, this process often involves pressing the yellow or purple “Learn” button three times in quick succession until you hear a beep. The device is now reset and ready for setup.
Step 2: Open the MyQ App and Select the Device
On your smartphone, open the MyQ app. On your home screen or device list, you should see the garage door opener showing as “Offline.” Tap on that offline device. This action will typically bring up a prompt or an option to reconnect it, launching you into the setup wizard to resolve the connection issue.
Step 3: Initiate the Setup Process in the App
Within the device’s menu in the app, find and select the option labeled “Change Wi-Fi Settings” or something similar. This will begin the guided setup. The app will ask you to confirm that you have completed the first step and that the LED light on your hub is blinking blue. This blinking blue light indicates that the hub is in setup mode and is broadcasting a temporary network signal.
Step 4: Connect Your Phone to the MyQ Hub’s Network
This next step is a crucial part of the pairing process. The MyQ hub will begin to broadcast its own temporary WiFi network, which your phone needs to connect to directly. The app will instruct you to leave the app momentarily and go to your phone’s main WiFi settings screen. Look for a network in your list of available networks with a name like “MyQ-XXX” (the letters will be unique to your device). Select this network to connect your phone to the hub.
Step 5: Select Your Home WiFi Network
Once your phone is successfully connected to the temporary MyQ network, return to the MyQ app. The app will now use your phone’s connection to the hub to scan the area for all available 2.4 GHz WiFi networks. A list of nearby networks will appear on the screen. From this list, carefully select your home’s new WiFi network name (SSID).
Step 6: Enter Your New WiFi Password and Finish
The final step is to provide the credentials. When prompted, carefully type in your new WiFi password. After you enter the password, tap “Connect” or “Next.” The app will send this information to the hub, which will then attempt to connect to your home network. You will see a solid green light appear on the hub once it has established a successful connection to the internet. The app will then display a confirmation message that the setup is complete.
Post-Setup: Verifying the Connection
After the app confirms a successful setup, it is always a good idea to perform a quick check to make sure everything is working as expected.
Check the Hub’s LED Status
The indicator lights on the MyQ hub provide a quick visual status update. The most important light is the green LED. If you see a solid green light on your hub, it signifies that it is successfully connected to your WiFi router and the MyQ servers. A blinking green light usually means it is connected to the router but cannot reach the internet.
Test Functionality in the App
The ultimate test is to see if you can control the door. While still in your garage, use the MyQ app on your phone to send an open or close command to the garage door. If the door responds and you see its status update correctly in the app, then the entire system is back online and functioning perfectly.
Troubleshooting Common Connection Issues
Sometimes, the process hits a snag. If you have run into an issue while trying to figure out how to change wifi on myq, the problem is likely one of a few common and easily solvable issues.
MyQ Hub Won’t Connect to WiFi
If the hub fails to connect at the final step, the most common culprit is an incorrect WiFi password. Carefully re-enter it, paying close attention to case sensitivity. Another possibility is a weak WiFi signal in your garage. If your router is on the opposite side of your house, the signal may be too weak to maintain a stable connection. You may need to move your router or consider a WiFi extender. Finally, remember that MyQ devices are typically only compatible with 2.4 GHz networks. If you are accidentally trying to connect to a 5 GHz network, the connection will fail.
App Cannot Find the MyQ Hub
If the app gets stuck and cannot find the hub during the initial setup steps, ensure that Bluetooth is enabled on your smartphone, as the app uses it to help locate the device. You should also be physically close to the hub—within a few feet—for this initial discovery process. If it still fails, performing a quick power cycle by unplugging the hub for 30 seconds and then plugging it back in can often resolve the issue.
Device Remains “Offline” After Setup
Sometimes, even after a successful setup confirmation, the app may still show the device as “Offline.” Give it a few minutes, as it can sometimes take a moment for the server status to update. If the problem persists, try closing and reopening the app. You can also check your router’s administrative panel to see if the MyQ hub is listed as a connected client device, which would confirm it is on the network.
Maintaining a Stable MyQ Connection
To ensure your MyQ device remains reliably connected for the long term, consider your home’s WiFi environment. If possible, place your WiFi router in a central location in your home to provide the most even coverage. Garages are often on the periphery of a home’s WiFi signal. If you consistently experience dropouts or slow response times, investing in a WiFi extender or a mesh WiFi system can be a worthwhile upgrade. These devices will boost the signal strength in your garage, providing the stable connection your MyQ hub needs to perform its best.
Conclusion
While changing your home’s WiFi network can seem like a chore that requires reconfiguring countless devices, the process is designed to be as user-friendly as possible. This is certainly true for your smart garage. The steps for how to change wifi on myq are straightforward and logical, guiding you from clearing the old settings to introducing the device to its new network. By following the app’s setup wizard, using this guide as a reference, and ensuring you have the correct network information, any user can get their smart garage back online quickly and without hassle. You can now enjoy the restored convenience and security of your fully connected smart home system.

I am Rick. I grew up helping my dad with his handyman service. I learned a lot from him about how to fix things, and also about how to work hard and take care of business. These days, I’m still into fixing things- only now, I’m doing it for a living.
I’m always looking for new ways to help people grow and develop. That’s why I have created this blog to share all my experience and knowledge so
that I can help people who are interested in DIY repair.