
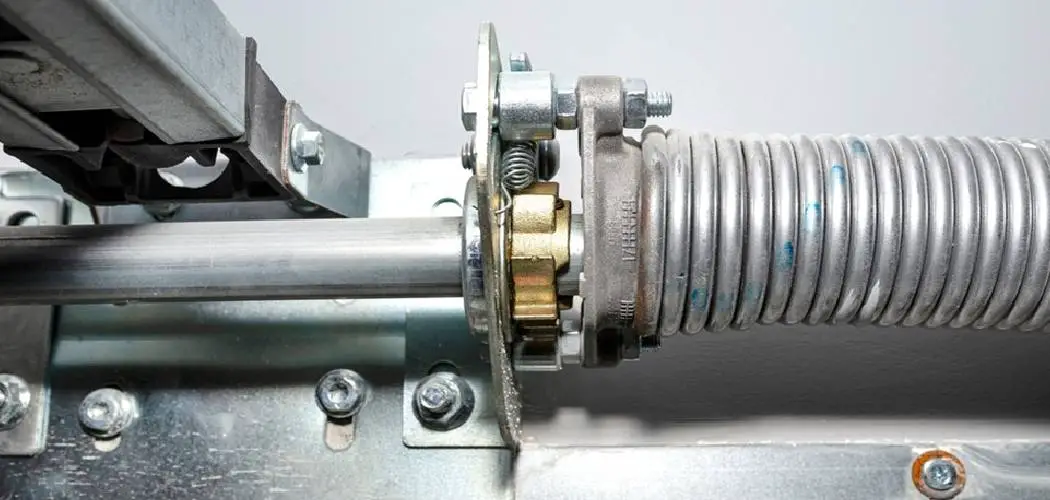
A garage door is often the largest moving object in your home, and keeping it in good working order is essential for both safety and convenience. When a door is properly balanced, it moves smoothly along its tracks and stays put when you open it halfway. However, if you notice your door feels unusually heavy, slams shut unexpectedly, or struggles to open, the balance is likely off. This issue typically stems from the extension springs—the long springs running along the side tracks—losing their tension over time. Learning how to balance a garage door with side springs is a manageable DIY project that can save you money on service calls and prevent premature wear on your opener.
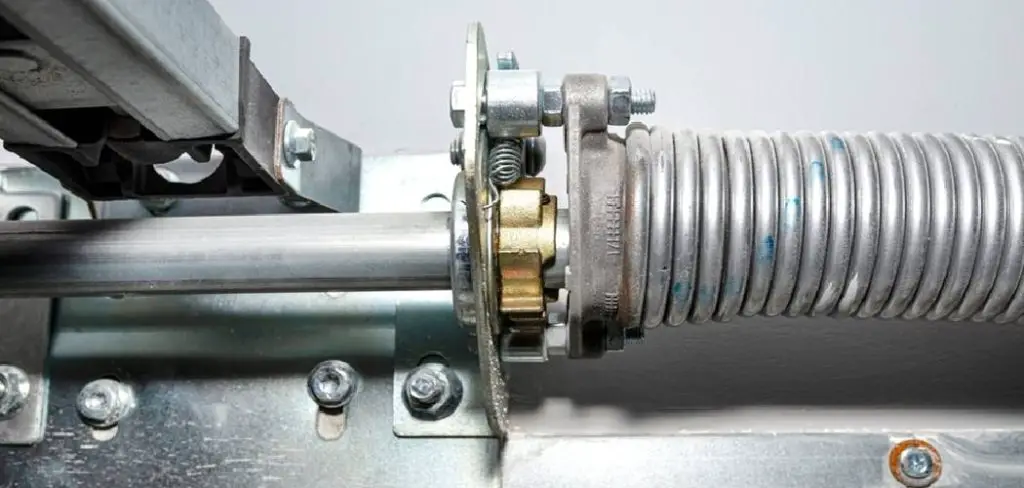
Before you begin, it is crucial to understand that garage door springs are under significant tension. While side extension springs are generally safer to work on than the torsion springs found above the door header, they still require respect and caution. By following the correct procedures and using the right safety gear, you can restore your door’s operation and ensure your garage remains a safe, functional entry point for your family.
Why Balancing Your Garage Door Matters
Maintaining the proper balance of your garage door is about more than just smooth operation; it is a critical safety issue. A balanced door relies on the springs to do the heavy lifting, meaning the door should feel relatively light to lift manually. When the balance is off, the dead weight of the door can come crashing down, posing a serious risk of injury to anyone or anything in its path. An unbalanced door puts immense strain on the automatic opener, causing the motor to work harder than it was designed to. This often leads to stripped gears, burnt-out motors, and costly replacements long before the unit’s expected lifespan is up
Step-by-Step Guide on How to Balance a Garage Door With Side Springs
Balancing your garage door requires patience and attention to detail. Follow these specific steps to adjust the tension safely and effectively.
Step 1: Disconnect the Garage Door Opener
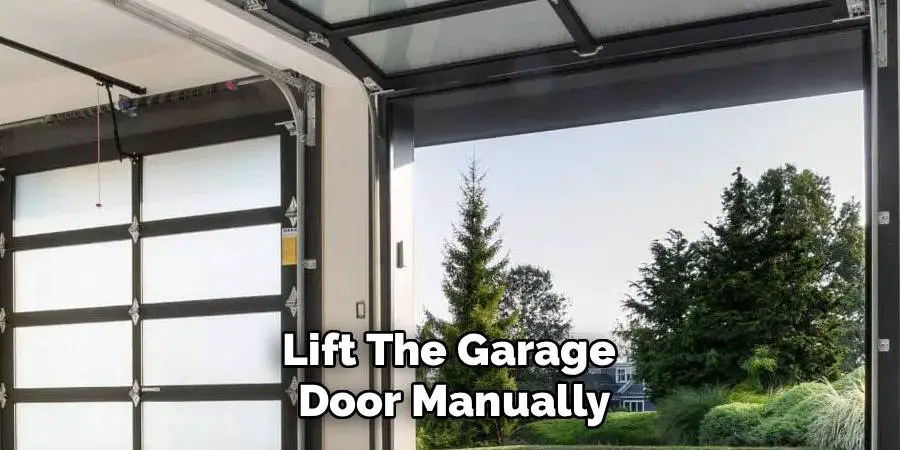
The first and most important step is to completely disconnect your automatic garage door opener from the door itself. You can do this by pulling the red emergency release cord that hangs down from the opener’s trolley. This action disengages the carriage from the drive chain or belt, allowing you to move the door manually. It is essential to perform this check without the assistance of the motor, as the opener can easily mask balance issues by powering through the resistance. Once disengaged, verify that the door is free to move by lifting it a few inches by hand.
Step 2: Test the Current Door Balance
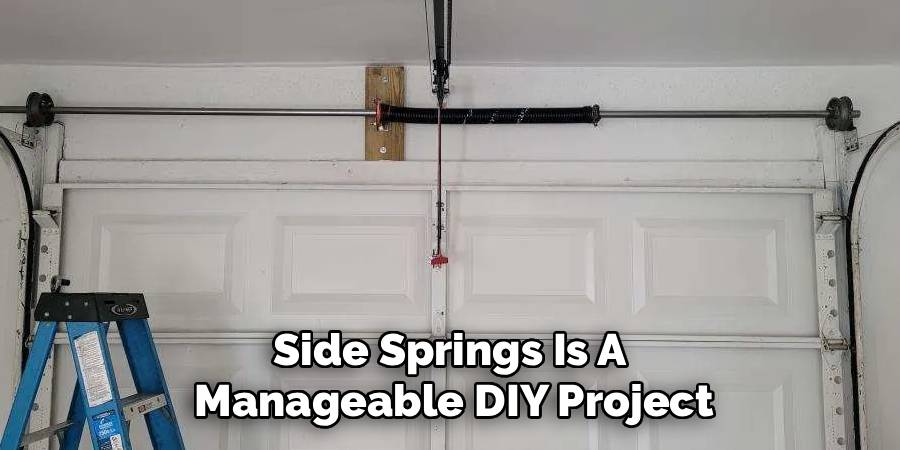
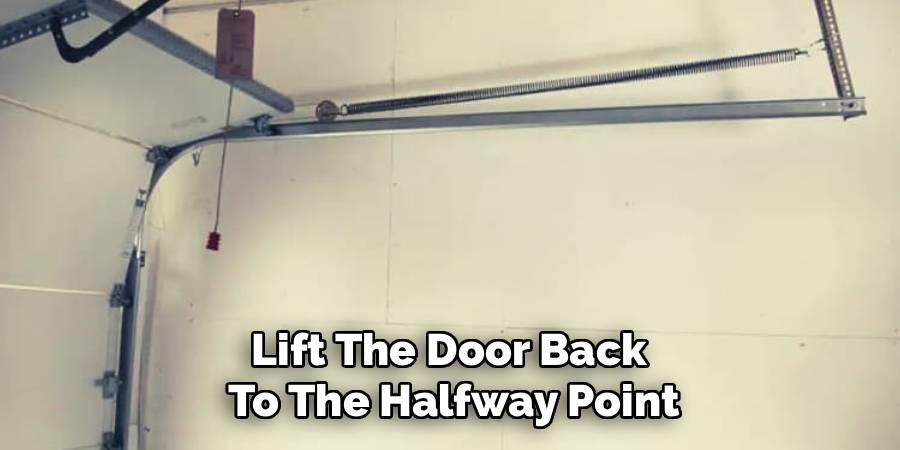
With the opener disconnected, you need to assess the current state of the door’s balance to understand how much adjustment is needed. Lift the garage door manually until it is about halfway open, roughly three to four feet off the ground. Carefully let go of the door handle while staying ready to catch it if it falls. A perfectly balanced door will stay in place, hovering where you left it, supported entirely by the spring tension. If the door slides down, the springs are too loose and need more tension. If the door flies up, the springs are too tight.
Step 3: Secure the Door in the Open Position
To safely adjust the extension springs, you must relieve all tension from the system by opening the door fully. Lift the garage door all the way to its highest open position. Once it is fully open, place C-clamps or locking pliers on the metal tracks directly below the bottom rollers on both sides. This physical block prevents the door from accidentally rolling down while you are working. Even though the tension is lower when the door is open, the springs are still active, so ensuring the door cannot move is a critical safety precaution that protects your fingers and hands.
Step 4: Inspect the Hardware and Cables
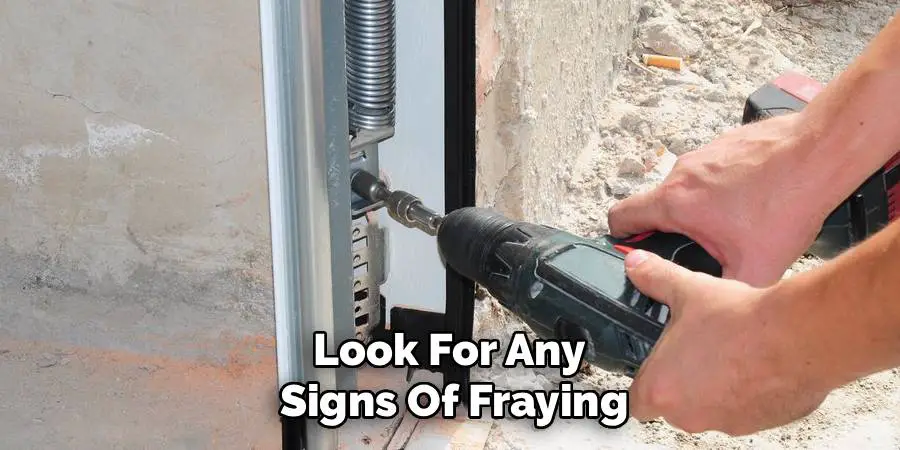
Before making any adjustments to the tension, take a moment to thoroughly inspect the condition of the springs, cables, and pulleys. Look for any signs of fraying in the steel cables, rust on the springs, or worn-out bearings in the pulleys. If any of these components look damaged or compromised, do not attempt to adjust them; they should be replaced immediately. Adjusting a damaged spring or cable can cause it to snap, leading to injury. If the hardware looks solid, locate the safety containment cables that run through the center of the springs. These are vital safeguards that prevent a snapped spring from flying across the garage.
Step 5: Adjust the Tension on the First Side
Locate the adjustment clip or S-hook that connects the extension spring cable to the track support bracket near the front of the garage. To increase tension on a door that is too heavy, you need to shorten the cable length. Unhook the S-hook from the track support and move it to a hole that is closer to the door opening, effectively tightening the spring. If the door was pulling up, move the hook in the opposite direction to loosen the tension. This process is central to learning how to balance a garage door with side springs effectively. Make small adjustments, moving only one or two holes at a time.
Step 6: Repeat the Adjustment on the Opposite Side
Garage door extension springs must work in unison to prevent the door from racking or binding in the tracks. Whatever adjustment you made to the first side, you must replicate exactly on the second side. If you moved the S-hook two holes tighter on the left, move it two holes tighter on the right. Keeping the tension equal ensures that the door lifts evenly and prevents uneven wear on the rollers and bearings. Uneven adjustment can cause the door to hang crookedly in the opening or get stuck halfway up, creating new problems rather than solving the original balance issue.
Step 7: Test the Balance Again
Once you have adjusted both springs equally, it is time to test your work. Remove the C-clamps or locking pliers from the tracks and carefully lower the door manually. Lift the door back to the halfway point, about three to four feet off the ground, and release it gently. Ideally, the door should remain suspended in place. If it still drops, you need to repeat the process and add more tension. If it rises on its own, you added too much tension and need to back it off slightly. Continue this trial-and-error process until the door is perfectly neutral.
Step 8: Reconnect the Opener and Safety Cables
After you have successfully balanced the door, ensure that the safety containment cables are properly secured and running through the center of the extension springs. These cables are your primary defense against injury if a spring breaks in the future. Once verified, re-engage the automatic garage door opener by pulling the release cord back toward the door or manually lifting the door until the trolley snaps back into place. Run the opener through a full cycle to ensure it operates smoothly without straining or making excessive noise. A well-balanced door should move quietly and effortlessly.
Frequently Asked Question
What Are the Signs of an Unbalanced Garage Door?
The most common signs of an unbalanced garage door include the door appearing to sag on one side or looking uneven when closed. You might notice the door feels extremely heavy when you try to lift it manually, or conversely, it might shoot up too quickly. Additionally, if your garage door opener makes loud straining noises, moves slower than usual, or reverses direction unexpectedly during operation, it is often struggling against the weight of an improperly balanced door.
How Often Should I Check the Balance of My Garage Door?
Industry experts recommend checking the balance of your garage door at least once or twice a year. A good routine is to perform this check during the spring and fall when you are doing other seasonal home maintenance. Regular checks allow you to catch minor tension issues before they turn into major hardware failures. Changes in temperature can affect the metal springs, causing them to expand or contract, which may slightly alter the tension over time.
Can I Balance a Garage Door by Myself?
Yes, most homeowners can balance a garage door with extension springs themselves, provided they follow safety protocols. It is a manageable DIY task that requires only basic tools like C-clamps, an adjustable wrench, and a ladder. However, if your door uses a torsion spring system (the single spring mounted on the wall above the door), it is highly recommended to hire a professional. Torsion springs are under extreme tension and can be very dangerous to adjust without specialized tools and training.
What Is the Difference Between Torsion Springs and Extension Springs?
Extension springs are located on either side of the garage door, running parallel to the horizontal tracks, and they stretch and contract to lift the door. Torsion springs are located horizontally above the garage door opening on a metal shaft and twist to generate lift. Extension springs are common in older homes and lighter doors, while torsion springs are standard in newer construction because they are generally safer, last longer, and provide a smoother lifting action.
Why Does My Garage Door Open Unevenly After Balancing?
If your garage door opens unevenly after you have adjusted the springs, it usually means the tension is not equal on both sides. Even if you moved the hooks to the same hole position, one spring might be older or more stretched out than the other. You may need to adjust the tension independently to compensate for the difference in spring strength. It could also indicate a problem with a cable slipping off a pulley or a drum being misaligned.
Conclusion
Taking the time to maintain your garage door is one of the best investments you can make in your home’s safety and functionality. By following the steps outlined above, you can ensure that your door operates smoothly, reducing strain on your automatic opener and minimizing the risk of accidents. A balanced door is quiet, efficient, and reliable, giving you peace of mind every time you pull into your driveway. Regular inspections and minor adjustments prevent small issues from becoming expensive repairs down the road.
Remember, while DIY maintenance is rewarding, safety should always be your top priority. If you encounter rusted hardware, frayed cables, or if the door still fails to operate correctly after your adjustments, do not hesitate to call a professional technician. Now that you know how to balance a garage door with side springs, you have the knowledge to keep your home’s largest moving part in peak condition for years to come.

I am Rick. I grew up helping my dad with his handyman service. I learned a lot from him about how to fix things, and also about how to work hard and take care of business. These days, I’m still into fixing things- only now, I’m doing it for a living.
I’m always looking for new ways to help people grow and develop. That’s why I have created this blog to share all my experience and knowledge so
that I can help people who are interested in DIY repair.