
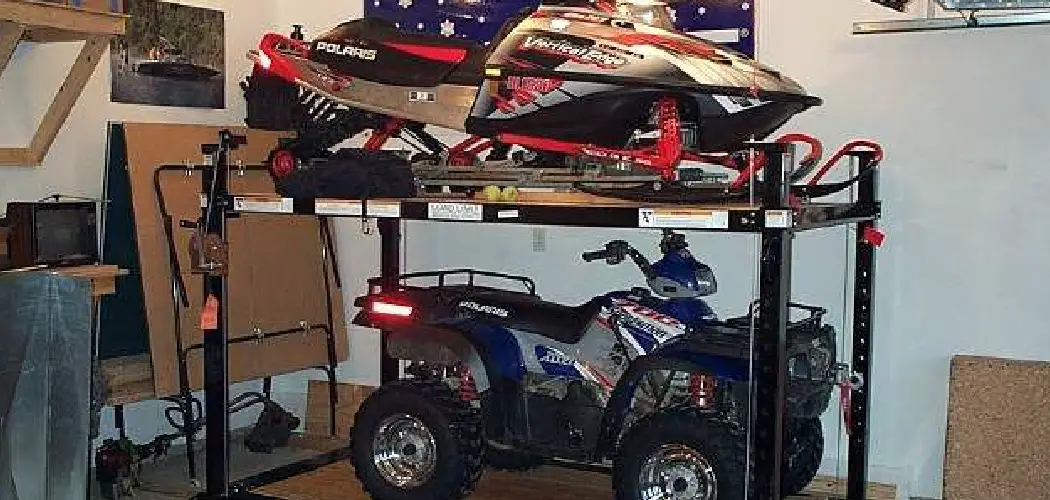
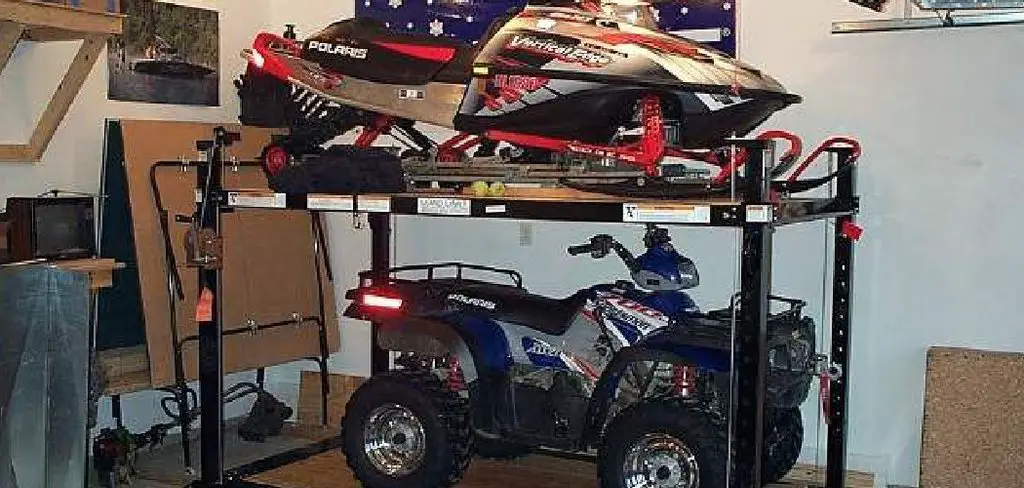
When the last snowfall melts and spring arrives, your snowmobile deserves more than a spot in the corner where it gets forgotten. Proper off-season storage protects your investment, saves you money on repairs, and makes sure your sled fires right up when the cold returns. A snowmobile that sits neglected for months can develop rust, dead batteries, gummed-up fuel systems, and cracked seals. None of that is fun to deal with when you’re itching to ride again.
Storing your snowmobile in a garage gives you the perfect environment to keep it safe and ready. But there’s a right way to do it. Toss it inside without prep, and you might face a hefty repair bill next season.
This guide on how to store snowmobile in garage walks you through everything you need to know, from the tools you’ll gather to the ten steps that make storage simple. Let’s get your sled tucked away the right way.
Benefits of Storing Your Snowmobile in a Garage
Keeping your snowmobile in a garage during the off-season comes with real advantages. Here’s why it pays off.
- Protection from the elements. Rain, sun, and humidity are hard on a snowmobile. UV rays fade and crack your seat and plastics, while moisture invites rust. A garage shields your sled from all of it.
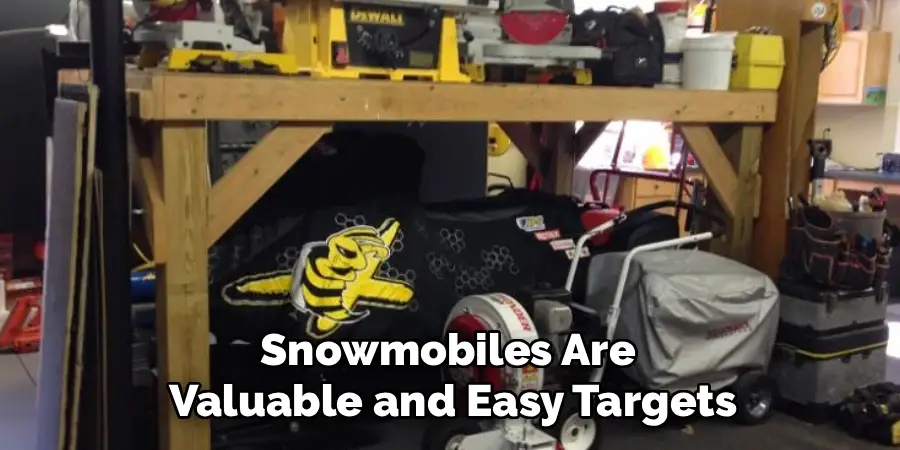
- Lower risk of theft. Snowmobiles are valuable and easy targets when left outside. A locked garage adds a strong layer of security and gives you peace of mind.
- Fewer repairs and lower costs. When you store your machine properly indoors, you avoid weather-related damage. That means fewer trips to the mechanic and more money in your pocket.
- Longer engine life. A stable, dry environment protects your engine components, fuel system, and electronics. Your snowmobile simply lasts longer when it’s cared for.
- Faster start next season. A well-stored sled is a ready sled. Instead of troubleshooting problems in the fall, you can get right back to riding.
- Better resale value. If you ever decide to sell, a snowmobile with a clean storage history looks and runs better. Buyers notice the difference.
What Will You Need?
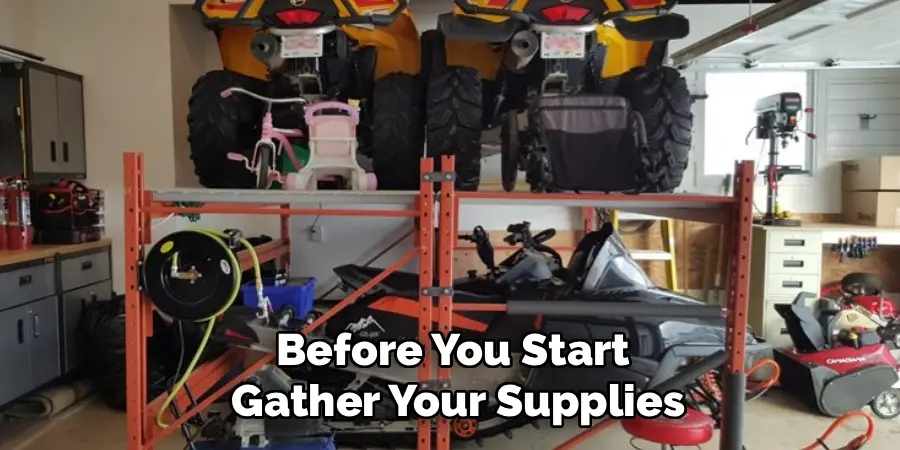
Before you start, gather your supplies. Having everything on hand makes the job smooth and quick. Here’s your checklist:
- Fuel stabilizer
- Fresh oil and oil filter (for four-stroke models)
- Fogging oil (for the engine cylinders)
- Spark plug wrench and fresh spark plugs
- Grease and grease gun
- A battery tender or trickle charger
- A breathable snowmobile cover
- Jack stands or a snowmobile lift/dolly
- Clean rags and microfiber cloths
- Mild soap and water for washing
- WD-40 or a similar corrosion protectant
- Silicone spray for suspension and moving parts
- A small container for draining fluids
- Wheel chocks or wooden blocks
- Work gloves and safety glasses
Optional but helpful items include a moisture absorber for your garage and a notebook to track your maintenance dates. With your kit ready, you’re set to begin.
10 Easy Steps on How to Store Snowmobile in Garage
Step 1: Clean the Entire Snowmobile
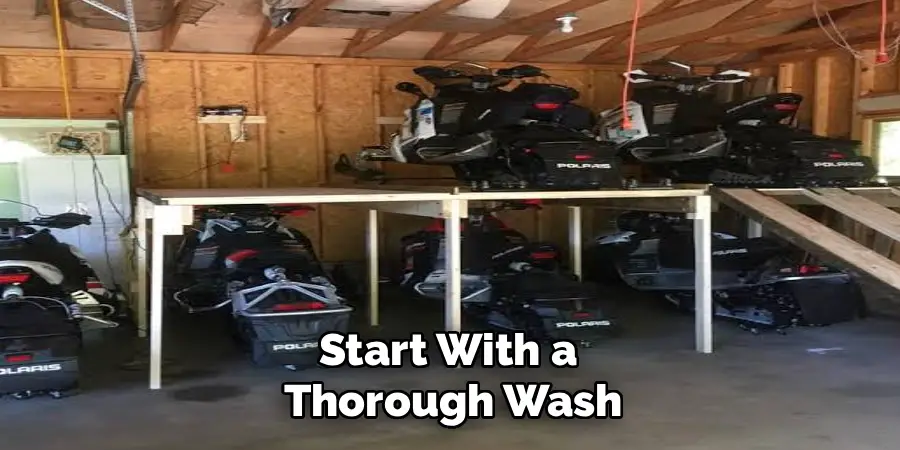
Start with a thorough wash. Dirt, salt, and grime hold moisture against metal and speed up rust. Use mild soap and water to scrub the body, skis, track, and undercarriage. Pay close attention to hidden spots where debris collects. Once it’s clean, dry every surface with microfiber cloths. Don’t skip drying, because trapped water causes corrosion over months of storage. A clean, dry sled is the foundation of good storage. Take your time here, and the rest of the process goes easier.
Step 2: Add Fuel Stabilizer and Fill the Tank
Old gas breaks down and leaves varnish that clogs your fuel system. To prevent this, add fuel stabilizer to your tank following the product instructions. Then fill the tank almost completely. A full tank leaves little room for air, which reduces condensation and rust inside the tank. After adding the stabilizer, run the engine for about ten minutes. This circulates the treated fuel through the carburetor or injectors, protecting the whole system. This simple step saves you from frustrating fuel problems next season.
Step 3: Fog the Engine
Fogging protects your engine’s internal parts from rust during long storage. With the engine running, spray fogging oil into the air intake according to your manual. You’ll see the exhaust smoke as the oil coats the cylinders and pistons. For extra protection, remove the spark plugs, spray a bit of fogging oil directly into each cylinder, then turn the engine over a few times by hand. This coats everything evenly. Fogging creates a protective barrier that keeps moisture and corrosion away from critical components.
Step 4: Change the Oil (Four-Stroke Models)
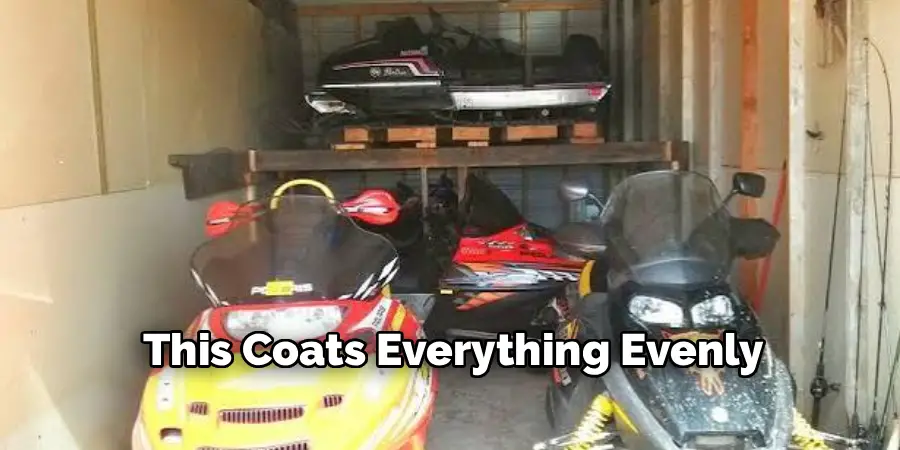
If you own a four-stroke snowmobile, change the oil before storage. Used oil contains acids and contaminants that can eat away at engine parts over time. Drain the old oil while the engine is slightly warm so it flows out easily. Replace the oil filter, then refill with fresh oil to the correct level. Starting the off-season with clean oil protects your engine all winter long. Two-stroke owners can skip this step, but it’s still worth checking your oil injection system.
Step 5: Remove and Maintain the Battery
Cold and inactivity drain snowmobile batteries fast. Disconnect the battery, removing the negative terminal first, then the positive. Wipe down the terminals to remove any corrosion. Store the battery in a cool, dry place, and connect it to a battery tender or trickle charger. This keeps it charged without overloading it. A maintained battery lasts longer and works reliably. If you skip this, you may find a dead battery when you’re ready to ride again.
Step 6: Lubricate Moving Parts
Grease and lubrication keep your snowmobile’s moving parts from seizing up. Use a grease gun to hit all the zerk fittings, including the suspension, steering, and jackshaft. Apply silicone spray to the suspension components and any exposed metal. A light coat of WD-40 or corrosion protectant on bare metal surfaces prevents rust. Proper lubrication ensures smooth operation and protects parts that would otherwise dry out and wear during storage. Check your manual for the specific lubrication points on your model.
Step 7: Elevate the Track and Skis
Letting your snowmobile sit flat on its track for months can cause flat spots and warping. Use jack stands, a lift, or wooden blocks to raise the machine so the track hangs freely. Elevating the skis also takes pressure off the suspension and prevents flat spots on the ski runners. This small step preserves the shape and performance of your track and suspension. When you lower the sled next season, everything rolls and glides just like it should.
Step 8: Protect the Track and Suspension
Once the track is elevated, give it a little extra care. Apply silicone spray to the track to keep the rubber flexible and prevent cracking. Loosen the track tension slightly to reduce stress on the components during long storage. Inspect the suspension for any wear or damage while you’re at it. Addressing issues now saves you time in the fall. A flexible, well-cared-for track means better traction and a smoother ride when winter returns.
Step 9: Seal Openings Against Pests
Garages attract mice and other critters that love to nest in warm engine bays. These pests chew wires, build nests, and cause expensive damage. Stuff clean rags or steel wool into the exhaust and air intake openings to block entry. Just remember to remove them before you start the engine next season. You can also place mouse traps or repellent around your storage area. Keeping pests out protects your wiring and keeps your snowmobile clean and functional.
Step 10: Cover the Snowmobile
Finish by covering your sled with a breathable snowmobile cover. Avoid plastic tarps, which trap moisture and encourage rust and mildew. A quality breathable cover keeps dust off while letting air circulate. Make sure the cover fits snugly but doesn’t press against wet surfaces. This final step keeps your machine clean and protected until you’re ready to ride. Step back and admire your work, because your snowmobile is now safely stored for the season.
5 Things You Should Avoid
Even careful owners make mistakes. Steer clear of these common errors to keep your snowmobile in great shape.
1. Storing it with an empty or half-full tank. An empty tank invites condensation and rust. Always fill your tank and add stabilizer before storage.
2. Using a plastic tarp instead of a breathable cover. Plastic traps moisture against your sled, leading to rust and mildew. Choose a breathable cover made for snowmobiles.
3. Leaving the battery connected. A connected battery slowly drains and can die completely. Disconnect it and hook it to a trickle charger.
4. Skipping the cleaning step. Dirt and salt hold moisture and cause corrosion. Never store a dirty snowmobile, no matter how tired you are.
5. Letting the track sit flat. Storing your sled flat on its track causes flat spots and warping. Always elevate the machine so the track hangs free.
Conclusion
How to store snowmobile in garage the right way is one of the smartest things you can do as an owner. It protects your investment, saves you money, and makes the return to riding season smooth and stress-free. By cleaning your sled, stabilizing the fuel, fogging the engine, maintaining the battery, and following the rest of these ten steps, you set your machine up for years of reliable performance.
Remember to avoid the common mistakes that trip up so many riders, like skipping the cleaning or leaving the tank empty. A little effort now pays off big when winter returns and your snowmobile starts on the first pull.
Grab your supplies, set aside an afternoon, and give your sled the care it deserves. Your future self will thank you when you’re back on the trails, gliding through fresh powder without a single hiccup. Happy storing, and even happier riding.

I am Rick. I grew up helping my dad with his handyman service. I learned a lot from him about how to fix things, and also about how to work hard and take care of business. These days, I’m still into fixing things- only now, I’m doing it for a living.
I’m always looking for new ways to help people grow and develop. That’s why I have created this blog to share all my experience and knowledge so
that I can help people who are interested in DIY repair.