
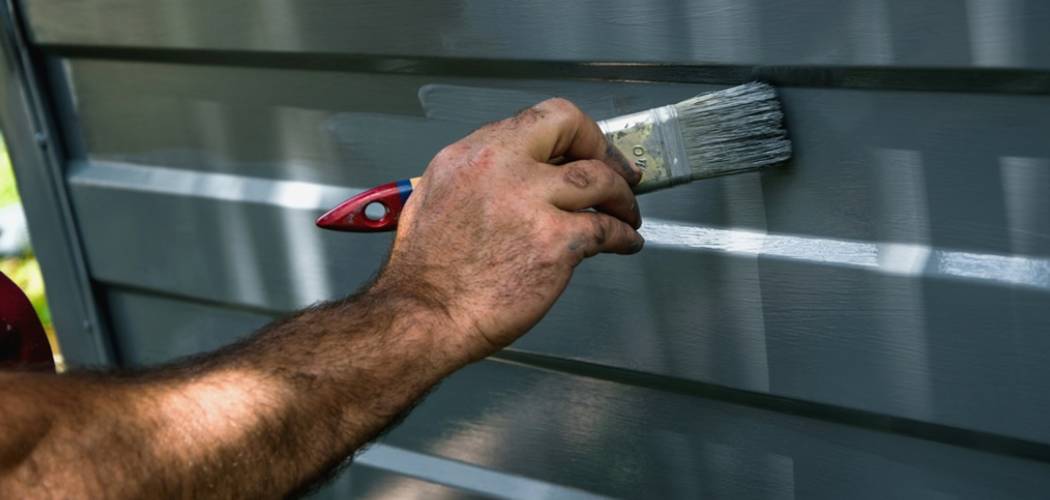
The garage door is often the largest single feature on the front of a house, acting as a major component of its overall curb appeal. When it looks fresh and clean, it elevates the entire property. However, over time, even durable aluminum doors can fall victim to the elements, becoming chalky, faded, or simply dated. The immediate thought might be an expensive replacement, but there is a far more cost-effective solution. A fresh coat of paint is a transformative DIY project that yields an incredible return on aesthetic investment. With the right preparation and materials, anyone can learn how to paint aluminum garage doors and completely restore their home’s exterior beauty.
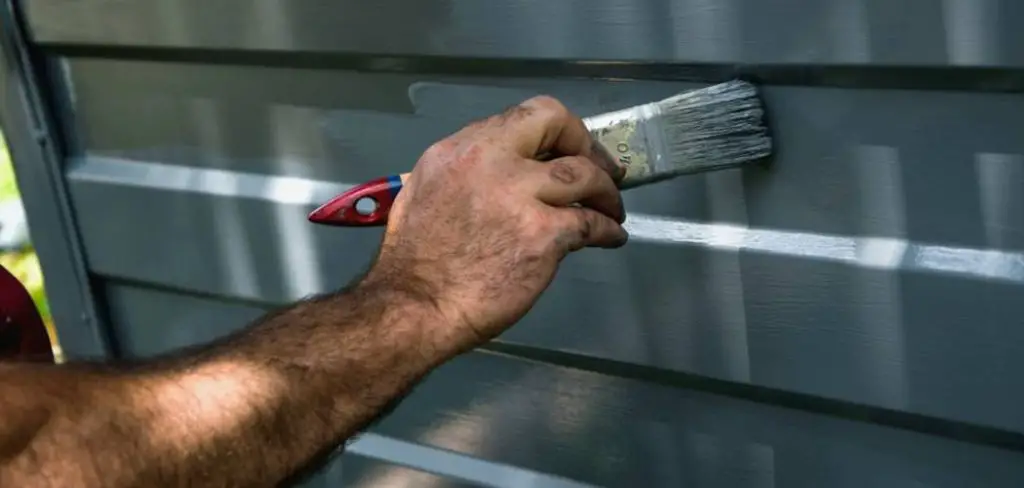
This guide will provide everything you need to know to achieve a professional, long-lasting finish. We will cover the unique properties of aluminum that make specific prep work essential, how to choose the right paint and primer, and a detailed, step-by-step walkthrough of the entire process. It’s a project that can be completed over a weekend and will leave your home looking updated and well-maintained for years to come.
Why Paint Your Aluminum Garage Door?
Before diving into the “how,” it is important to understand the “why.” The benefits of painting an aluminum garage door go far beyond a simple color change. It is a strategic home improvement decision that provides significant advantages over a full replacement. Aluminum is an excellent material for garage doors due to its lightweight and rust-proof nature, but its factory finish is not invincible. Years of exposure to sun, rain, and temperature fluctuations cause the surface to oxidize, resulting in a dull, chalky powder that looks worn and unappealing.
Cost-Effectiveness
The most compelling reason to paint is the dramatic cost difference. A complete garage door replacement and installation can easily run from $1,000 to several thousand dollars, depending on the style and features. In stark contrast, the cost of high-quality paint, primer, and supplies for this DIY project is typically under $200. This makes painting one of the highest-impact, lowest-cost exterior home improvement projects you can undertake.
Extending Lifespan
A new coat of paint is more than just a cosmetic fix; it is a protective barrier. When you properly prepare and paint an aluminum surface, you are sealing the metal from moisture and UV radiation. This preventative layer stops the oxidation process in its tracks, preventing the pitting and corrosion that can degrade the metal over a long period. By adding this layer of defense, you are extending the functional lifespan of your existing door, pushing a costly replacement further down the road. A new color can also completely update the look of an older home, making it feel more modern and cohesive with your personal style.
Choosing the Right Paint and Primer for Aluminum
The success of your project hinges on using the correct products. Aluminum is a non-porous metal, which means standard paints won’t adhere to it properly without the right preparation and formulation. Choosing products specifically designed for metal surfaces is non-negotiable if you want a finish that won’t peel, chip, or fade within a year.
The Importance of Acrylic Latex Paint
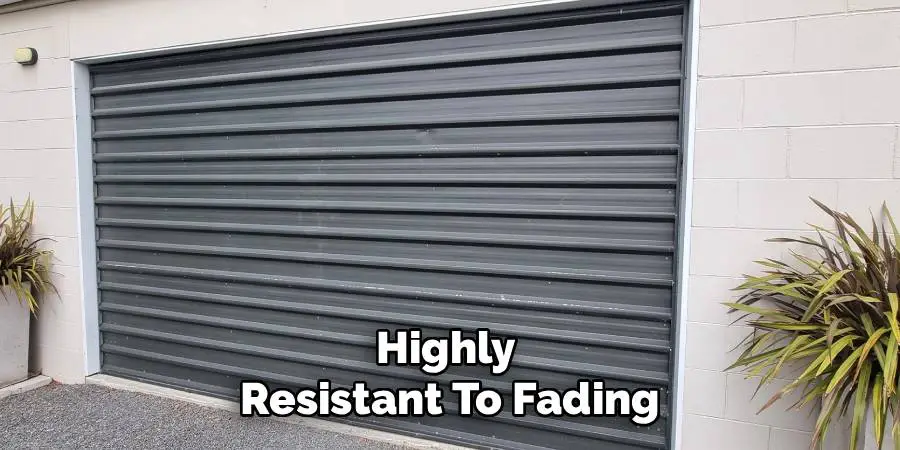
For the top coat, your best choice is a high-quality, 100% acrylic latex exterior paint. This type of paint is formulated to be flexible, which is crucial for a garage door that expands and contracts with daily temperature changes. Acrylic latex paint bonds exceptionally well to a properly primed metal surface and is highly resistant to fading and chalking from UV exposure. It is also easy to work with and cleans up with water, making it a user-friendly option for a DIY project.
Selecting the Correct Primer
Primer is the essential bridge between the aluminum surface and the top coat of paint. You cannot skip this step, especially on bare or oxidized aluminum. An oil-based metal primer or a high-quality acrylic bonding primer specifically formulated for metal and other slick surfaces is highly recommended. These primers are designed to “bite” into the metal, creating a stable foundation for the paint to grab onto. If you have areas where the original paint has completely worn away to bare metal, a self-etching primer is an excellent choice for spot-priming those areas first, as it chemically bonds with the aluminum for superior adhesion.
Matte vs. Satin vs. Semi-Gloss
The sheen you choose affects both the look and the durability of the finish. While high-gloss paints are very durable, they reflect a lot of light and will highlight every single dent, ding, and imperfection on the door’s surface. A matte finish offers a modern, sophisticated look but can be more difficult to clean. For most garage doors, a satin finish is the ideal sweet spot. It provides excellent durability and is easy to wipe clean, but its lower reflectivity does a much better job of hiding minor surface imperfections, resulting in a more forgiving and professional-looking final product.
Essential Tools and Materials Checklist
Cleaning and Preparation Tools
Gathering all your tools and materials before you begin will ensure your project proceeds smoothly without interruption. For the cleaning and preparation stage, you will need a strong degreaser like Trisodium Phosphate (TSP) or a biodegradable equivalent, a bucket, and a stiff bristle brush to scrub away oxidation. Additionally, a garden hose with a spray nozzle is essential for thoroughly rinsing the surface. This step ensures no contaminants remain, providing a clean base for your paint application.
Preparation and Application Tools
Once the surface is clean, turn your attention to prep work. Have fine-grit sanding sponges or sandpaper (180-220 grit) ready for smoothing out imperfections. Use painter’s tape to mask off edges and masking paper or plastic sheeting to shield areas you don’t want painted. Drop cloths are also crucial for protecting your driveway and garage floor. Regarding the painting process, the tools will vary based on your chosen method. For a traditional brush-and-roller technique, opt for a high-quality 2-inch angled nylon/polyester paintbrush for precise edge work, and a 4- or 6-inch roller with a short nap cover (3/8 inch or less) for smooth metal surfaces. For experienced DIYers, a paint sprayer can achieve a professional, factory-like finish but will require more extensive masking and preparation.
Pre-Painting Preparation: Cleaning and Sanding
The most critical phase of this entire project is surface preparation. If you take shortcuts here, your paint job is destined to fail, no matter how expensive your paint is. The goal is to create a surface that is perfectly clean, dry, and slightly abraded so the primer and paint can form a strong mechanical bond.
Removing Dirt and Oxidation
Your first task is to wash the garage door thoroughly. Mix your TSP or other degreaser with warm water according to the package directions. Use your stiff bristle brush to scrub every square inch of the door. You will likely see a chalky white or gray residue coming off; this is the aluminum oxidation you need to remove completely. Pay special attention to the grooves between panels where grime tends to collect.

Sanding the Surface
After cleaning, the next step is sanding. The goal here is not to strip the old paint down to bare metal. Instead, you are scuffing the entire surface to remove any remaining gloss and create a microscopic “tooth” for the primer to grip. A fine-grit sanding sponge is perfect for this, as it conforms to the shape of the door panels. Work systematically and ensure every part of the door has been lightly abraded to a dull finish. It is important to avoid using steel wool, as tiny particles can break off, embed in the surface, and lead to rust spots under your new paint.
Rinse and Dry
Once the sanding is complete, you must rinse the door meticulously to remove all sanding dust and cleaning residue. Use your garden hose to wash everything off, starting from the top and working your way down. After rinsing, wipe the door down with a clean cloth or chamois and then allow it to dry completely. Trapped moisture is an enemy to paint adhesion, so be patient. Depending on the weather, this could take several hours. Do not proceed until the door is bone-dry to the touch.
Protecting the Surrounding Area
With your garage door perfectly prepped, the next step is to protect everything you don’t want to get paint on. Careful masking is the mark of a professional job and prevents a messy cleanup later.
Masking the Frame and Siding
Apply high-quality painter’s tape carefully along the edges where the garage door frame meets the siding of your house. Press the tape down firmly to create a tight seal. You should also apply tape to the rubber weatherstripping that runs along the sides and top of the door frame. If this weatherstripping is old and brittle, or if it is easily removable, taking it off entirely before painting and replacing it afterward is often the best approach.
Covering Windows and Hardware
If your garage door has windows, use masking paper and painter’s tape to completely shield the glass. For hardware like handles or locks, you have two options. You can either tape over them meticulously or, for a cleaner result, remove them from the door. This usually only requires a screwdriver and a few minutes of your time.
Drop Cloth Placement
Finally, protect the ground. Lay drop cloths on the driveway directly under the garage door. It is also wise to place a drop cloth just inside the garage opening. This will catch any drips that might fall when you have to partially raise or lower the door to paint the sections near the top and bottom.
How to Paint Aluminum Garage Doors: Step-by-Step Guide
With all the preparation complete, it’s finally time to apply the paint. Work methodically and patiently, and remember that several thin coats are always better than one thick coat.
Step 1: Disengage the Door Opener
Before you start painting, you need to be able to move the door manually. Pull the red emergency release cord hanging from the opener’s track. This will disconnect the door from the motor, allowing you to lift and lower it by hand. This is essential for comfortably reaching the panels at the very top and bottom of the door throughout the process.
Step 2: Apply the Primer
Begin by applying your chosen metal primer. If the original finish is in relatively good shape, you may only need to spot-prime the areas you sanded down to bare metal. However, for the most durable and uniform finish, applying one full coat of primer over the entire door is the best practice. Use your paintbrush to apply primer to the recessed corners and grooves first, then use your roller for the large, flat panels. Let the primer dry completely according to the manufacturer’s instructions on the can.
Step 3: Cut in the Edges
Start the painting process by “cutting in.” This involves using your angled paintbrush to carefully apply paint to all the areas that a roller can’t easily reach. This includes the deep grooves between the panels and the raised edges of the door stiles. Getting these difficult areas painted first ensures you can work quickly with the roller in the next step.
Step 4: Roll the Flat Surfaces
Once the edges are cut in and still wet, immediately switch to your roller. Apply the paint to the flat surfaces of the panels, working systematically from one side to the other. A common technique is to work from top to bottom, completing one horizontal row of panels at a time. The key is to always maintain a “wet edge,” meaning you should roll into the freshly brushed paint before it has a chance to dry. This technique helps to eliminate visible lap marks and creates a seamless finish.
Step 5: Check for Drips and Runs
Aluminum is a very smooth, non-porous surface, which means paint can easily drip or run, especially in the corners of recessed panels. As you work, constantly scan the areas you have just painted. If you see a drip forming, use the tip of your brush to lightly smooth it out before it has a chance to tack up and harden.
Step 6: Allow to Dry and Recoat
Patience is key when it comes to drying times. Because aluminum doesn’t absorb paint like wood does, it may take longer for the paint to fully cure. Refer to the paint can for recommended recoat times. Once the first coat is dry to the touch, apply a second coat using the same “cut in, then roll” process. A second coat is almost always necessary to achieve full, rich color coverage and maximum durability.
Tips for Painting in Different Weather Conditions
Environmental factors can have a significant impact on the success of your project. Planning your painting day around the weather forecast is crucial.
Ideal Temperature Range
Most latex paints cure best in moderate temperatures, typically between 50°F and 85°F (10°C to 29°C). If it is too cold, the paint will not cure properly and may fail to adhere. If it is too hot, the paint can dry too quickly, leaving behind visible brush strokes and lap marks.
Avoid Direct Sunlight
Do not paint your garage door in direct, scorching sunlight. The aluminum surface can heat up dramatically, causing the paint to dry almost instantly on contact. This can lead to blistering, bubbling, and poor adhesion. It is best to work in the shade, either by painting on an overcast day or by “chasing the shade” as the sun moves across your house.
Humidity Concerns
High humidity is another enemy of a good paint job. Excess moisture in the air can significantly slow down the curing process, leading to a finish that remains tacky for an extended period. This sticky surface can attract dust, pollen, and insects. Aim for a day with low to moderate humidity for the best results.
Maintenance and Care for Your Newly Painted Door
Once your project is complete and the paint has fully cured (which can take several days), a little bit of simple maintenance will keep it looking fresh for years. Plan to wash the door annually with a soft cloth, mild soap, and water to remove dirt and grime. Periodically inspect the door for any chips or scratches, which can happen from daily use. Touching up these small blemishes immediately with leftover paint will prevent them from growing and will stop oxidation from getting a new foothold.
Conclusion
A freshly painted garage door can dramatically transform your home’s exterior, boosting its curb appeal for a fraction of the cost of a full replacement. This project proves that knowing how to paint aluminum garage doors is an incredibly valuable skill for any homeowner. The process is not difficult, but it demands patience and a commitment to thorough preparation. By carefully cleaning, sanding, and priming the surface, you create the perfect foundation for a finish that looks professional and stands the test of time. So, take your time with the prep work, choose the right materials, and get ready to give your home a stunning facelift this weekend.

I am Rick. I grew up helping my dad with his handyman service. I learned a lot from him about how to fix things, and also about how to work hard and take care of business. These days, I’m still into fixing things- only now, I’m doing it for a living.
I’m always looking for new ways to help people grow and develop. That’s why I have created this blog to share all my experience and knowledge so
that I can help people who are interested in DIY repair.