Have you ever had to call a technician because your garage door opener wasn’t working? Maybe the sensors weren’t aligned and were stopping the door from closing. If you’re like me, you want to try to fix things yourself before paying for a service call.
This post will show you how to align liftmaster garage door sensors. This is a pretty simple process, but it will save you time and money if you can do it yourself. Ready to get started? Let’s go!
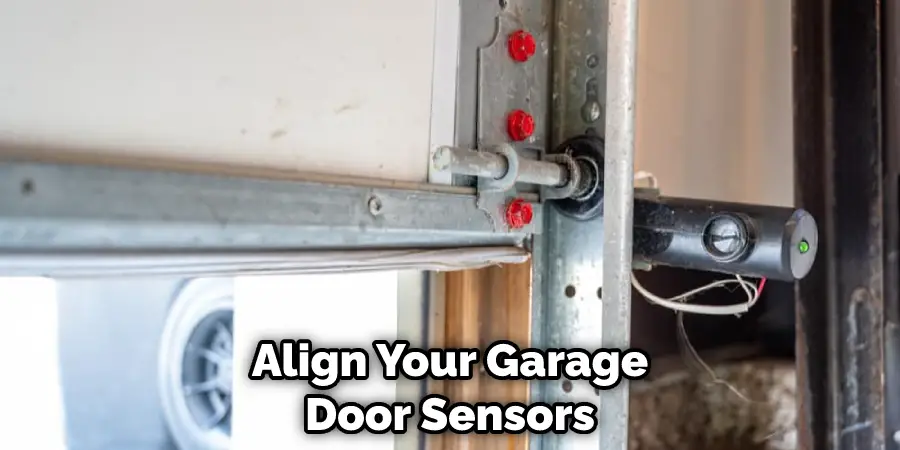
Summary: To align Liftmaster garage door sensors, start by cleaning the lenses on both sensors with a clean, dry cloth. Then, loosen the wingnuts on both sensors and adjust them until they are level with each other. Make sure the sensors are facing each other directly, and the LED lights are solid. Tighten the wingnuts to secure the sensors in place. Test the garage door to ensure it opens and closes smoothly without hitting any objects.
What Causes Garage Door Sensors to Become Misaligned?
A few things can cause your garage door sensors to become misaligned. The most common cause is simply because the sensors have been bumped. This can happen if you hit your car’s garage door or something falls and bumps the sensors. Another common cause is because the sensors have become dirty or dusty. This can happen if you don’t clean your garage door sensors regularly.
Additionally, extreme temperature changes can cause the sensors to become misaligned. For example, the sensors may have shifted slightly if it’s been particularly cold or hot. The last thing that can cause your garage door sensors to become misaligned is that the wires have become loose. This can happen if you move your garage door opener or if the wires are old and frayed.
Why Is It Important to Align Your Garage Door Sensors?
It’s important to align your garage door sensors because misaligned sensors can cause your garage door to stop working. If the sensors are misaligned, the garage door opener won’t be able to “see” the sensors, and it will think that something is in the way of the door. This will cause the garage door opener to stop working, and you won’t be able to open or close your garage door.
Also, misaligned sensors can cause your garage door to open or close unexpectedly. This can be dangerous if you or someone else is in the way of the door. Another reason why it’s important to align your garage door sensors is because it can save you money in the long run.
If your sensors are misaligned, they will wear out more quickly. You’ll have to replace them more often, which can be costly. Finally, aligning your garage door sensors will keep your garage door opener working properly for a longer period.
Step by Step How to Align Liftmaster Garage Door Sensors
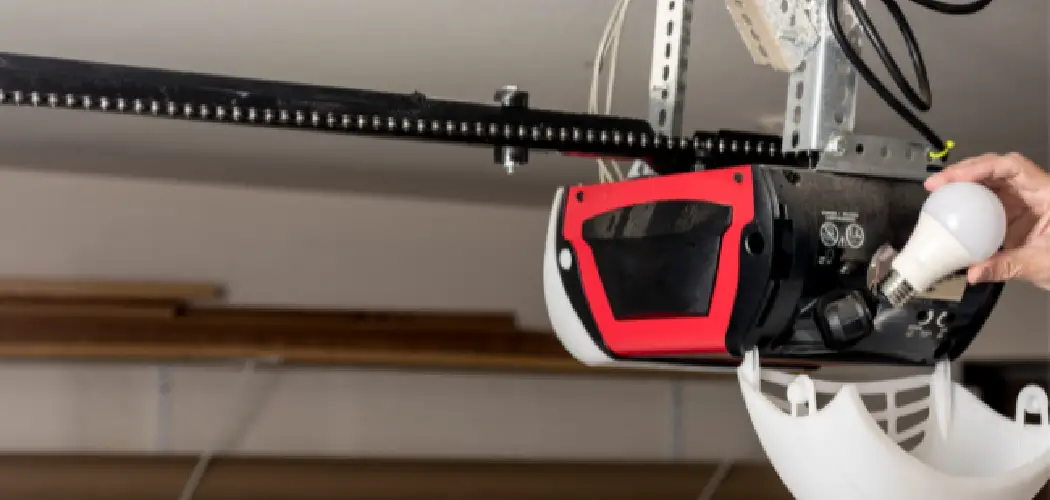
1. Unplugging Your Garage Door Opener
The first step is to unplug your garage door opener. You’ll need to do this to work on the sensors safely. To do this, first, find the power cord for your garage door opener. It should be plugged into an outlet near your garage door. Once you’ve found the power cord, unplug it from the outlet.
If your garage door opener has a battery backup, you’ll also need to disconnect the battery. Avoid working on the sensors with the power on, as this could be dangerous.
2. Finding the Sensors
The next step is to find the sensors. This is usually a pretty easy task, as most garage door openers have sensors mounted on the wall near the door. The sensors are usually located about six inches from the ground.
First, take a look at the wall near your garage door to see if you can spot the sensors. Next, consult your garage door opener’s manual if you can’t find them. Once you’ve located the sensors, it’s time to move on to the next step.
3. Checking the Sensors
Now that you’ve found the sensors, it’s time to check them. First, take a look at the sensors themselves. Are they dusty or dirty? If so, you’ll need to clean them before proceeding. You can use a damp cloth to wipe away any dirt or dust. First, disconnect the sensors from the garage door opener.
You Can Also Check It Out to Install a Clopay Garage Door
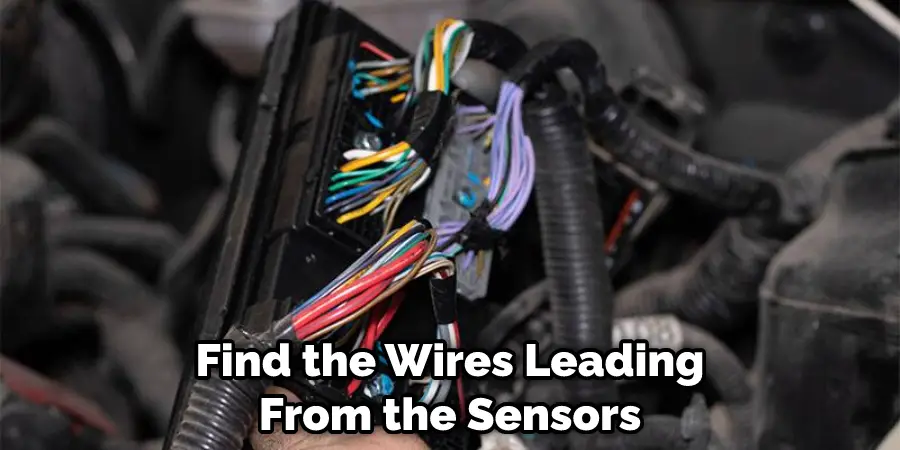
To do this, find the wires leading from the sensors to the opener. There should be two wires, one for each sensor. Once you’ve found the wires, gently pull on them to disconnect the sensors. If the sensors are very dirty, you may need to use a mild cleaning solution.
4. Adjust the Sensor Brackets
Once you’ve disconnected the sensors, it’s time to adjust the sensor brackets. The sensor brackets are what hold the sensors in place. First, locate the screws that hold the brackets in place to adjust the brackets. There will be two screws, one for each bracket.
Next, loosen the screws with a screwdriver. Once the screws are loose, you can move the brackets. Move the brackets until the sensors are lined up with the door. Once the sensors are properly aligned, tighten the screws to hold the brackets in place. Avoid overtightening the screws, as this could damage the brackets.
5. Check the Wires
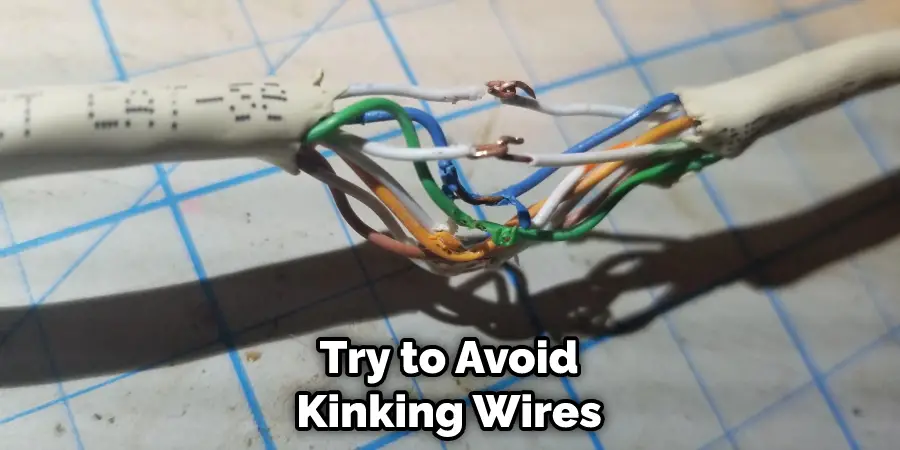
Once you’ve adjusted the sensor brackets, it’s time to check the wires. First, take a look at the wires leading from the sensors to the opener. Are they kinked or damaged in any way?
If so, you’ll need to replace them. Try to avoid kinking or damaging the wires while working on the sensors. Next, check the connections between the wires and the sensors. Make sure that the connections are tight. If they’re loose, you’ll need to tighten them.
6. Check the Lens
The next step is to check the lens. First, take a look at the lens on each sensor. Is it cracked or damaged in any way? If so, you’ll need to replace the lens. First, remove the old lens.
To do this, unscrew the retaining ring. Once the retaining ring is loose, you can pull the lens off of the sensor. Next, install the new lens. To do this, simply screw on the retaining ring. Make sure that the lens is tight before proceeding.
7. Use a Level
Once you’ve checked the lens, it’s time to use a level. This will help you make sure that the sensors are properly aligned. First, find a level. A small bubble level will work fine. Next, place the level on top of one of the sensors. Adjust the sensor until the bubble is level.
Once the bubble is level, you can move on to the next sensor. Repeat this process for the other sensor. Avoid overtightening the screws, as this could damage the sensor.
You Can Check It Out Adjust Liftmaster Garage Door
8. Move the Sensor closer to the opener
If the sensors are still not working properly, you may need to move them closer to the opener. First, disconnect the sensors from the opener. Next, move the sensors closer to the opener. Once you’ve found a spot that works, reattach the sensors to the opener. Try not to move the sensors too far from the opener, as this could interfere with the signal.
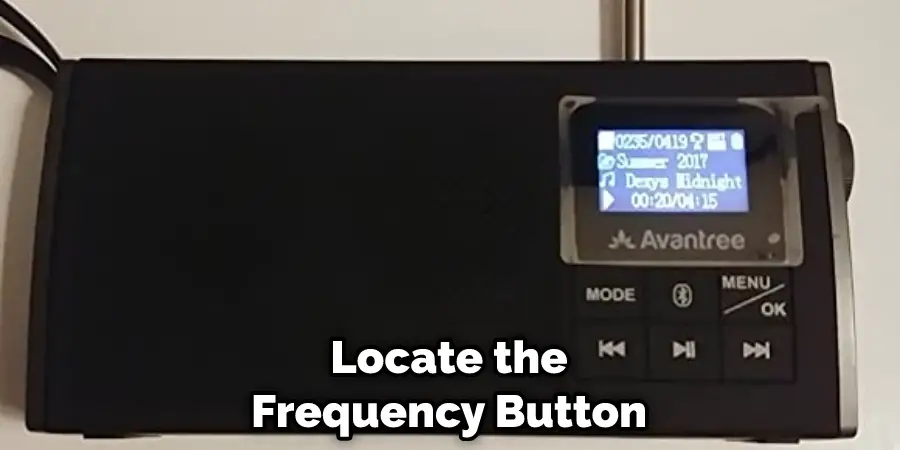
9. Try a Different Frequency
If you’re still having trouble, you may need to try a different frequency. Try changing the frequency on the opener. First, locate the frequency button. It should be on the back of the opener.
Once you’ve found the button, press and hold it for three seconds. The opener will emit a beep to indicate that the frequency has been changed. Try using a different frequency until you find one that works.
10. Call a Professional
If you’re still having trouble, you may need to call a professional. A professional can help you troubleshoot the problem and find a solution. They can also replace any parts that are damaged. Try to find a professional who is experienced with garage door opener repairs. If you’re unsure where to find a professional, you can check the yellow pages or search online.
Tips and warnings on How to Align Liftmaster Garage Door Sensors
Tips:
- Always use a level when adjusting the sensors. This will help ensure that they are properly aligned.
- Check the wires leading from the sensors to the opener. Make sure that they are not kinked or damaged in any way.
- Use a different frequency if you’re having trouble with the signal.
Warnings:
- Do not overtighten the screws on the sensor brackets. This could damage the brackets.
- Be careful when handling the sensors. Avoid dropping or damaging them in any way.
- Do not move the sensors too far from the opener. This could interfere with the signal.
- Always disconnect the sensors from the opener before moving them. This will prevent damage to the wires.
Conclusion
So there you have it, a complete guide on how to align liftmaster garage door sensors. By following these steps, you should be able to get your sensors working properly in no time. With a little patience and the right tools, you can fix your sensors yourself. However, if you’re still having trouble, write a comment below, and we’ll try to help. Thanks for reading!
I am Rick. I grew up helping my dad with his handyman service. I learned a lot from him about how to fix things, and also about how to work hard and take care of business. These days, I’m still into fixing things- only now, I’m doing it for a living.
I’m always looking for new ways to help people grow and develop. That’s why I have created this blog to share all my experience and knowledge so
that I can help people who are interested in DIY repair.