Do you have unsightly gaps in your garage walls that need filling? Fear not – here, we’ll cover all the tips and tricks necessary to rid yourself of these pesky blemishes.

Save yourself time and money from the previous dozen trips to the hardware store – get it right on the first go! Whether you’re installing drywall, wood panels, or painting over damaged surfaces, this post on how to fill gaps in garage wall can help ensure you end up with a smooth wall as an end result.
From preparation and sanding techniques to material procurement strategies, our step-by-step guide contains all the information necessary for any DIYer looking to fill those gaps once and for all. So don’t worry one more day about those unwanted imperfections; let’s take care of them together!
Needed Materials
- Putty or Joint Compound
- Drywall Tape
- Sandpaper (Medium and Fine Grit)
- Paint Scraper
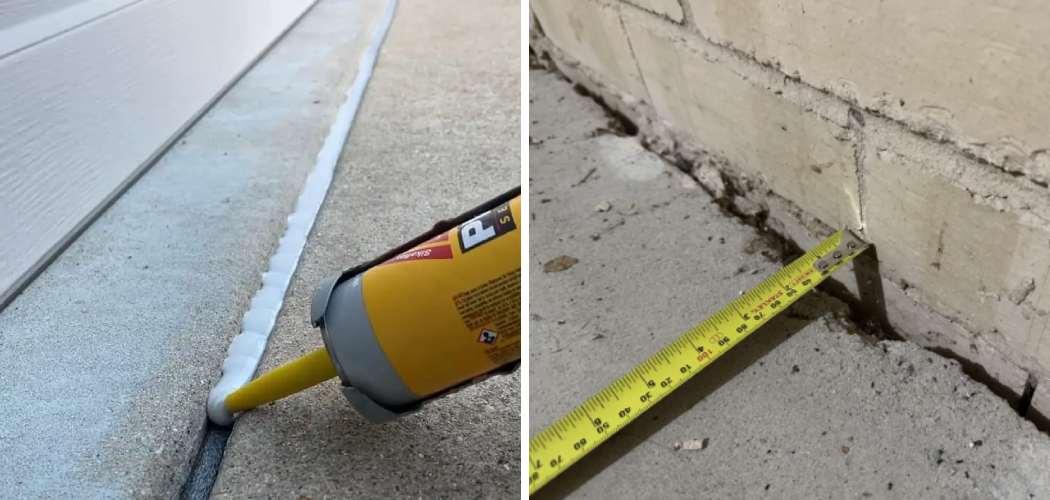
- Caulk Gun and Caulk
- Primer and Paint
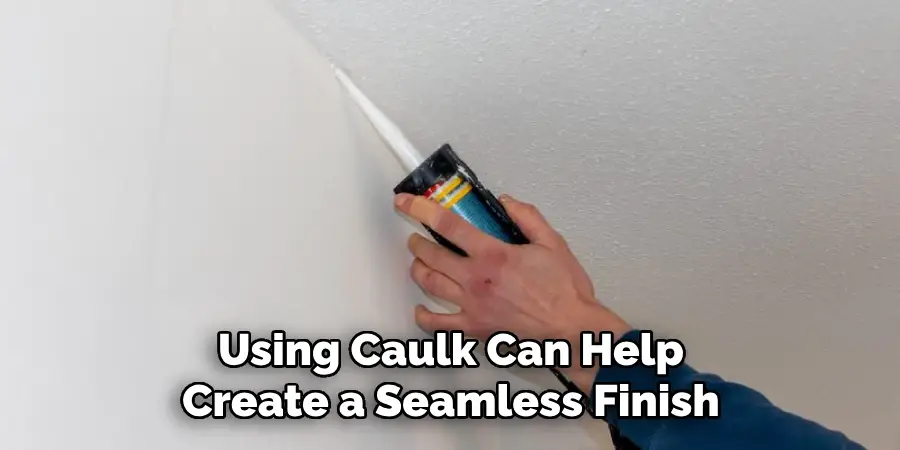
It’s important to note that the type of material you’ll need depends on the size and location of the gap. For smaller cracks, putty or joint compound can be used, while larger gaps may require the use of drywall tape and joint compound. Additionally, if the gap is near a door or window frame, caulk may be necessary to create a seamless finish.
11 Step-by-step Guidelines on How to Fill Gaps in Garage Wall
Step 1: Clean the Area
Remove any dirt, dust or debris from the gap using a paint scraper or vacuum. This will ensure a smooth and clean surface for the filler to adhere to. It’s important to note that the gap should also be free of any loose or flaking material before proceeding. But don’t worry, this process will only take a few minutes! It’s worth the effort for a professional-looking finish.

Step 2: Prepare the Filler
For smaller gaps, use putty or joint compound. For larger gaps, mix drywall compound according to package instructions. Be sure to only mix enough for one application at a time as it dries quickly. You can always mix more as needed. Otherwise, you’ll end up with a hardened lump of filler that’s not usable. It’s also recommended to use a plastic putty knife or trowel for easy application.
Step 3: Apply the Filler
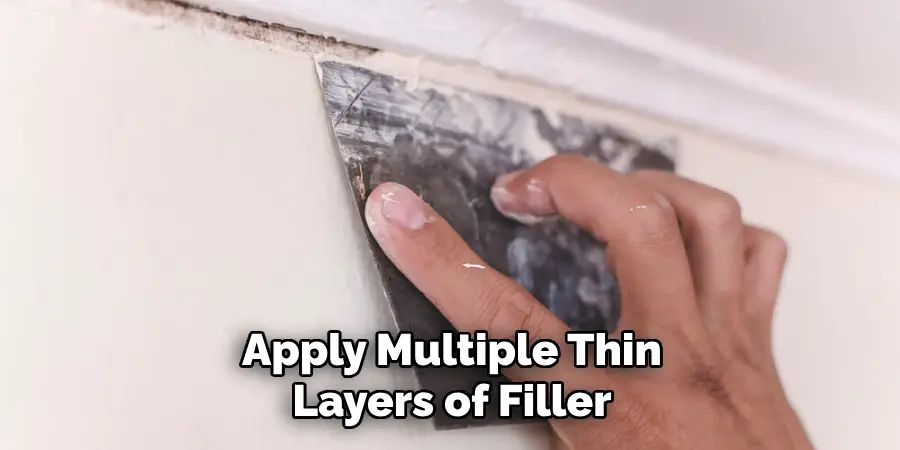
Using your putty knife or trowel, apply the filler in a smooth and even manner over the gap. Be sure to press firmly to ensure the filler fills any gaps completely.
If using a drywall compound, you can also embed drywall tape into the compound for added reinforcement. It’s important to note that the filler should be applied slightly higher than the surrounding surface to allow for sanding. It’s always better to have too much filler than not enough.
Step 4: Let the Filler Dry
Follow the instructions on the package for drying time. This typically ranges from 30 minutes to an hour. It’s important not to touch or disturb the filler during this time as it can affect the final result. It’s also recommended to work in a well-ventilated area for safety. The filler will become hard and white when it’s ready for the next step. It’s always better to wait a little longer than to rush and potentially ruin your hard work.
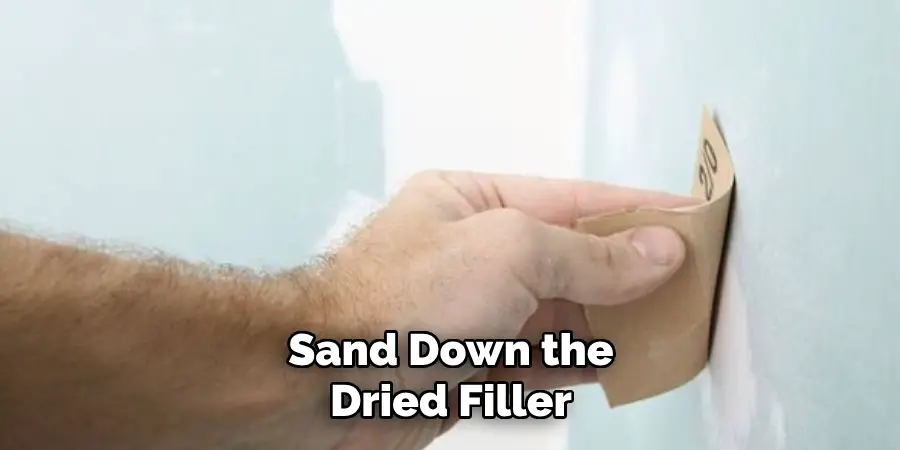
Step 5: Sand Down the Filler
Using medium grit sandpaper, gently sand down the dried filler until it’s level with the surrounding surface. This may take a few minutes, so be patient and take your time. It’s important to use a light hand and not apply too much pressure as this can create uneven surfaces or even damage the wall further. Once you’re happy with the level of the filler, switch to fine-grit sandpaper for a smoother finish.
Step 6: Wipe Away Dust
Using a clean cloth or tack cloth, wipe away any dust from the sanding process. This will ensure a clean surface for painting or further coats of filler if needed. It’s important to remove any dust particles as they can affect the final appearance of your wall. But don’t worry, this process only takes a few seconds. It’s always better to be thorough and ensure the best results.
Step 7: Apply Primer
For larger gaps or if you’re painting over the filler, it’s recommended to apply a coat of primer before proceeding. This will help seal any remaining cracks or imperfections and create a smooth surface for the paint to adhere to. Use a paintbrush or roller for an even application and be sure to let it dry fully before continuing.
Step 8: Paint the Wall
If you’re painting over the filler or the entire wall, no need to worry about perfectly matching the color of the surrounding surface. Simply paint over it with your desired color, making sure to cover the filler completely.
If you’re not painting, skip this step and proceed to the next. You may need to apply a second coat of paint for full coverage. It’s always recommended to use a paintbrush for corners and edges, and a roller for larger surfaces.
Step 9: Smooth Out Any Imperfections
After the final coat of paint has dried, inspect the wall for any remaining imperfections. If you find any, simply repeat steps 3-8 until you achieve your desired result. It’s important to take the time to do this extra step as it will ensure a flawless finish. You’ll thank yourself later when your wall looks like it was professionally done. It’s all about the details!
Step 10: Caulk Around Frames
If your gap is near a door or window frame, using caulk can help create a seamless finish. Simply cut the tip of the caulk tube at an angle and apply a thin bead around the edges of the frame. Smooth it out with your finger or a caulking tool for a clean and professional look. This step is not necessary, but it will give your wall a polished appearance.
Step 11: Admire Your Handiwork!
Congratulations on filling the gap in your garage wall! Take a step back and admire your hard work. You’ve successfully tackled an imperfection that was bothering you and now have a smooth and seamless wall.
Now, it’s time to put away your tools and enjoy your newly improved garage space. And remember, if you ever encounter another gap in your walls, you now have the knowledge and skills to fill it like a pro. So, be proud of yourself for a job well done!
Following these 11 steps will ensure a professional-looking finish for any gap in your garage wall. Remember, the key is to take your time and be patient with each step. Rushing or cutting corners can result in an uneven or unsatisfactory result. With the right tools and techniques, you’ll have a flawless wall in no time.
Now that you know how to fill gaps in garage wall, you can confidently take on any home improvement project with ease. So don’t be afraid to roll up your sleeves and tackle those imperfections – your walls will thank you! Happy filling!
Frequently Asked Questions
Q: Can I Use Any Type of Filler?
A: It’s recommended to use putty or joint compound for smaller gaps and drywall compound for larger gaps. These types of fillers are specifically designed for wall repair and will provide the best results.
Q: How Do I Know When the Filler is Dry?
A: The filler will become hard and white when it’s dry. Follow the instructions on the package for estimated drying time, but it’s always better to wait a little longer to ensure a completely dry surface.
Q: Can I Fill Large Gaps in One Go?
A: It’s recommended to apply multiple thin layers of filler rather than one thick layer. This will ensure a smoother finish and prevent the filler from cracking or shrinking as it dries.
Q: Do I Need to Sand Between Coats?
A: Yes, it’s important to sand down each layer of filler before applying the next. This will create a smooth and even surface for the final coat of filler or paint.
Conclusion
Closing off your garage walls with high-quality materials can not only make them look great, but they can also protect against fires, pests, and insulation loss. If you’re interested in trying this project yourself, remember to be safety-minded when completing the process.
Consider researching the basic tools you will need for the job and double-check that they’re in good condition. With proper knowledge of what the work entails and adequate safety precautions taken, this DIY project can be a rewarding journey!
Gaps in garage walls can be filled with non-flammable materials such as drywall or cement board. These are much more durable than other alternatives and can provide an extra layer of protection between your home and nature. Furthermore, on how to fill gaps in garage wall, these materials are easy to clean too! So don’t hesitate to take on this project – it’s worth it to make sure that your garage is safe and secure all year round!
I am Rick. I grew up helping my dad with his handyman service. I learned a lot from him about how to fix things, and also about how to work hard and take care of business. These days, I’m still into fixing things- only now, I’m doing it for a living.
I’m always looking for new ways to help people grow and develop. That’s why I have created this blog to share all my experience and knowledge so
that I can help people who are interested in DIY repair.