Garage walls can be an eyesore, but they don’t have to be. You can disguise your garage wall in several ways to make it more aesthetically pleasing. Whether you want to use paint, tiles, or wood paneling, there is a method that will work for you. This blog post will discuss how to disguise a garage wall. So read on for inspiration!

What Causes an Ugly Garage Wall?
Several things can cause an ugly garage wall. The most common issue is simply the age of the garage. If the garage is old, the paint is likely chipped or faded. This can make the garage look unkempt and neglected. Additionally, the bare concrete can be unappealing if the garage has never been painted. Another common issue is that the garage is used for storage. This can cause the wall to be cluttered and messy. The other issue that can cause an ugly garage wall is damage. If the wall has been damaged, it can be difficult to repair, so it looks new. Lastly, some garages have poor lighting. This can make the garage seem small and cramped.
Why Should You Disguise Your Garage Wall?
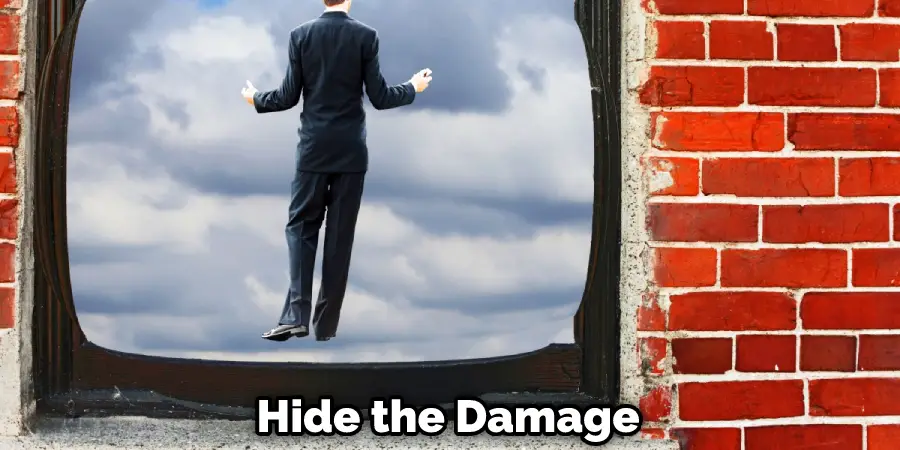
There are several reasons you may want to disguise your garage wall. First, it can increase the curb appeal of your home. If you are selling your home, this can be a great way to increase the value. Additionally, it can make your garage feel more like a part of your home. If you spend a lot of time in the garage, you may want it to be more inviting and comfortable. Another reason to disguise your garage wall is to hide the damage. If the wall is damaged, you may not be able to repair it, but you can cover it up. This can also be a good way to hide clutter. Finally, if you don’t like the look of your garage wall, disguising it can be a way to improve the aesthetics.
Some Simple Ways How to Disguise a Garage Wall:
1. Use Paint
One of the simplest ways to disguise a garage wall is with paint. You can use a single color or multiple colors to create a design. You can also use stencils to create a more interesting design. You can even freehand a design if you are handy with a paintbrush. First, you will need to clean the wall and remove any chipped paint. Then, you can apply a primer before painting. Be sure to use paint that is designed for concrete. To add more interest, you can use textured paint. This will add dimension to the wall and make it more interesting to look at.
2. Use Tiles
Another way to disguise a garage wall is with tiles. You can use ceramic, glass, or stone tiles to create a design. You can use a single color or multiple colors. You can also use different sizes and shapes of tiles to create a more interesting design. First, you will need to clean the wall and apply a tile adhesive. Then, you can start applying the tiles. Be sure to use spacers between the tiles to ensure they are even. Once the tiles are dry, you can grout them. You can use colored grout or clear grout.
3. Use Wood Paneling
If you want to add a warm and natural feel to your garage, you can use wood paneling. You can find wood paneling at most home improvement stores. First, you will need to clean the wall and apply a wood adhesive. Then, you can start applying the wood paneling. Be sure to use spacers between the pieces of wood to ensure they are even. Once the wood paneling is dry, you can paint or stain it. The wood paneling can also be used to create a more rustic look or add interest with different patterns and colors.
4. Use wallpaper
Another way to disguise a garage wall is with wallpaper. You can find wallpaper at most home improvement stores. First, you will need to clean the wall and then apply the wallpaper. Make sure to follow the instructions on the wallpaper package. You may need to use a primer before you apply the wallpaper. Once the wallpaper is applied, you can paint over it or leave it as is. You can also use stencils to create designs on the wallpaper.
5. Use fabric
You can use fabric if you want to add a soft and inviting feel to your garage. You can find fabric at most craft stores. First, cut the fabric into strips. Then, use a hot glue gun to attach the fabric to the wall. You can even add some embellishments, like buttons or sequins, to the fabric for added flair. If you’re not into sewing, you can also use adhesive fabric to attach the fabric to the wall. Just be sure to smooth out any wrinkles or bubbles before the adhesive dries. It’s an easy and budget-friendly way to disguise a garage wall.
6. Use Wainscoting
Wainscoting is a type of wood paneling that is often used on walls. This can be a great way to disguise a garage wall, as it will add some visual interest and texture. You can purchase wainscoting panels at most home improvement stores. First, you will need to measure the height of your garage wall and then cut the panels to size. Next, you will need to attach the panels to the wall using nails or screws. Use a level to ensure that the panels are installed evenly. The panels can then be painted or stained to match the rest of your garage.
7. Hang Curtains
You can hang curtains if you want to add some privacy to your garage. You can find curtains at most home decor stores. First, you will need to install curtain rods. You can either use screw-in hooks or drill holes into the wall. Then, hang the curtains and enjoy your new privacy. Avoid using heavy curtains that won’t be easy to open and close. It’s best to use lighter curtains that will let in natural light and won’t get in the way of any storage or work areas in your garage.
8. Install a Sliding Door
Another way to disguise a garage wall is with a sliding door. This can be a great way to add some extra privacy to your garage while also making it look more aesthetically pleasing. Sliding doors come in various styles and colors, so you can find one that matches the rest of your home’s décor. If you want to make your garage look even more stylish, consider adding a glass panel to the door. This will allow natural light to enter the garage while still providing privacy.
9. Use Decals
You can use decals if you want to add some fun and personality to your garage. Decals are a great way to disguise a garage wall, and they are also very easy to apply and remove. You can find decals in various designs, sizes, and colors. Choose a design that you like and that will complement your garage’s overall look. If you’re unsure what design to choose, you can always ask for help from a friend or family member. To apply the decal, peel it off the backing and stick it to the wall. Once the decal is in place, you can use a credit card or a squeegee to smooth out any bubbles. You can trim the decal with a sharp knife if you need to. Once the decal is in place and looking good, you’re finished!
10. Use Wall Art
Another great way to disguise a garage wall is with wall art. You can find wall art at most home decor stores. Choose a piece of art you love that goes well with the rest of your décor. First, measure the wall to make sure the piece will fit. Then, use heavy-duty adhesive to attach the art to the wall. Finally, stand back and admire your handiwork!
You don’t have to settle for a boring and plain garage wall. With these simple ideas, you can easily disguise your garage wall and add some personality and style to your space. Whether you choose paint, tiles, wood paneling, or one of the other options listed above, your garage will look amazing in no time. Have fun and get creative with your disguise!
Following these simple ways to disguise a garage wall will not only improve the aesthetics of your garage, but it can also add value to your home. So get creative and have fun transforming your garage into a more inviting space. Your friends and family will be amazed at the transformation!
Tips and Warnings on How to Disguise a Garage Wall:
Tips:
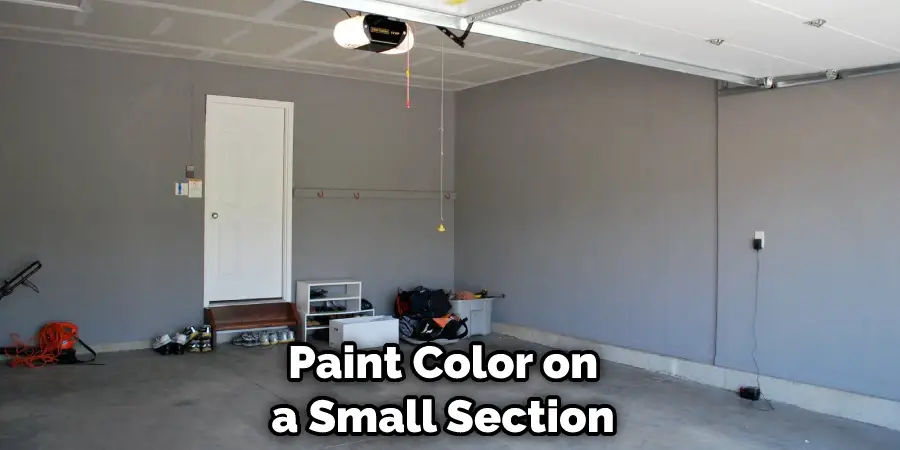
- Test the paint color on a small section of the garage wall to ensure that you like it before painting the entire wall.
- If your garage wall is concrete, consider power washing it before painting to remove any dirt or grime.
- Use painter’s tape to create clean lines when painting around windowpanes or door frames.
- When using wallpaper or decals, make sure to properly measure and align them before sticking them onto the wall for a smooth finish.
- Lighting can also help disguise a garage wall – consider installing lights around the perimeter of the room or adding a hanging light fixture for added ambiance.
Warnings:
- Be sure to wear old clothes or a paint smock when painting the garage wall to avoid getting paint on your clothing.
- Make sure that the garage is well-ventilated before painting, as fumes from the paint can be harmful.
- Move any items stored in the garage away from the wall you will be painting.
- When using power tools or sharp objects, always follow safety precautions and use protective gear.
- If you are unsure about your DIY skills, it may be best to hire a professional to install any materials or make any major changes to your garage wall. Safety should always be a top priority when working on any project. By following these tips and warnings, you can successfully disguise your garage wall while also staying safe. Happy DIY-ing!
Do You Need to Use Professionals?
Disguising a garage wall can be done as a DIY project, but it may require some skill and patience. If you are not confident in your abilities or do not have the time to complete the project, it may be best to hire professionals. They can ensure that the job is done correctly and efficiently. Additionally, if you are planning on using more complicated methods such as installing a sliding door or wainscoting, it may be safer to hire professionals.
Ultimately, the decision depends on your skills and comfort level with DIY projects. However, with some creativity and patience, you can successfully disguise your garage wall yourself! So go ahead and try one of these methods – you’ll be amazed at how much better your garage will look. So go ahead and get started on your garage wall makeover project today!
How Much Does It Cost to Disguise a Garage Wall:
The cost of disguising a garage wall will depend on the materials that you use and the size of the wall. Expect to spend anywhere from $50 to $200 on supplies. If you hire a professional to do the work for you, expect to pay an additional $50 to $100 per hour.
It’s always a good idea to plan and budget before starting any home improvement project. Consider the cost of materials, tools, and labor if you choose to hire help. Factor in extra costs for any specialized materials or techniques, such as using wainscoting or installing a sliding door.
With some creativity and a little bit of work, you can easily disguise your garage wall and transform it into a functional and attractive space. Whether you choose to paint, use wallpaper, or hang curtains, there are many options available for disguising a garage wall. With these tips and ideas in mind, you can create a beautiful and inviting garage that you’ll be proud to show off. So don’t be afraid to take on this DIY project and transform your garage into a space that you can truly enjoy!
Frequently Asked Questions:
Q: Can I Use Regular Paint on My Garage Wall?
A: Yes, you can use regular paint on your garage wall. However, if the wall is made of concrete or has a rough surface, it may be beneficial to use a masonry primer before painting to help the paint adhere better. Additionally, consider using a semi-gloss or high-gloss paint for easier cleaning and durability.
Q: How Long Will It Take to Disguise My Garage Wall?
A: The time it takes to disguise a garage wall will depend on the size of the wall and the method you choose. Painting can typically be completed in a day or two, while installing wainscoting or a sliding door may take longer. Planning ahead and setting aside enough time for your project will help ensure its success. The most important thing is to take your time and do a thorough job for the best results.
Q: Can I Hang Heavy Objects on My Disguised Garage Wall?
A: It’s important to consider the weight and stability of your disguised garage wall before hanging heavy objects. If you have used lightweight materials like wallpaper or decals, it may not be able to support the weight. However, if you have reinforced the wall with wainscoting or a sliding door, it should be able to hold heavier items. Always check for studs and use appropriate hardware when hanging objects on any wall. So be sure to plan and reinforce your garage wall accordingly if you want to hang heavy objects.
Q: Can I Remove the Disguise from My Garage Wall?
A: Yes, in most cases, you can remove the disguise from your garage wall without causing any damage. However, it’s important to follow the proper removal instructions for each method used. For example, if you painted the wall, use a paint stripper or sandpaper to remove the paint. If you use wallpaper or decals, carefully peel them off and clean any residue with warm soapy water. Always be cautious and gentle when removing the disguise to avoid damaging the underlying wall surface.
Conclusion
So there you have it! Everything you need to know about how to disguise a garage wall. Following this article’s tips and tricks, you can easily transform your garage into a more stylish and inviting space. So what are you waiting for? Get started today! Whether you choose to paint, use wallpaper, or install decorative elements, have fun and be creative with your garage wall disguise. With a little bit of effort, you can create a beautiful and functional space that will impress your family and friends. So go ahead and give your garage the makeover it deserves! Happy disguising!
I am Rick. I grew up helping my dad with his handyman service. I learned a lot from him about how to fix things, and also about how to work hard and take care of business. These days, I’m still into fixing things- only now, I’m doing it for a living.
I’m always looking for new ways to help people grow and develop. That’s why I have created this blog to share all my experience and knowledge so
that I can help people who are interested in DIY repair.