
Are you looking to make a bold, modern statement in your living space? Are you looking to transform your home or office space with a beautiful, stylish flooring option that stands out?
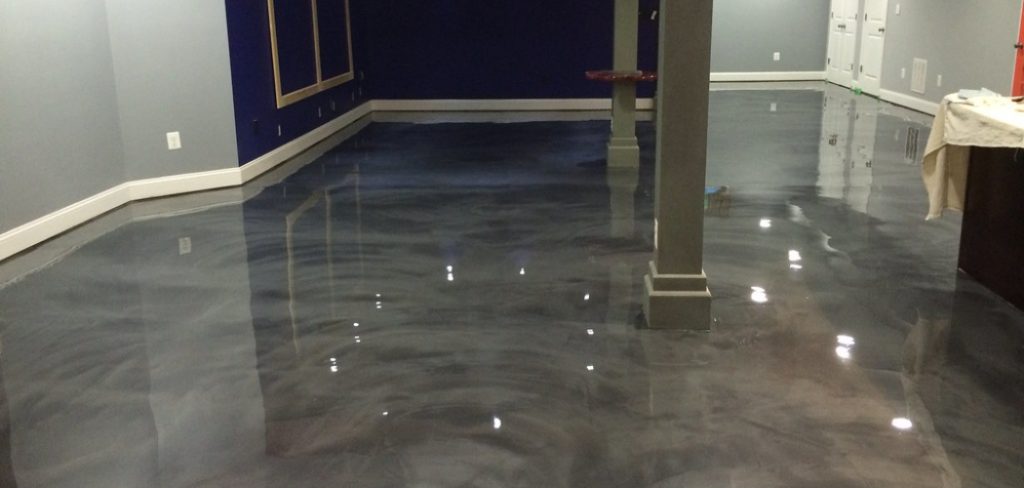
Metallic epoxy flooring can be an eye-catching way to upgrade the look of any room while also being incredibly durable and low maintenance. Metallic epoxy flooring is an increasingly popular choice for upgrading almost any indoor residential or commercial environment.
It looks stunning and can handle heavy foot traffic, is easy to clean, and adds extra durability and shine to surfaces such as concrete. Metallic epoxy floors will turn heads whether you’re considering it for your home, office, or retail store.
In this blog post, we’ll explore everything that goes into doing a beautiful and professional-looking epoxy flooring job– from the supplies needed to create unique designs with flakes—so you can transform your interior space into something stunning. Keep reading to find out more about how to do metallic epoxy flooring!
Necessary Items
Before you begin, gather all the necessary items to start your project smoothly. Here are the items that you will need to create a stunning metallic epoxy floor for your home or office space:
- Epoxy Resin: This is the most critical component of metallic epoxy flooring. It’s usually a two-part mixture of resin and hardener that creates a chemical reaction, resulting in a challenging and durable coating.
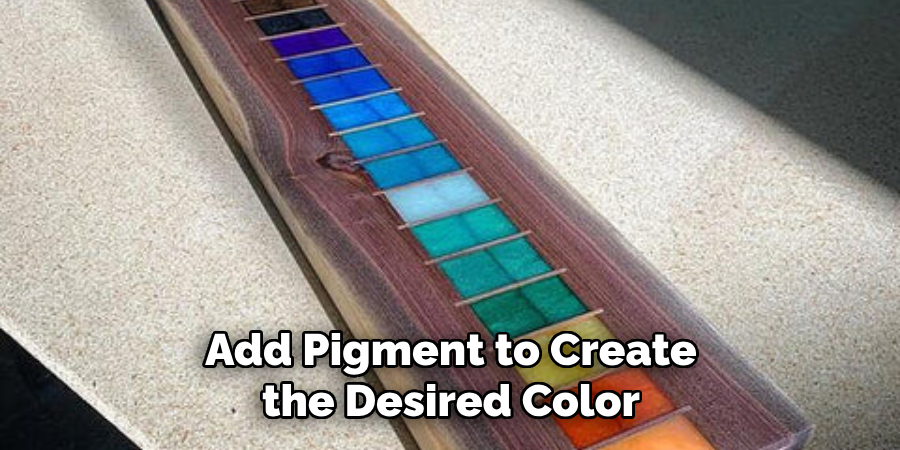
- Pigment: This color gives your epoxy flooring its vibrant and metallic look. Choose from various hues to match your interior design or something bold and unique.
- Metallic Powder: This adds sparkle and shimmer to your floor, giving it the desired metallic effect. You can choose from various metallic powders, including gold, silver, copper, and more.
- Sealant: A sealant is necessary to protect your epoxy flooring from scratches and stains. It also adds an extra layer of shine to your floor.
- Protective Gear: Since the chemicals used in epoxy resin can be harmful if they come into contact with skin, it’s essential to wear protective gear such as gloves, goggles, and a respirator while working with epoxy.
- Floor Prep Tools: You’ll need tools like an industrial cleaner, floor buffer or sander, and a pressure washer to properly prepare the surface before applying the epoxy coating.
10 Steps on How to Do Metallic Epoxy Flooring
To get started, make sure you have all the necessary items on hand and follow these steps:
1. Prepare the Surface
The first and most crucial step in metallic epoxy flooring is to properly prep the surface. This includes removing any sealers, paints, or other coatings from the floor and ensuring it’s clean and debris-free.
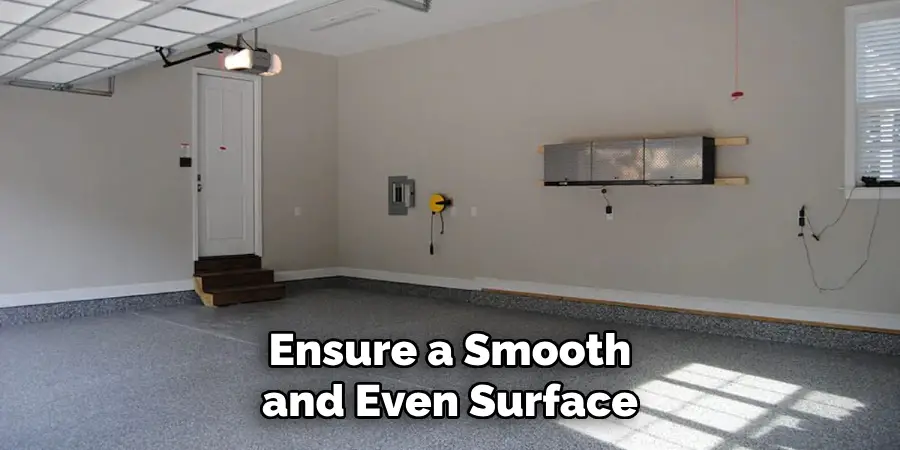
2. Repair Any Damage
If there are cracks or holes on the floor, repair them with a concrete patching compound before proceeding. This will ensure a smooth and even surface for the epoxy coating.
3. Clean the Surface
Using an industrial cleaner or degreaser, thoroughly clean the surface to remove any dirt, oil, or other contaminants that may prevent the epoxy from adhering correctly.
4. Etch the Surface
To help the epoxy bond better with the surface, etch the concrete with a floor buffer or sander. This will create minor grooves on the surface for the epoxy to latch onto. Make sure to clean up any debris or dust after etching.
5. Apply the Base Coat
Mix the epoxy resin and hardener according to the manufacturer’s instructions, then apply a thin layer of base coat using a roller or brush. This will provide a solid foundation for applying the metallic layers on top.
6. Add Pigment
Once the base coat is applied, you can add pigment to create the desired color. Mix the pigment with the epoxy resin before pouring it onto the floor. You can run and spread it as desired using a squeegee or roller.
7. Create Designs with Metallic Powder
This is where you can get creative and make unique designs using metallic powder. Sprinkle the powder on the wet epoxy and use a brush or squeegee to spread it, creating different patterns and effects.
8. Let It Cure
Allow the first layer to cure for at least 24 hours before adding a second layer of epoxy with more pigment and metallic powder. Repeat this process until you achieve your desired look.
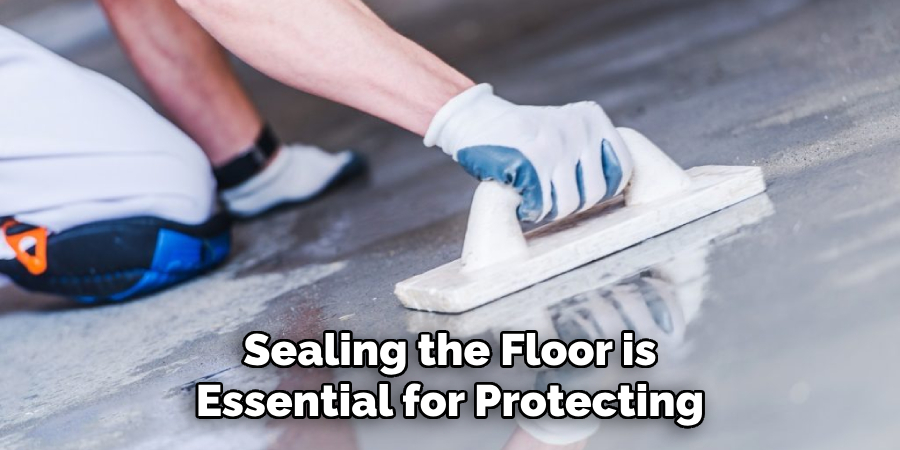
9. Seal the Floor
Apply a clear sealant once all layers have cured to protect the floor and add shine. This will also make it easier to clean and maintain in the future.
10. Let It Dry
After sealing, let the epoxy flooring dry for at least 48 hours before walking on it or moving furniture back onto the surface.
Now that you know the necessary items and steps for doing metallic epoxy flooring, you can confidently take on this DIY project and transform any space in your home or office. With its durability, low maintenance, and stunning appearance, metallic epoxy flooring is worth considering for your next flooring upgrade.
8 Things to Avoid When Doing Metallic Epoxy Flooring
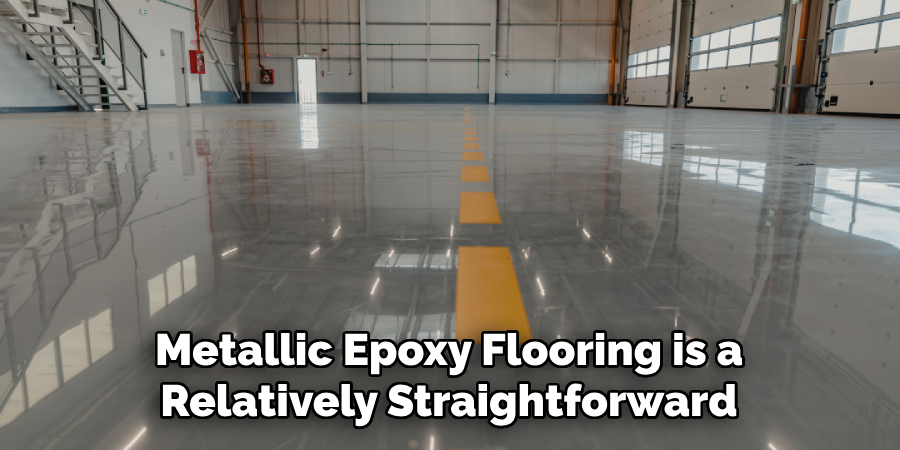
While metallic epoxy flooring is a relatively straightforward process, some things could be improved to ensure you get the best results. Here are eight things to keep in mind:
1. Not Properly Prepping the Surface
As mentioned earlier, surface preparation is crucial for a successful metallic epoxy floor. Skipping or not properly completing this step can result in the epoxy not adhering correctly and causing issues.
2. Not Wearing Protective Gear
Epoxy resin and hardener can cause skin irritation and respiratory problems if proper protective gear is not worn while working with it. Always wear gloves, goggles, and a respirator to protect yourself.
3. Adding Too Much Pigment or Metallic Powder
Adding too much pigment or metallic powder can result in an uneven color distribution and a muddy or cloudy appearance. Follow the manufacturer’s instructions and add small amounts until you achieve your desired look.
4. Mixing the Epoxy Incorrectly
To create a solid and durable coating, Epoxy resin and hardener must be mixed in the correct ratio. Follow the manufacturer’s instructions for mixing to avoid a robust and easily damaged floor.
5. Applying Epoxy in Poor Weather Conditions
Extreme temperatures, high humidity, or rain can all affect the curing process of epoxy and result in an inconsistent or damaged floor. Make sure to check the weather forecast and work in suitable conditions.
6. Rushing the Curing Process
Allowing each layer of epoxy to cure for the recommended time is crucial for a solid and durable metallic epoxy floor. Rushing this process can lead to bubbles, cracks, or other imperfections.
7. Not Sealing the Floor
Sealing the floor is essential for protecting it from stains and scratches and ensuring its longevity. Skipping this step can result in a dull or easily damaged floor.
8. Neglecting Regular Maintenance
While metallic epoxy flooring requires less maintenance than other options, paying attention to basic cleaning and care can still lead to issues over time. Clean up spills, sweep or mop regularly, and avoid dragging heavy objects on the floor.
With proper preparation and attention to detail, you can achieve a beautiful and durable metallic epoxy floor that adds value and style to any space. So try it – just avoid these common mistakes for the best results! Always follow the manufacturer’s instructions and take necessary safety precautions while working with epoxy.
Frequently Asked Questions
How Long Does It Take to Do Metallic Epoxy Flooring?
The time it takes to complete a metallic epoxy floor depends on factors such as the size of the area, the number of layers, and curing times. Typically, it can take anywhere from 2-5 days.
How Durable is Metallic Epoxy Flooring?
When properly applied and maintained, metallic epoxy flooring can last years without any cracks or damage. It is also resistant to stains, chemicals, and abrasions.
Can Metallic Epoxy Flooring Be Done on Any Surface?
While metallic epoxy flooring can be applied to various surfaces, ensuring the surface is suitable for proper adhesion is essential. Concrete and wood are usually the best options for this type of flooring.
Can Metallic Epoxy Flooring Be Applied Over Existing Floors?
Yes, metallic epoxy flooring can be applied over existing floors, such as concrete or tile. However, proper surface preparation is crucial for the best results.
With its durability and versatility, metallic epoxy flooring is an excellent option for residential and commercial spaces looking to add a unique touch to their floors. So why not try it and see the beautiful results for yourself? Avoid these common mistakes and take the necessary precautions for a successful DIY project.
Conclusion
Now that you have a better understanding of metallic epoxy flooring, its benefits, and how to do it, you are ready to take on this project confidently. Remember to carefully follow the steps and avoid common mistakes for a beautiful, long-lasting floor.
Whether it’s for your home or office space, metallic epoxy flooring will surely add elegance and uniqueness to any room. So why wait? Start planning and get ready to transform your floors with this stunning and modern flooring option.
I am Rick. I grew up helping my dad with his handyman service. I learned a lot from him about how to fix things, and also about how to work hard and take care of business. These days, I’m still into fixing things- only now, I’m doing it for a living.
I’m always looking for new ways to help people grow and develop. That’s why I have created this blog to share all my experience and knowledge so
that I can help people who are interested in DIY repair.