Are you having difficulty getting your garage door to open and close properly? Are you having trouble reconnecting your garage door cable? Don’t worry; it’s a common problem and easy to fix.
Reconnecting the cable can help fix this problem. Learning how to disconnect and reconnect a garage door cable is relatively simple. However, it’s still important to know all the safety measures associated with working on a heavy system like the one in most residential garages.
From understanding what type of cables are necessary for different types of systems to knowing how tight the replacement cables should be installed – we’ve got everything covered in this comprehensive guide so you can get your garage doors back up and running safely!
In this blog post, we’ll take you step-by-step through the troubleshooting process so that you can identify the issue and repair the cable quickly and easily. We’ll also cover a few safety tips on how to reconnect garage door cable that will help keep accidents from happening while performing the repair. Our comprehensive guide promises that even beginners will feel confident completing this task without any major problems!
Necessary Items
Before starting, you’ll need a few supplies to complete the task.
- Replacement cables: The first thing you’ll need are replacement cables, which are often the cause of the issue. Purchase high-quality, sturdy cables compatible with your garage door system.
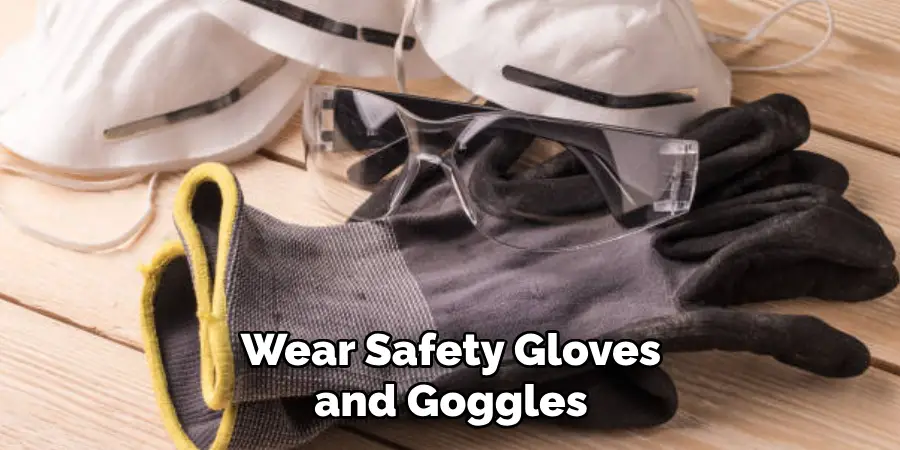
- Safety gloves and goggles: As mentioned earlier, working on a heavy system like a garage door can be dangerous, so protecting your hands and eyes is essential. Always wear gloves and goggles while working on your garage door.
- Adjustable wrench: You’ll need an adjustable wrench to loosen and tighten bolts.
- Pliers: Pliers will come in handy for bending the new cable ends into place.
- Ladder: In order to reach the garage door mechanism, you’ll need a sturdy ladder.
10 Steps on How to Reconnect Garage Door Cable
Now that you have all the necessary items let’s go through the step-by-step process of reconnecting your garage door cable.
Step 1: Identify the Issue
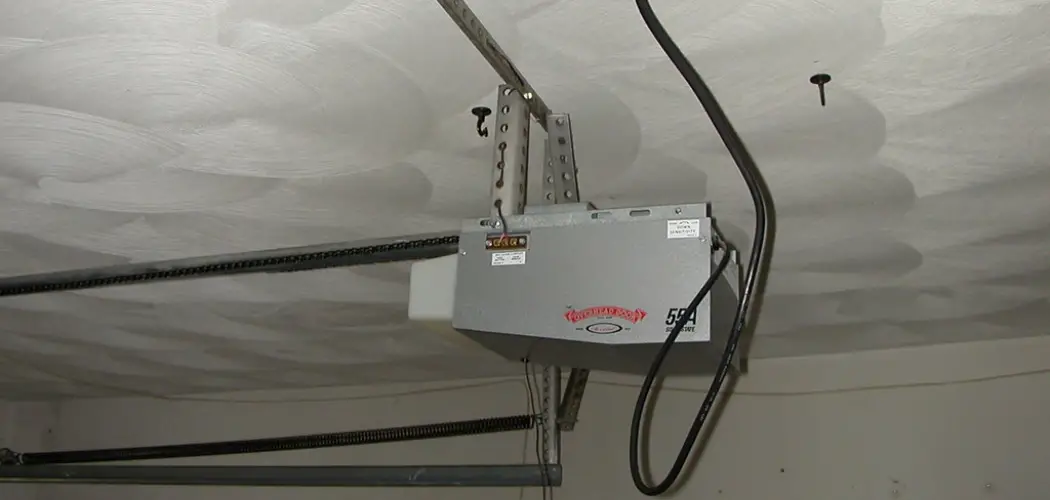
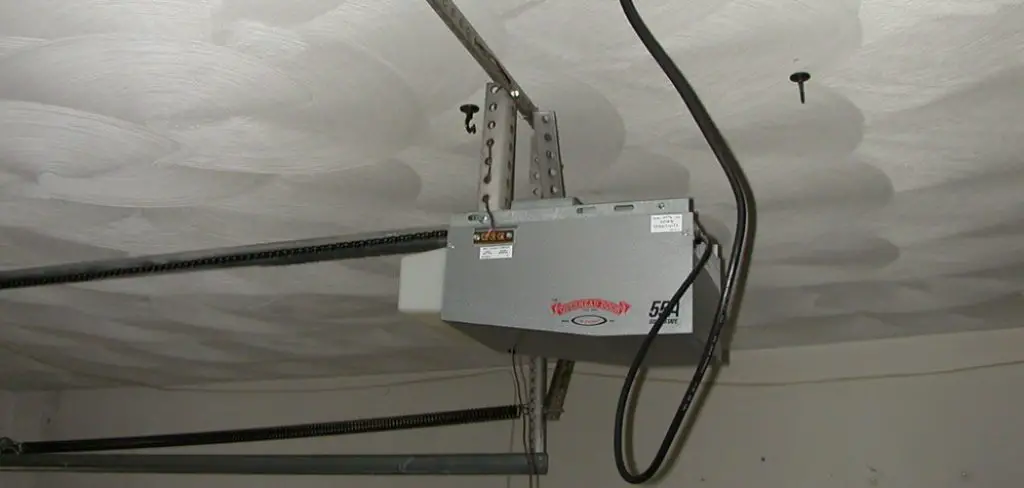
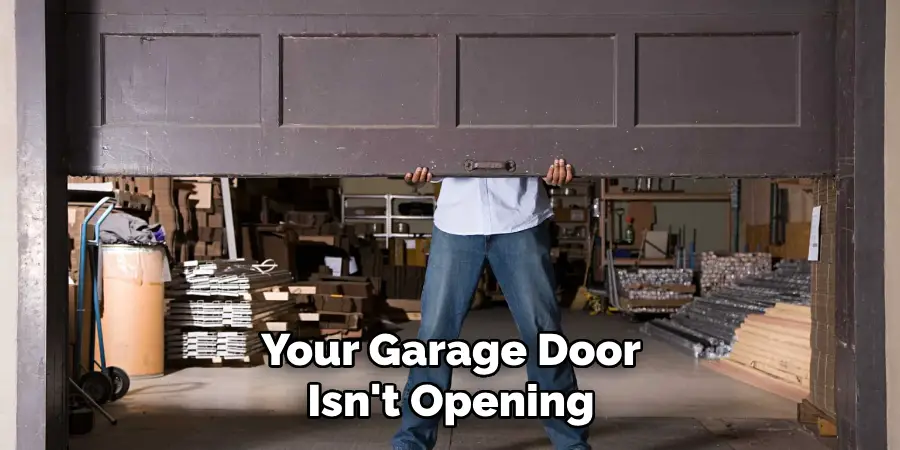
The first step is to identify the problem. If your garage door isn’t opening or closing correctly, it’s likely due to a disconnected cable. This can happen if the cable has come off the pulley or drum or snapped.
Step 2: Disconnect Power Supply
Before starting any work on your garage door, disconnect the power supply. This will prevent any accidents while you are working on the cables.
Step 3: Locate and Inspect the Cables
Locate the cables on your garage door system. There should be two cables – one on each side of the door. Inspect them for any signs of damage or wear and tear. If they look frayed or damaged, it’s best to replace them.
Step 4: Loosen the Cable Tension
Using an adjustable wrench, loosen the cable tension by turning the adjusting bolt at the bottom of the garage door. This will release tension on the cables and make it easier to work on them.
Step 5: Remove Old Cables
Carefully remove the old cables from the pulley and drum. This may require some maneuvering, so do it slowly and carefully. Keep the old cables aside for reference.
Step 6: Install New Cables
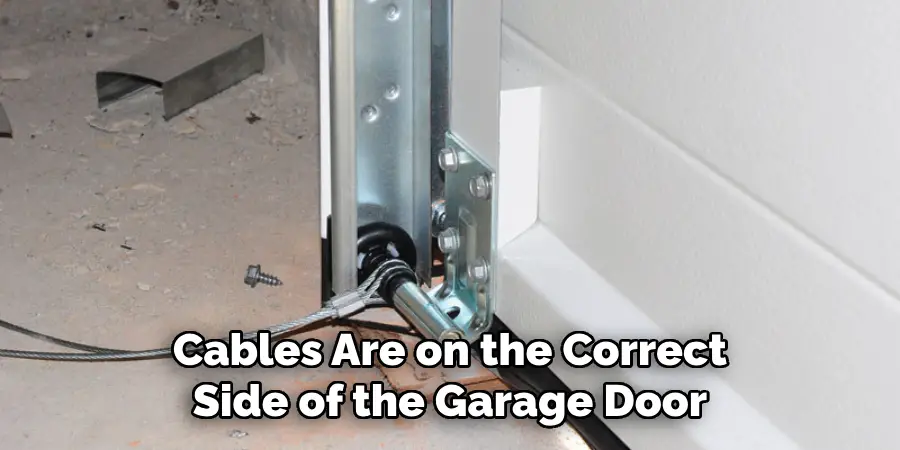
Feed your new cables through the pulley and drum, following the same path as the old cables. Make sure to align them properly. Double-check that the cables are on the correct side of the garage door track.
Step 7: Tighten Cable Tension
Using your adjustable wrench, tighten the cable tension by turning the adjusting bolt. Ensure to follow the manufacturer’s instructions for how tight the cables should be. This step may require trial and error to get the tension right.
Step 8: Secure Cable Ends
Using pliers, bend the ends of the cables into place on the pulley and drum. This will ensure they stay in place while the garage door opens and closes.
Step 9: Test the Garage Door
Once you have completed all the steps, test your garage door to ensure it functions correctly. If necessary, adjust the cable tension until it is working smoothly.
Step 10: Reconnect Power Supply
Once you have confirmed that the garage door is functioning correctly, reconnect the power supply. Congratulations, you have successfully reconnected your garage door cable!
8 Safety Tips
While reconnecting a garage door cable may seem simple, following these safety tips is essential to avoid accidents and injuries.
1. Disconnect the Power Supply
Always disconnect the power supply before starting any work on your garage door. This will prevent any accidents from happening.
2. Wear Protective Gear
Wear safety gloves and goggles while working on your garage door. This will protect your hands and eyes from any potential hazards.
3. Use a Sturdy Ladder
When working on the garage door mechanism, use a sturdy ladder that is adequately secured. Do not stand on chairs or other unstable objects.
4. Follow Manufacturer’s Instructions
Always follow the manufacturer’s instructions when replacing or adjusting garage door cables. This will ensure that the job is done correctly and safely.
5. Use High-Quality Replacement Cables
Invest in high-quality, sturdy replacement cables to prevent future issues and accidents. Cheap or low-quality cables may not hold up well and can pose a safety hazard.
6. Take Your Time
Do not rush while working on your garage door. Take your time to ensure that everything is done correctly and safely.
7. Keep Children and Pets Away
Ensure to keep children and pets away from the work area while reconnecting your garage door cable. They can get injured or distract you from completing the task correctly.
8. Seek Professional Help if Needed
If you feel uncomfortable or unsure about performing this task, it’s always best to seek professional help. Garage door systems can be complex and dangerous, so don’t hesitate to call a professional if needed.
Reconnecting a garage door cable may seem daunting, but it can be easily accomplished with the right tools and knowledge. By following the ten steps outlined in this guide and adhering to safety tips, you can successfully reconnect your garage door cable and ensure that your garage door is functioning correctly. Remember always to prioritize safety and seek professional help if needed.
Frequently Asked Questions
How Do I Know if My Garage Door Cable Needs to Be Replaced?
If your garage door is not opening or closing smoothly, it may indicate that the cables need to be replaced. Inspect the cables for any signs of fraying or damage as well.
Can I Reconnect the Garage Door Cable by Myself?
You can reconnect the garage door cable by yourself if you have the necessary tools and knowledge. However, it’s always best to seek professional help if you are unsure or uncomfortable performing this task.
How Often Should I Inspect My Garage Door Cables?
Inspecting your garage door cables at least once a year for any signs of wear and tear is recommended. Regular inspections can help prevent future issues and keep your garage door functioning correctly.
What Should I Do if I Notice My Garage Door Cable Is About to Snap?
If your garage door cable is about to snap, it’s best to call a professional immediately. Fixing this issue yourself can be dangerous and may lead to further damage or injury.
So, it’s essential to seek professional help in such situations. Overall, regular maintenance and inspections can help prevent these types of emergencies. So, monitor your garage door cables and address any issues promptly. Your garage door will continue functioning smoothly for years with proper care and maintenance.
Can I Use Any Type of Cable for My Garage Door?
No, using high-quality replacement cables specifically designed for garage doors is essential. Using the wrong type of cables can result in potential hazards and damage to your garage door system. Always follow the manufacturer’s instructions for the best results. Additionally, investing in high-quality cables is recommended to ensure their longevity and safety.
Conclusion
Reconnecting a garage door cable is an important task that requires careful attention and safety precautions. By following the ten steps on how to reconnect garage door cable outlined in this guide and adhering to safety tips, you can successfully reconnect your garage door cable and ensure your garage door is functioning correctly. Always prioritize safety regular maintenance, and seek professional help if needed.
To sum up, replacing a broken garage door cable is a challenging job. However, if done correctly, it can be a much simpler process than hiring an expert who will take days to repair the system. As a result of reading this blog post, you now have the resources and knowledge to fix this issue yourself promptly. Furthermore, don’t forget that safety should always come first when attempting garage door repairs.
Double-check all connections before using the newly installed cable, and listen for signs and odd sounds after testing it out for the final time. This way, you can ensure your safety and have peace of mind about your work! So don’t hesitate- get started on repairing your garage door cable, and who knows: you may even be able to save some money while doing so!
I am Rick. I grew up helping my dad with his handyman service. I learned a lot from him about how to fix things, and also about how to work hard and take care of business. These days, I’m still into fixing things- only now, I’m doing it for a living.
I’m always looking for new ways to help people grow and develop. That’s why I have created this blog to share all my experience and knowledge so
that I can help people who are interested in DIY repair.