
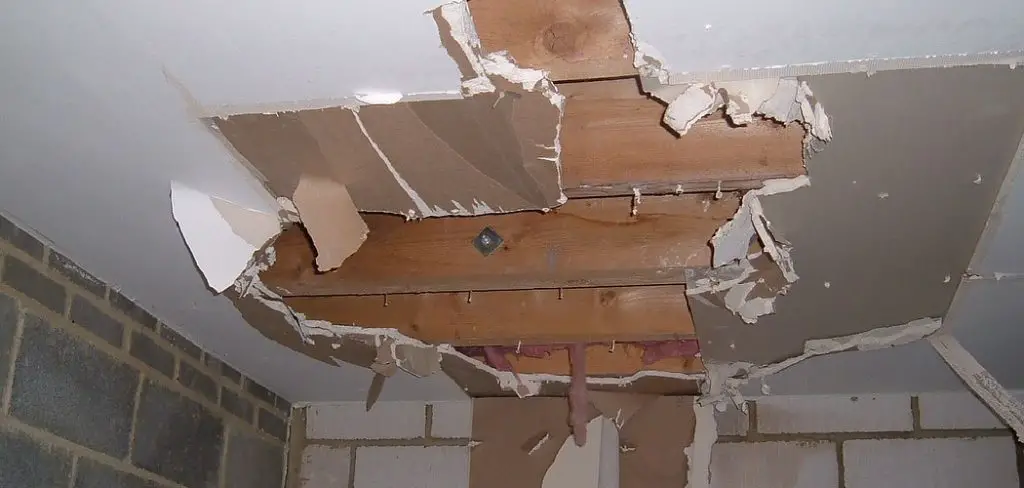
Are you dealing with an issue in your garage that is causing you endless headaches? If so, it’s most likely the ceiling. Have you noticed an unsightly hole in your garage roof or sagging panels? Are rusty nails poking through and threatening to cause further damage? Sleeping on a problem won’t fix this one – consider taking action now and learn how to repair a ceiling in your garage!
In this blog post on how to fix garage ceiling, we will outline the common causes of structural problems with garage ceilings, as well as steps you can take to ensure they are fixed properly and safely. So grab some tools, roll up your sleeves, and let’s get started!
Necessary Tools
Before beginning any repair job, it’s important to have the right tools on hand. To fix a garage ceiling, you will need the following:
- Ladder or Scaffolding
- Safety Glasses and Gloves
- Pry Bar
- Hammer
- Plaster Compound or Drywall
- Joint Tape
- Sandpaper
- Paint and Paintbrushes
- Screwdriver
9 Easy Step-by-step Guides on How to Fix Garage Ceiling
Step 1: Assess the Damage
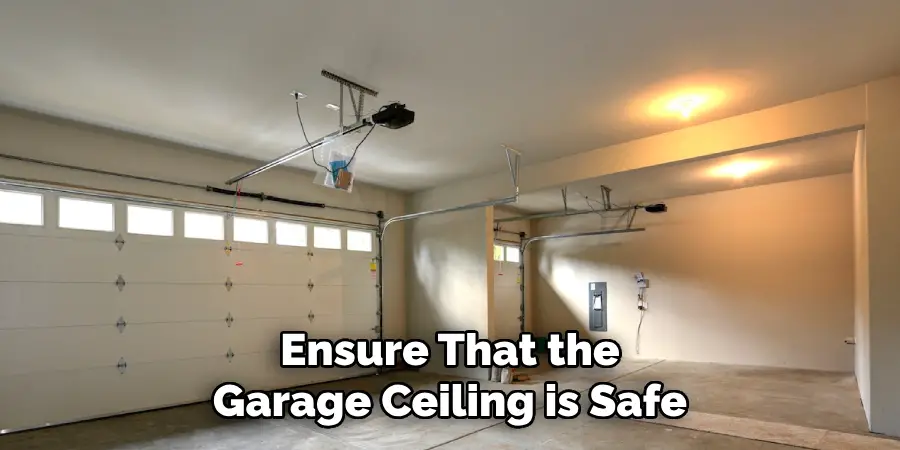
Before you start any repair work, it’s essential to assess the damage. Identify where the issue is coming from and what caused it. Is it due to water damage, structural issues, or wear and tear? This will help you determine the best course of action. It’s also essential to ensure that the garage ceiling is safe to work on. You may need to use a ladder or scaffolding to reach the damaged area.
Step 2: Remove Damaged Materials
Once you have assessed the damage and determined the cause, it’s time to remove any damaged materials. Use a pry bar and hammer to carefully remove any sagging panels or pieces of drywall. Be sure to wear safety glasses and gloves during this step. By removing the damaged materials, you can get a better view of the extent of the damage.
Step 3: Fix the Structural Problem
If the damage is caused by a structural issue, it’s crucial to address this before proceeding with any repairs. Consult a professional if necessary, as this may involve more complex repairs.
It’s essential to ensure that the ceiling is safe and stable before moving on to the next step. If the damage is due to water, it’s essential to fix the source of the leak before proceeding. This will prevent further damage in the future.
Step 4: Patch Holes and Cracks
Using a putty knife, apply plaster compound or drywall to fill any holes and cracks in the ceiling. Smooth it out with sandpaper once dry for a seamless finish.

If there are larger holes, use joint tape to reinforce the repair. If necessary, apply multiple layers of compound for a stronger repair. You may also need to sand and repaint the entire ceiling for a uniform look. You can choose to hire a professional for this step if you’re not confident in your DIY skills.
Step 5: Sand and Prime
Once the plaster compound is completely dry, use sandpaper to smooth out any rough patches. Wipe away any dust with a damp cloth before priming the repaired area. This will create a clean surface for painting later. It’s essential to use a primer specifically designed for ceilings. It will help the paint adhere to the surface and prevent flashing or uneven color.
Step 6: Paint
After priming, it’s time to add some color! Use a paintbrush or roller to apply a coat of paint to the repaired area. Be sure to match the color and finish of the existing ceiling for a seamless look. You may need to apply multiple coats depending on the coverage and quality of your paint. It’s also a good idea to let each coat dry completely before adding the next one.
Step 7: Reinstall Light Fixtures
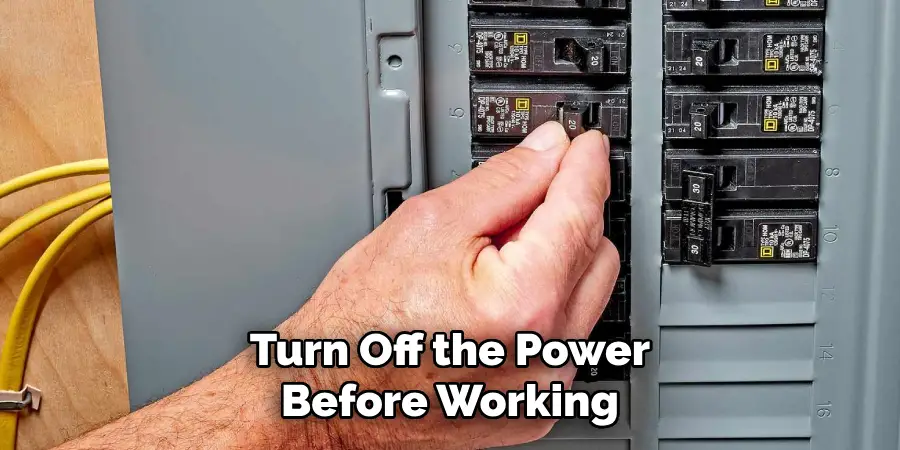
If you had to remove any light fixtures or wiring during the repair process, now is the time to reinstall them. Follow manufacturer instructions and be sure to turn off the power before working with electrical components. It’s essential to double-check that everything is securely in place before turning the power back on.
Step 8: Inspect and Clean
Once the repairs are complete, it’s vital to inspect the ceiling for any missed spots or touch-ups. This will ensure that everything looks and functions correctly. You can also take this time to clean up any debris from the repair process. It’s essential to leave the workspace clean and tidy. But don’t put away your tools just yet – you may need them for the final step. You can also clean and organize your garage while you’re at it!
Step 9: Maintain Regularly
To prevent future problems with your garage ceiling, it’s crucial to perform regular maintenance. This includes checking for any signs of water damage, keeping the area clean and dry, and addressing any structural issues promptly. By taking care of your garage ceiling regularly, you can avoid dealing with more significant repairs in the future.
Following these nine easy steps on how to fix garage ceiling will guide you through the process of fixing your garage ceiling. Remember to take safety precautions and consult a professional if needed.
With the right tools, skills, and knowledge, you can repair your garage ceiling and prevent future damage. By maintaining regularly, you can ensure that your garage remains a safe and functional space for years to come. So don’t procrastinate any longer – tackle that ceiling repair project today!
Do You Need to Hire a Professional?
While it’s possible to repair your garage ceiling on your own, it may be best to hire a professional in some cases. If you’re unsure about the extent of the damage or lack the necessary tools and skills, it’s better to leave it to an expert.
Consulting a professional can also save you time and ensure that the repairs are done correctly and safely. Additionally, if the damage is due to a structural issue, it’s essential to address it promptly and have a professional assess and fix the problem. It may cost more upfront, but it can save you from dealing with more significant issues in the future.
How Much Could It Cost?
The cost of fixing a garage ceiling can vary depending on the extent of the damage, the materials needed, and whether you hire a professional or do it yourself. On average, homeowners spend between $350 to $1,100 for ceiling repairs.
However, if the damage is more severe or if additional structural repairs are necessary, it could cost upwards of $2,000. When considering the cost, it’s essential to weigh the value of your time and skills. Sometimes, hiring a professional can be a more cost-effective and efficient option.
Frequently Asked Questions
Q: How Do I Know if the Damage to My Garage Ceiling is Structural?
A: Look for signs such as sagging, cracks that are wider than 1/8 inch, or noticeable shifting of the ceiling. If you’re unsure, it’s best to consult a professional. It’s crucial to address any structural issues before proceeding with repairs.
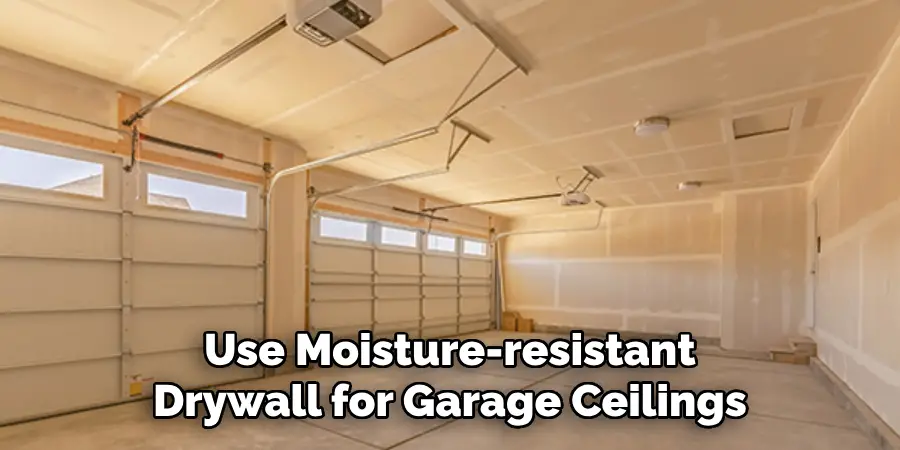
Q: Can I Use Regular Drywall for My Garage Ceiling?
A: It’s best to use moisture-resistant drywall for garage ceilings, as they are more durable and less prone to damage. If you’re unsure about which type of drywall to use, consult a professional or your local home improvement store for recommendations.
Q: How Long Will It Take to Complete the Repairs?
A: The time it takes to fix a garage ceiling can vary depending on the extent of the damage, your skill level, and if you hire a professional. It could take anywhere from a few hours to several days. Be sure to plan accordingly and allow for enough time to complete the repairs properly.
Q: What Can I Do to Prevent Future Damage?
A: Regular maintenance is key to preventing future damage to your garage ceiling. This includes checking for water leaks, keeping the area clean and dry, and addressing any structural issues promptly.
You can also consider adding insulation or using a dehumidifier if your garage tends to be damp. Additionally, avoid storing heavy objects on the ceiling or hanging items from it as this can cause strain and damage. By taking these precautions, you can extend the lifespan of your garage ceiling and avoid costly repairs in the future.
Conclusion
As you can see, fixing your garage ceiling is a labor-intensive job, but it can be worth the effort when executed correctly. If you take the time to follow proper instructions and use the right materials for your project, you will have created a sturdy, safe, and beautiful ceiling in no time!
Choosing to fix your own ceiling over hiring someone else can be great for personal satisfaction as well as cost savings. Don’t hesitate to start on your own garage ceiling repair today – with the right principles in mind and determination of spirit, you can tackle even the toughest home repair jobs. Thanks for reading this article on how to fix garage ceiling.
I am Rick. I grew up helping my dad with his handyman service. I learned a lot from him about how to fix things, and also about how to work hard and take care of business. These days, I’m still into fixing things- only now, I’m doing it for a living.
I’m always looking for new ways to help people grow and develop. That’s why I have created this blog to share all my experience and knowledge so
that I can help people who are interested in DIY repair.