
When it comes to DIY projects, sanding your garage floor can seem like a daunting task. After all, you’ll be working with large areas and the smallest mistake could compromise the entire job!
But don’t let fear keep you from tackling this important project; done correctly, sanding your garage floor will not only give you a great result but also decrease noise within the area and improve safety by creating better traction for your car or bike.
With the right materials and approach, anyone can learn how to sand their own garage floor – so read on for some helpful tips on how to sand garage floor that will make it an easy experience!
Why Do You Need to Sand Your Garage Floor?
Before getting started, let’s take a moment to understand why it’s important to sand your garage floor. Over time, concrete floors can begin to erode and become uneven due to wear and tear from heavy vehicles or constant oil spills.
This creates an unsightly appearance and can also lead to safety hazards such as tripping or slipping. Sanding your garage floor will smooth out any rough spots or unevenness and provide a clean, level surface for repainting or sealing.
Materials You Will Need
To get started on sanding your garage floor, you’ll need the following materials:
- Safety Gear (Gloves, Safety Glasses, Face Mask)
- Floor Sander or Polisher With Diamond Grinding Pads
- Concrete Patching Compound
- Pressure Washer or Hose With High-pressure Nozzle
- Degreaser Cleaner and Scrub Brush
- Broom and Dustpan
- Vacuum Cleaner With a Hepa Filter
- Concrete Sealer or Epoxy Coating
11 Step-by-step Guidelines on How to Sand Garage Floor
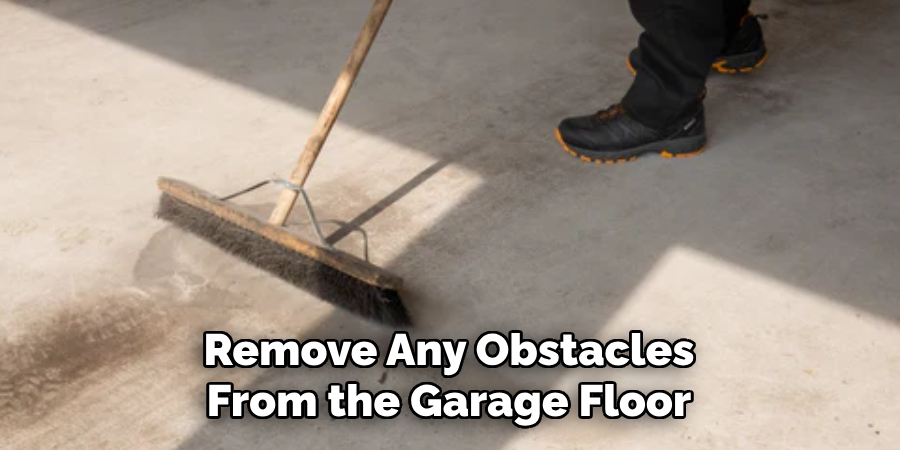
Step 1: Clear the Floor
Remove any obstacles from the garage floor to ensure an efficient and safe sanding process. It’s important to have a clean and clear workspace for the job. But don’t worry, you won’t have to move everything out of the garage – just enough to give yourself room to work. It’s also a good idea to use a pressure washer or hose with a high-pressure nozzle to remove any dirt, oil, or grime that has built up on the floor.
Step 2: Patch Any Cracks
Use the concrete patching compound to repair any cracks or chips in the floor. Follow the manufacturer’s instructions and make sure to let it fully dry before continuing to the next step.
You’ll want to have a smooth, even surface before starting the sanding process. This step is essential for achieving a professional finish. It will also prevent the sander from getting caught on any rough surfaces and potentially causing damage.
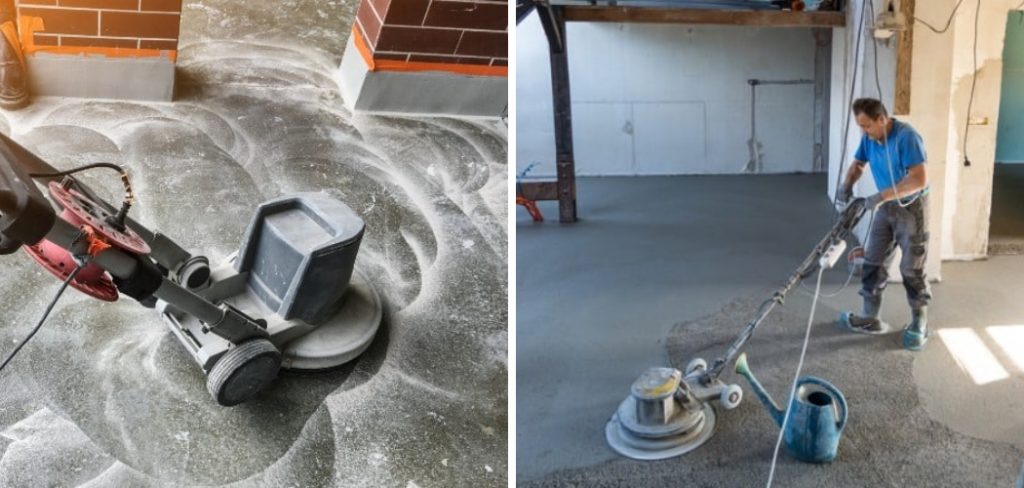
Step 3: Prepare the Floor Sander
Attach the diamond grinding pads to your floor sander or polisher. These specialized pads are designed specifically for concrete surfaces and will provide better results than regular sandpaper. Make sure to wear all safety gear while operating the machine. It’s also a good idea to test the sander in an inconspicuous area before starting on the main floor.
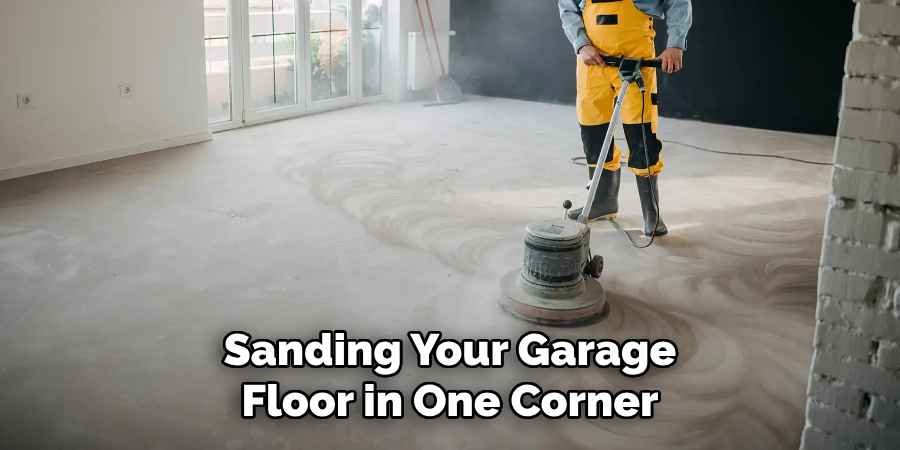
Step 4: Start Sanding
Begin sanding your garage floor in one corner and work your way toward the opposite side. Make sure to overlap each pass by about an inch to ensure even coverage. The diamond grinding pads will remove any rough spots or unevenness on the surface of the concrete. Be patient and take your time to achieve a smooth finish.
Step 5: Change Pads When Needed
As you work, check the condition of your pads regularly. If they become too worn down, replace them with new ones for optimal results. You may also need to change pads if they become clogged with debris or lose their effectiveness.
But with good pads and a well-maintained machine, you should be able to complete the job without any issues. It’s also a good idea to sweep or vacuum the area between pad changes.
Step 6: Focus on Edges and Corners
For edges and corners that the floor sander can’t reach, you’ll need to use an angle grinder with diamond grinding pads. This can be a bit trickier, so make sure to take your time and work carefully. You may also need to do some hand sanding for smaller or harder-to-reach areas. This may take a bit more effort, but it’s important to ensure the entire floor is sanded evenly.
Step 7: Clean the Floor Again
Once you’ve completed the sanding process, use a degreaser cleaner and scrub brush to remove any remaining dust and debris. Rinse the floor thoroughly with clean water and let it dry completely before moving on to the next step. Although this step may seem tedious, it’s essential for achieving a smooth and clean garage floor. It’s also important to wait until the floor is completely dry before proceeding.
Step 8: Vacuum the Floor
Use a vacuum cleaner with a HEPA filter to remove any remaining dust and debris. This will ensure a clean surface for applying the sealer or epoxy coating. It’s important to remove all dust particles before sealing to achieve a professional finish. But don’t worry, once you complete this step, the hard part is over!

Step 9: Apply Sealer or Epoxy Coating
Follow the manufacturer’s instructions to apply the sealer or epoxy coating to your garage floor. Make sure to have proper ventilation and wear protective gear while working with these chemicals.
A paint roller or brush is most effective for applying the sealer, and you may need more than one coat depending on the type of product you’re using. It’s best to apply thin, even layers and let each coat dry completely before proceeding.
Step 10: Let it Dry
Once you’ve applied the sealer or epoxy coating, allow your garage floor to dry for at least 24 hours. This will ensure that the product has fully cured and is ready for use. Don’t be tempted to start using the garage too soon – the drying time is essential for achieving a long-lasting finish. It’s also a good idea to avoid parking vehicles on the newly sealed floor for at least two weeks. You’ll thank yourself for the extra patience in the long run!
Step 11: Enjoy Your Beautiful Garage Floor!
Congratulations, you’ve successfully sanded and sealed your garage floor! Now it’s time to move everything back into place and enjoy your clean, level, and professional-looking garage space. With proper maintenance, your new floor should last for years to come. And if you need to sand and reseal in the future, you’ll have the skills and knowledge to do it yourself.
Following these simple steps on how to sand garage floor will give you the satisfaction of completing a DIY project and the added benefit of having a clean, smooth and sealed surface in your garage. Now get out there and show off your newly sanded garage floor! So, let’s start sanding! Don’t forget to take breaks when needed and always prioritize safety throughout the process. Happy sanding!
Do You Need to Use Professionals?
While it is possible to sand and seal your garage floor yourself, some people may prefer to hire professionals for the job. Professionals have the necessary equipment, knowledge, and experience to complete the task efficiently and effectively. They will also likely have access to higher-quality materials that can provide a longer-lasting finish.
However, hiring professionals can be quite costly compared to doing it yourself. Ultimately, the decision to hire professionals or do it yourself will depend on your budget, time, and personal preference. Whatever option you choose, the key is to have a clean and well-maintained garage floor that can withstand heavy use for years to come. Choose what works best for you and enjoy your newly sanded garage floor!
Frequently Asked Questions
Q: How Long Will It Take to Sand My Garage Floor?
A: The time it takes to sand a garage floor will depend on the size of the space and the condition of the concrete. On average, it can take one day to complete for a standard two-car garage. But if your floor has extensive damage or is larger than usual, it may take longer.
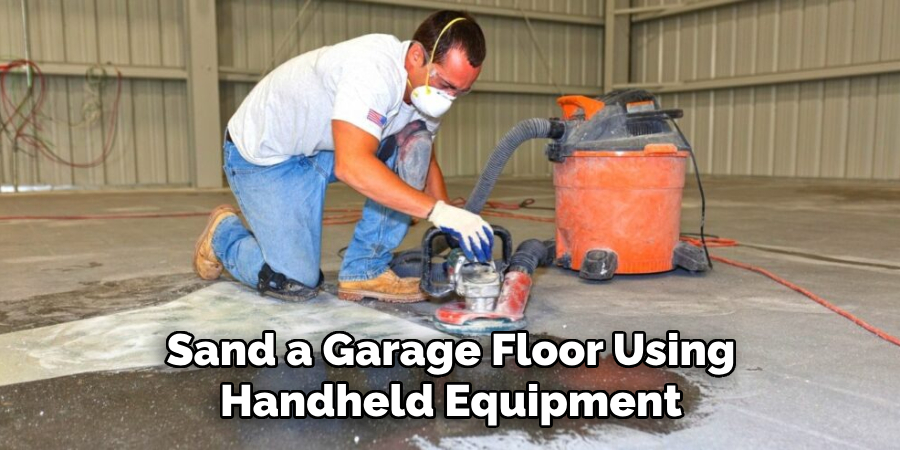
Q: Can I Sand My Garage Floor Without Any Special Equipment?
A: It is possible to sand a garage floor using handheld equipment such as an angle grinder or orbital sander. However, for larger areas, it may be more efficient and effective to use a floor sander machine. These can typically be rented from home improvement stores.
Q: How Often Should I Sand and Seal My Garage Floor?
A: The frequency of sanding and sealing a garage floor will depend on how much use it gets. For residential garages, it is recommended to sand and seal every 3-5 years. However, for commercial or high-traffic areas, it may need to be done more frequently.
Conclusion
By following the steps above on how to sand garage floor, you can easily learn how to sand a garage floor and make it look more attractive for years to come. If you take the time to make sure each step is done properly, then you can count on having a beautiful freshened garage floor in no time!
Not feeling up for the job? Consider hiring professional help as they have access to all of the necessary tools and know-how required for the job. Just be sure to compare quotes between multiple contractors before going with someone!
And remember to always use high-quality materials when completing any home improvement project – your success depends on it! Whatever you decide, keep in mind that sanding your garage floor will not only increase its aesthetic appeal but also add value to your property. So don’t hesitate and get started today!
I am Rick. I grew up helping my dad with his handyman service. I learned a lot from him about how to fix things, and also about how to work hard and take care of business. These days, I’m still into fixing things- only now, I’m doing it for a living.
I’m always looking for new ways to help people grow and develop. That’s why I have created this blog to share all my experience and knowledge so
that I can help people who are interested in DIY repair.