
Trimming your garage door opening is an essential part of owning a home, as it ensures that the area around and in front of the door is properly regulated and clear.

In order to make sure the job is done right, there are several steps to take during this process: checking plasterboard conditions, measuring out different sizes for trimming, cutting elements accurately with sharp tools, and finally, stapling on casing materials.
Taking each step carefully will ensure you get a smooth, even cut across all corners – guaranteeing easy use of your garage with no disruptions! Through this blog post on how to trim garage door opening we’ll guide you through from start to finish on how to trim a garage door opening safely and effectively.
Why Do You Need to Trim Garage Door Opening?
1. Smooth Movement
Trimming the garage door opening is important in order to make sure that your door moves smoothly and to minimize any potential disruption. This process also helps you determine the size of the trim for the area, which will help with aesthetics as well as insulating against weather elements and pests.
2. Accuracy Is Key
It is essential that you trim the garage door opening accurately. This will help ensure that the measurements are precise and that the space around your door is even and consistent. If it isn’t trimmed correctly, you can risk damage to your door or surrounding walls due to an uneven fit.
3. Safety
Accurate trimming is also important for safety. By taking proper measurements and accurately cutting the trim, you can make sure that the area around your door is secure and that no one has access to it without consent.
After reading this blog post on how to trim garage door opening, you should have a better understanding of why it is important and the steps you should in order to achieve a smooth cut. Remember to always use tools for cutting and measure twice trimming. With the right, you’ll be to ensure that your garage door is trimmed correctly and efficiently!
Required Items
- Plasterboard
- Sharp tools
- Measuring tape
- Casing materials
- Safety goggles and gloves.
10 Ways How to Trim Garage Door Opening
1. Check the Condition
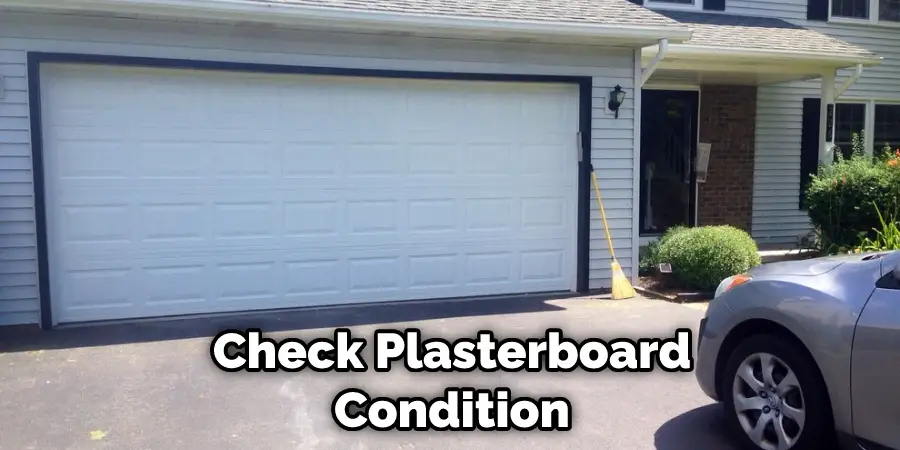
Check plasterboard condition. Make sure the surrounding walls of your garage door opening are in good condition, free from cracks or other damages. The condition of the walls should be even and smooth.
2. Measure Out Sizes
Measure out different sizes and dimensions for trimming. Make sure to measure twice in order to get accurate measurements and make any necessary adjustments if needed. The size of trim needed should be based on the width and height of your door opening.
3. Cut Elements
Cut elements accurately with sharp tools. Make sure to use safety goggles and gloves for protection when cutting materials like plasterboard, as it can be quite sharp and dangerous. Also, make sure to follow any instructions that come with the tools you are using.
4. Stapling Casing Materials
Staple on casing materials, such as plasterboard or wood, to the edges of your door opening. Make sure to pay attention to details and be precise when stapling the material onto the trim. This will ensure that the trim is evenly spaced out and securely attached.
5. Sanding
Sand down any rough edges with sandpaper or an electric sander. This will help create even cuts and provide a polished finish that is safe to use. Sanding would be a good time to apply any paint or protective coating if needed.
6. Clean Up
Clean up any debris that may have been created when cutting, sanding, and stapling your trim pieces. This will help you get a clear view of your final product and make sure it looks neat and clean before installing the door.
7. Installation
Install the door carefully and accurately. Make sure to follow all instructions that come with the door for proper installation, as this will help ensure that it is securely attached and installed properly.
8. Check Alignment
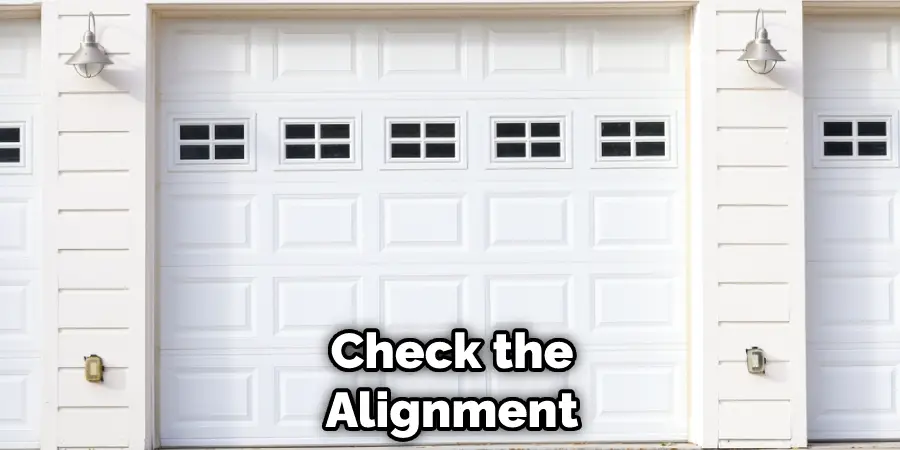
Check the alignment of your trim pieces and make any necessary adjustments if needed. It’s important to check that everything is even and aligned correctly before proceeding with the installation of your door.
9. Paint or Stain
Paint or stain your trim pieces if desired. This will help create a polished, finished look to your garage door opening, as well as help protect it from weather elements and pests. The painting would be a good time to also apply any protective coating as well.
10. Final Check
Perform a final check of your trim pieces and door opening. Make sure everything is even, aligned correctly, and installed securely before closing up the space around it. This will help ensure that your garage door opening looks neat and clean when finished!
With the right tools and measurements, trimming your garage door opening can be a quick and easy process. If you follow these steps carefully and accurately, you should have no problem creating a smooth cut around your garage door opening that will last for many years to come!
8 Maintenance Tips
If you have a garage, it’s important to maintain the door opening for optimal performance. Over time, small mechanical issues can add up and cause the door to not open or close properly.
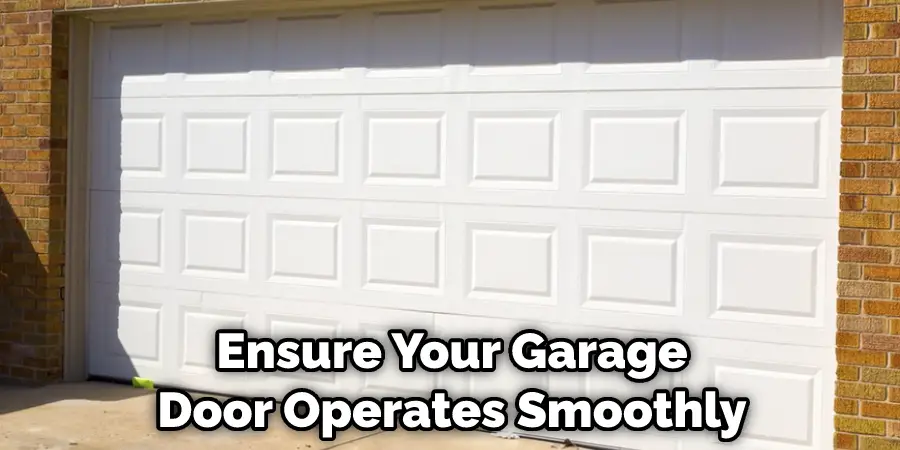
Fortunately, regular maintenance and trimming of the opening can help ensure your garage door operates smoothly. Here are 8 easy tips for trimming a garage door opening:
- Measure the opening of your garage door to determine if there is any warping or unevenness. If there is, use a level and carpenter’s square to find the problem areas and mark them with painter’s tape.
- Use a power saw or jigsaw to trim the problem areas. Carefully following your marks, make several passes with the saw until the opening is level and even. The saw should make a nice, clean cut for easy results.
- Use a handheld sander to smooth the rough edges of the opening. This will help prevent any chips or splinters from forming and make it difficult for the garage door to open and close properly.
- Use a vacuum cleaner to remove any sawdust or debris from the opening. Vacuuming will ensure that the door operates smoothly and without any obstacles. Also, vacuum any other areas of the garage door that may be prone to collecting dirt or dust.
- Apply a light coat of sealant along the edges of the opening as well as any other cracks or crevices. This will help further reduce dust and debris from getting into the system and keep your door running smoothly for years to come.
- Carefully inspect the door and its tracks for any damage or corrosion. If you find any, use a brush to remove it and apply WD-40 to lubricate the steel components of your garage door system.
- Check for proper alignment of all parts by opening and closing your door several times manually. Also, pay attention to how the door goes up and down to ensure it is properly balanced. If it isn’t, adjust the springs or have a professional handle it for you.
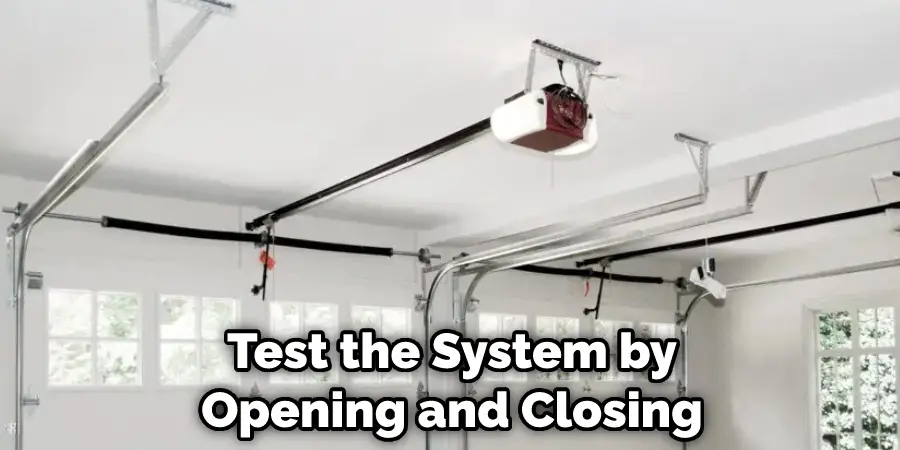
- Finally, test the system by opening and closing your garage door with a remote control. This will give you peace of mind that everything is in order and functioning correctly.
By following these 8 maintenance tips, you can easily trim the garage door opening and make sure it’s in perfect working order. Keeping your garage door well-maintained is key to keeping its performance up and making sure it lasts for years to come.
Frequently Asked Question
How Long Will It Take to Finish the Project?
Trimming a garage door opening typically takes one to two hours, depending on the complexity of the job. You will have to measure the area twice and then make sure all materials are installed properly before you can complete the task. It is important to take your time and double-check measurements to ensure that everything fits correctly and safely.
How Much Will It Cost?
The cost of trimming a garage door opening will depend on the materials and tools needed for the job. Basic supplies such as shims, nails, screws, and trim should be relatively inexpensive. However, if you need to purchase specialty tools or hire a professional, the cost may increase significantly.
Conclusion
Trimming your garage door is an intimidating task, but with the right tools and a readthrough of this blog article on how to trim garage door opening, you can do it yourself in no time.
If you research the materials needed and are meticulous when performing the task ahead, you can easily reset your own entrance to ensure years of properly functioning use. Pay attention to detail and familiarize yourself with which screws are used for certain parts of the door — a little extra concentration goes a long way!
Remember that safety should always come first, so don’t hesitate to ask for help from experienced individuals if necessary. Taking pride in taking on this project can provide peace of mind knowing that you constructed and fixed your own garage door opening. Most importantly, always keep your family safe by conceding to any warning signs or issues that arise while tackling this job.
I am Rick. I grew up helping my dad with his handyman service. I learned a lot from him about how to fix things, and also about how to work hard and take care of business. These days, I’m still into fixing things- only now, I’m doing it for a living.
I’m always looking for new ways to help people grow and develop. That’s why I have created this blog to share all my experience and knowledge so
that I can help people who are interested in DIY repair.