Are you feeling a bit stuck trying to figure out how to replace an old or broken garage door keypad? If you’re trying to replace the keypad on your garage door, you may find it difficult to know what steps to take in order to do so correctly.

Luckily, we’ve got all the information and tips necessary to help make this process as straightforward and painless as possible – no matter what kind of garage door setup you have!
In this blog post on how to replace a garage door keypad, we’ll be guiding you through everything from figuring out what type of keypad is compatible with your existing system, installing the new one properly, programming any needed codes into it and testing whether or not everything works.
Plus, it explains the basics of troubleshooting any problems and common mistakes that may arise along the way. Read on for all the details! Let’s get started!
Why Do You Need a Garage Door Keypad?
Garage door keypads are one of the most convenient ways to control access to your garage. They provide a secure, easy-to-use way for you or trusted family members and guests to open the door without having to worry about carrying around extra keys or cards.
Keypads also give you an added level of security against potential burglars since it’s much harder to pick or duplicate a code than it is to break into a door with just a key.
Required Items for Replacing a Keypad
Before you begin the process of installing a new garage door keypad, it’s important to make sure you have all the necessary tools and supplies. The exact items needed may vary depending on your type of system but will usually include the following:
- A compatible replacement garage door keypad
- An adjustable wrench
- A flat-head screwdriver
- An electrical tester (optional)
- 9V battery for the keypad
10 Ways How to Replace a Garage Door Keypad
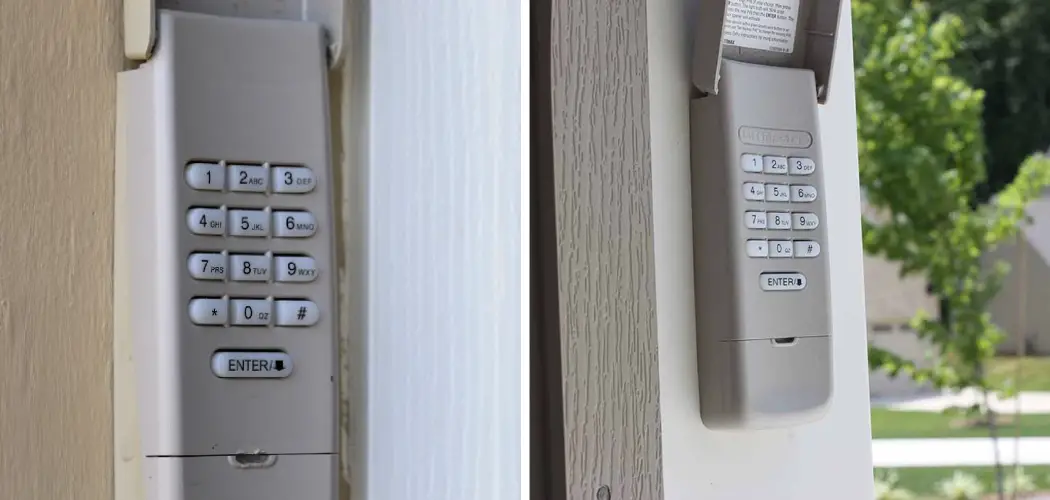
1. Identify
Identify the type of keypad that is compatible with your existing system. This will usually be listed in your owner’s manual or on the manufacturer’s website. Once you know what kind of keypad you need, it’s time to purchase and install it.
2. Locate the Current Keypad
Locate and remove the current keypad. This will usually involve using an adjustable wrench to unscrew any bolts or screws that are holding it in place. The keypad is typically located just outside the garage door, mounted to a wall or post.
3. Disconnect Power and Wires
Once you’ve removed the keypad, disconnect any power wires or cables that are connected to it. This is usually done by either unscrewing the connection points or using an electrical tester to ensure all power is disconnected before you proceed.
4. Install the New Keypad
Install the new keypad and make sure it’s securely mounted to a wall or post near the garage door using any screws or bolts that may have been included with your unit. It’s also important to double check all connections are tight and secure once you’ve finished.
5. Connect Power and Wires
Connect any power wires or cables to the new keypad using an adjustable wrench to ensure a secure fit. If you have an electrical tester, it can be useful to double-check that all connections are properly made before moving on to the next step.
6. Program Codes
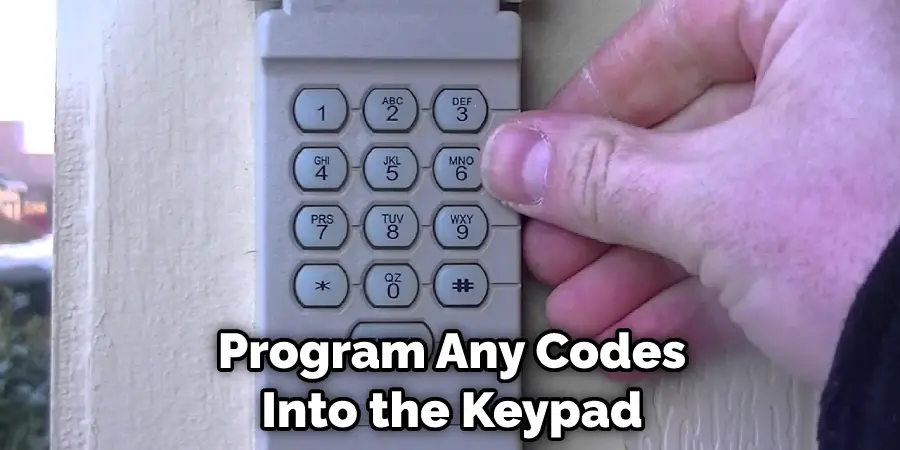
Program any codes into the keypad that you want to use for accessing your garage. This usually involves pressing a specific combination of buttons on the unit and then entering an access code (usually four digits). Make sure all codes are written down in case you need to refer back to them in the future.
7. Test the Keypad
Test the new keypad to make sure it’s working correctly. This usually involves pressing random combinations of buttons and trying out different codes until you find one that works. Make sure all codes are written down in case you need to refer back to them in the future.
8. Replace Batteries
If your system requires batteries, make sure to replace them regularly. This will ensure that the keypad is always working correctly and you don’t have any issues with access control. Generally speaking, it’s best to check your batteries at least every 3-6 months
9. Test Safety Features
Test any safety features that may be installed on your garage door system. This may include a reverse mechanism that will cause the door to open if something is blocking the path of the closing door, or it could be a safety sensor on the floor that will cause the door to halt and reverse if something passes beneath it.
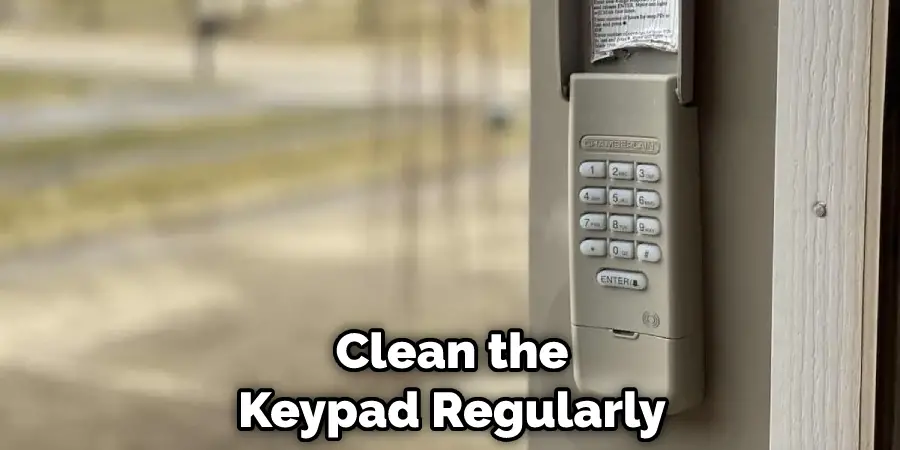
10. Clean Keypad
Clean the keypad regularly with a damp cloth. This will help to ensure that it’s working correctly, as dust and other debris can interfere with the keypad’s ability to detect inputs from you.
By following these steps, you should be able to successfully replace your garage door keypad. Be sure to check your manual or contact the manufacturer if you have any questions about the installation process. With a little bit of time and effort, you can keep your garage door secure and safe for years to come.
8 Maintenance Tips
Garage door keypads have become an invaluable tool for providing access to a home or business. But like all other electronic devices, they can wear out over time. If your garage door keypad is not functioning properly due to age, it might be time to replace it with a new one. Here are some tips to help you with the replacement process:
- Always make sure the power is off by disconnecting the electric opener from the wall outlet before attempting any work on the keypad. This will ensure your safety and also prevent damage to any electronic components in the keypad.
- Take note of the model number of your keypad, as this will help you find a compatible replacement. Check user manuals or online resources if you are unsure of which model is right for your unit.
- Use the appropriate tools to remove the old keypad from the wall and disconnect any wiring that may be attached. It might also be helpful to take pictures of the wiring connections before disconnecting them.
- When connecting the new keypad to the wall, verify that all the wires are properly connected and secure before plugging in the electric opener. New keypad models may require additional wiring; if so, consult an expert for help.
- Program the new keypad with a unique code before using it. This is essential to ensure that your home stays safe and secure. Program the new code using a combination of numbers, letters, or symbols that is different from your old code.
- Don’t forget to test the keypad after installation to ensure it is working properly. This will identify any potential issues before they become serious problems. The keypad should open and close the door with ease after entering a valid code.
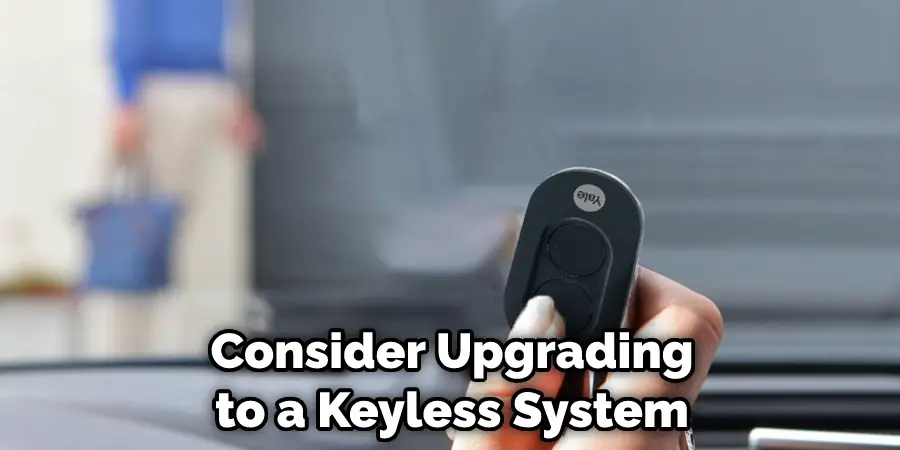
- Consider upgrading to a keyless system if you are frequently dealing with faulty or broken keypads. Keyless systems provide greater security and convenience, as they don’t require any physical keys or codes to enter your home or business.
- Finally, remember to keep your keypad clean and dust-free, as this will help ensure that it functions properly for years to come. Cleaning the keypad once every few months is recommended in most cases.
Replacing a garage door keypad can be a difficult task if you are not familiar with the process. But with a little bit of knowledge and the right tools, you can easily replace your old keypad in no time. Follow these tips to ensure that your new keypad functions properly for years to come.
Conclusion
Replacing a garage door keypad is not the most difficult home improvement project, but it is certainly important to get the job done correctly.
Before attempting either DIY or professional installation projects, it’s important to understand how your unique system works and what components you’ll need for the repair or upgrade. Once you have a grasp on the necessities of this job, you can begin to tackle the installation process.
With some thorough preparation and thoughtful attention to detail, success should be just around the corner. Additionally, if any issues arise during the replacement process or after it has been completed, consulting an expert technician may be necessary to help diagnose them and restore your garage door’s full functionality.
Taking on new repair and improvement jobs can always seem a little daunting at first, but with this guide on how to replace a garage door keypad in hand, we hope that replacing your garage door keypad becomes much less stressful!
I am Rick. I grew up helping my dad with his handyman service. I learned a lot from him about how to fix things, and also about how to work hard and take care of business. These days, I’m still into fixing things- only now, I’m doing it for a living.
I’m always looking for new ways to help people grow and develop. That’s why I have created this blog to share all my experience and knowledge so
that I can help people who are interested in DIY repair.