Transforming your retail space or garage into an organized and efficient haven just got easier with the installation of slatwall. Slatwall, also known as slotwall or slat board, is a versatile wall paneling system designed to enhance your storage and display capabilities.
Whether you’re a retailer looking to revamp your store layout or a homeowner seeking a sleek storage solution, installing slatwall is a practical and aesthetically pleasing option.
This article will guide you through the step-by-step process of how to install slatwall, offering insights into the tools you’ll need, the preparation required, and the precise steps to ensure a secure and professional installation. With its ability to accommodate various accessories such as hooks, shelves, and baskets, slatwall provides a customizable platform that adapts to your unique needs.
Say goodbye to clutter and welcome the efficiency of a well-organized space as we delve into the comprehensive guide on installing slatwall.
Importance of Proper Installation
Installing Slatwall is an essential step in setting up your e-commerce store. This content will provide you with a detailed guide on how to install Slatwall, including the necessary steps and tips for proper installation.
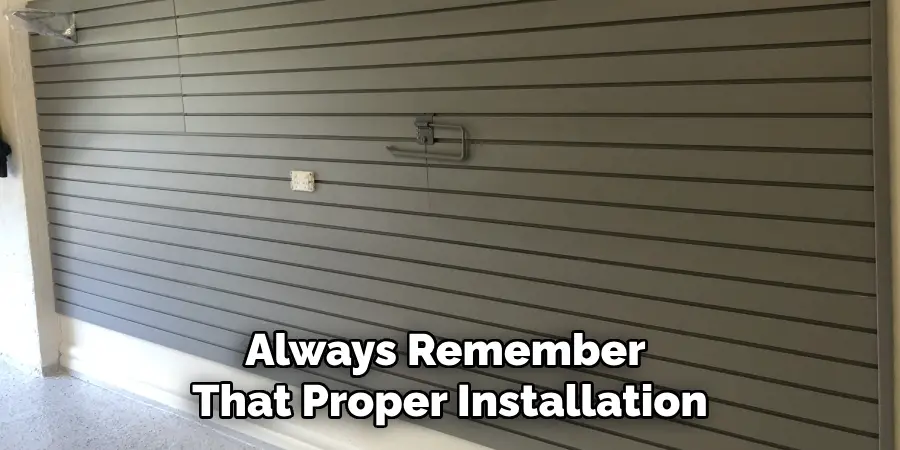
Proper installation of Slatwall is crucial as it ensures that your online store runs smoothly and efficiently. A poorly installed system can result in various issues such as slow loading times, broken pages, and security vulnerabilities. In contrast, a correctly installed Slatwall system will provide your customers with a seamless shopping experience and protect your sensitive data from cyber threats.
Furthermore, proper installation ensures that you can fully utilize all the features and functionalities of Slatwall. With the correct setup, you can easily manage your products, orders, and customers, making it easier to grow your business and increase sales.
Another important aspect of proper installation is future updates and maintenance. As technology advances, software systems like Slatwall need regular updates to stay secure and improve their performance. A properly installed system makes it easier to update and maintain, reducing the risk of downtime or disruptions in your online store.
Overall, investing time and effort into proper installation of Slatwall is crucial for the success and longevity of your e-commerce store. It ensures a smooth shopping experience for your customers, protects your data, and makes it easier to manage and maintain your online business.
So follow this guide closely to ensure a successful installation process and reap the benefits in the long run. So, always remember that proper installation is the key to a successful and efficient Slatwall experience. So, take your time, follow the steps carefully, and enjoy the benefits of a properly installed Slatwall system for your e-commerce store.
10 Methods How to Install Slatwall
1. Measure the Wall Space
Before you begin installing your slatwall, it is important to measure the wall space that you will be covering. This ensures that you have enough slatwall panels to cover the entire area and that they fit properly. You should also take into account any obstructions, such as windows or doors, as these can affect how you install the panels.
2. Mark Out Your Wall
Once you have measured out the wall space, use a pencil to mark out where each panel will go. This will help ensure that each panel is properly aligned when installed and makes it easier to cut them to size if necessary.
3. Cut Panels to Size (if Necessary)
If your wall has any obstructions or irregularities, you may need to cut some of the panels to size in order for them to fit properly. To do this, use a saw or jigsaw with a fine-toothed blade and make sure that all of your cuts are straight and even.
4. Attach Slatwall Strips
Slatwall strips are metal strips that attach to the wall and provide support for your slatwall panels. These strips should be attached using screws or nails at least 12 inches apart along the length of each strip. Make sure that all screws are securely fastened before moving on to the next step.
5. Apply Adhesive
Once the slatwall strips have been attached, it’s time to apply adhesive along their length in order to secure them in place. Use a high-quality construction adhesive designed specifically for Slatwall installation and make sure that it is spread evenly across each strip so that there are no gaps between them and the wall surface.

6. Install Slatwall Panels
Now it’s time to install your slatwall panels onto the strips you just secured with adhesive. Start by lining up one edge of each panel with its corresponding strip before pushing down firmly until it clicks into place along its length. Once all panels have been installed, check again for any gaps between them and their adjacent strips before moving on to the next step.
7. Secure Panels with Nails or Screws
To ensure maximum stability for your Slatwall installation, use nails or screws at least 12 inches apart along each panel’s length in order to secure them in place against their corresponding strip underneath them. Make sure not to over-tighten these screws or nails as this can cause damage to both your walls and your panels over time due to excessive pressure being applied against them both simultaneously when tightened too much.
8. Add Accessories
Slatwall accessories such as shelves, baskets, hooks, etc., can now be added to your newly installed slatwall system in order to create an organized storage solution perfect for any room in your home!
These accessories simply clip onto slots located along each panel’s length and can easily be moved around whenever needed without having to remove any screws or nails from either the wall or from within any of their slots themselves!
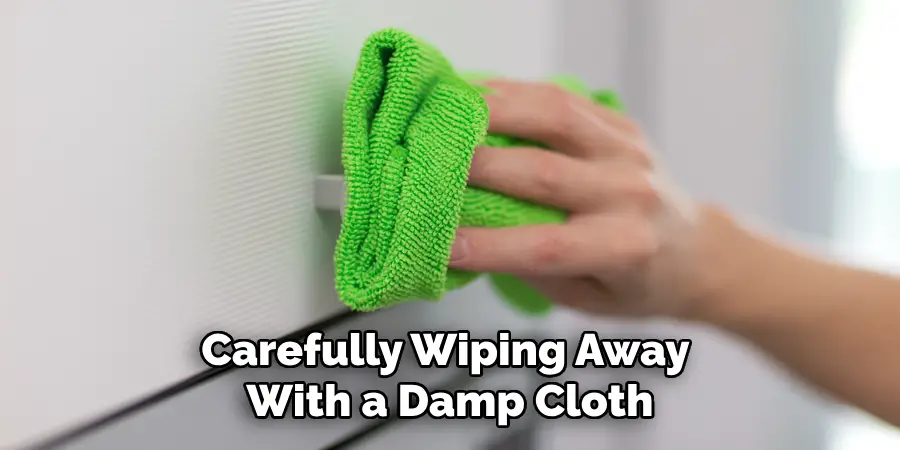
9. Clean Up Any Excess Adhesive
Finally, once all of your accessories have been installed onto their respective slots within each panel’s length, clean up any excess adhesive left behind during installation by carefully wiping away with a damp cloth. This will help ensure that no residue remains, which could potentially damage either your walls or accessories over time if not removed properly.
10. Enjoy Your New Slatwall Installation!
Congratulations! You’ve now successfully completed installing a beautiful new slatwall system into your home, perfect for organizing anything from tools, books, kitchenware, office supplies, craft materials, toys – whatever else you can think of! So sit back, relax, and enjoy using this new addition within whichever room you choose!
Things to Consider When Installing Slatwall
Installing Slatwall can seem like a daunting task, especially if you have never done it before. However, with proper planning and preparation, the process can be relatively straightforward. In this guide, we will discuss some important things to consider when installing Slatwall.
Familiarize yourself with the product
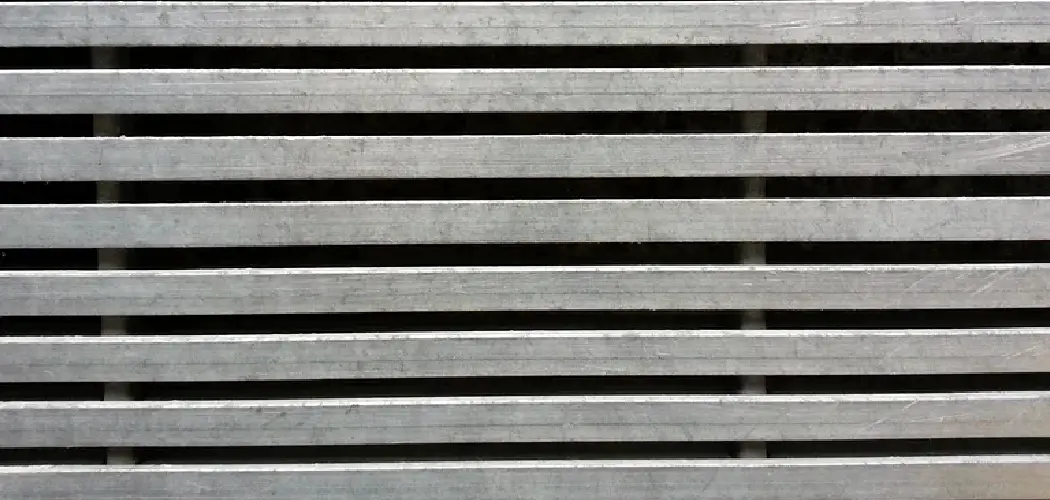
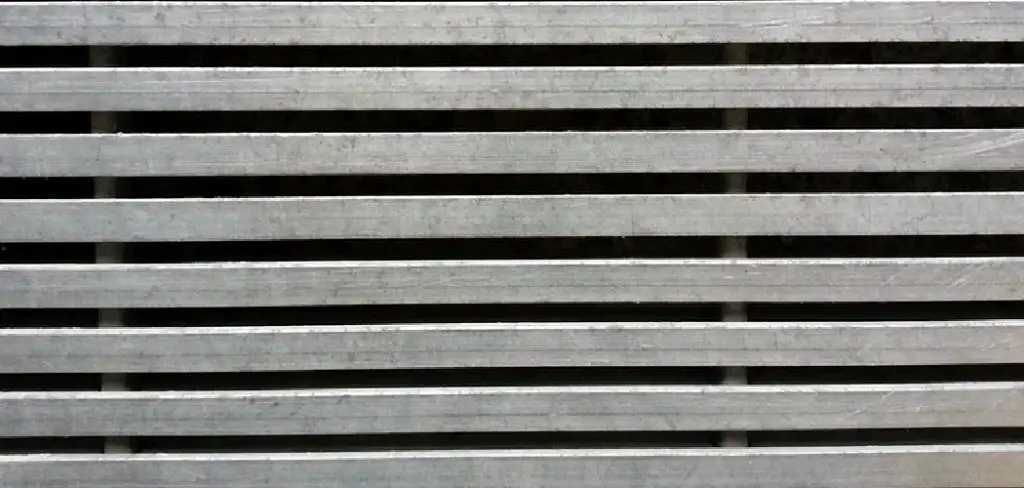
Before you begin installing Slatwall, it is important to have a good understanding of what it is and how it works. Slatwall is a versatile wall paneling system that can be used to create customizable displays for retail stores, trade shows, and even residential spaces. It is made up of horizontal slats that can support various types of shelves, hooks, and other accessories.
Choose the right location
When deciding where to install Slatwall, there are a few factors to consider. First, you want to choose a location that is easily accessible for customers or visitors. It should also have adequate lighting and ventilation. Additionally, you should ensure that the wall is sturdy enough to support the weight of the Slatwall and any items that will be displayed on it.
Measure and plan carefully
Accurate measurements are crucial when installing Slatwall. Before you make any cuts or start drilling, be sure to measure your wall and panels carefully. It is also important to plan out the layout of your Slatwall before beginning the installation process. Consider what items you will be displaying and how much space they will require.

This will help you determine the most efficient and visually appealing layout for your Slatwall.
Gather necessary tools and materials
To install Slatwall, you will need a few basic tools such as a drill, level, and measuring tape. You will also need appropriate hardware for attaching the Slatwall to your wall, such as screws or anchors.
Depending on your specific installation needs, you may also need a saw or other cutting tools. Having all of these tools and materials ready before beginning the installation will make the process much smoother.
Conclusion
We hope this article has given you an in-depth look into how to install slatwall. From prepping the wall through to securing it firmly, follow these steps and your slatwall will be securely mounted for years to come. Whether you’re in the retail industry looking for a creative display solution or you’re simply looking for an efficient way of organizing your garage, slatwall makes a great choice.
Don’t forget to consider the accessories that give your installation extra functionality and pizzazz! If you have any questions along the way, reach out to local professionals as they can provide helpful advice on how best to set up your installation. So what are you waiting for? Get started with your slatwall today and enjoy all of its storage and organizational benefits!
I am Rick. I grew up helping my dad with his handyman service. I learned a lot from him about how to fix things, and also about how to work hard and take care of business. These days, I’m still into fixing things- only now, I’m doing it for a living.
I’m always looking for new ways to help people grow and develop. That’s why I have created this blog to share all my experience and knowledge so
that I can help people who are interested in DIY repair.