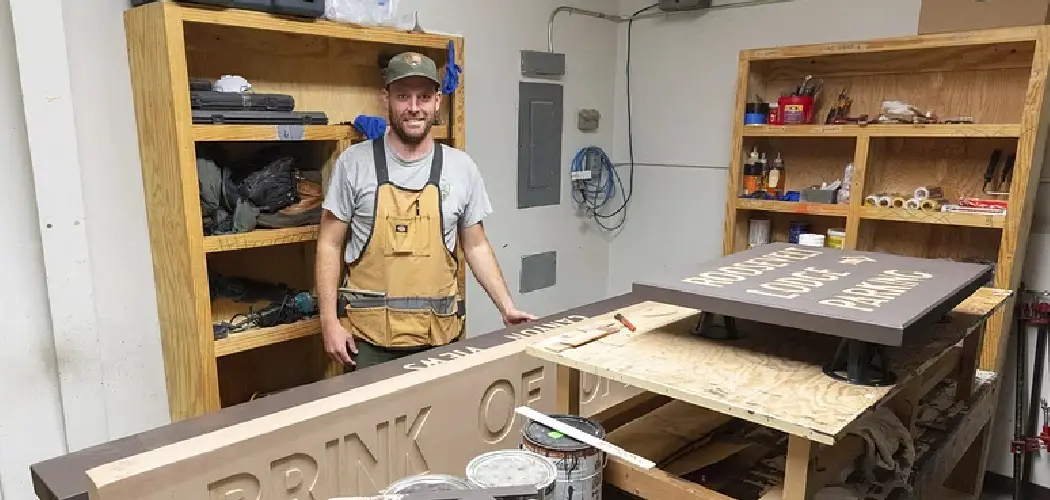
Transforming your garage into a well-organized and efficient space often begins with the strategic addition of custom-built cupboards. Building cupboards for your garage provides a practical solution to store tools, equipment, and other essentials while maintaining a clean and streamlined appearance.

In this comprehensive guide, we’ll navigate the process of how to build cupboards for garage, from designing the layout and selecting suitable materials to the step-by-step construction and installation.
Whether you’re a seasoned carpenter or a DIY novice, our exploration of cupboard building techniques will empower you to create functional storage solutions tailored to your garage’s unique needs. Bid farewell to clutter and welcome a more organized and visually appealing garage space that not only enhances storage capacity but also adds a touch of craftsmanship to your home.
Join us on this woodworking journey as we unlock the secrets to building customized cupboards that elevate both form and function in your garage.
Recognizing the Need for Organized Storage in the Garage
Garages are often used as a storage space for various household items, tools, and equipment. However, without proper organization, the garage can quickly become cluttered and chaotic. This not only makes it difficult to find what you need when you need it but also poses safety hazards.
One effective solution to this problem is building cupboards in your garage. Cupboards provide a designated storage space for your belongings, helping you keep everything in order and easily accessible. In this document, we will discuss the steps involved in building cupboards for garage storage.
Planning and Preparing for Your Cupboard Build
Before starting any construction project, it is essential to have a solid plan in place. This applies to building cupboards for garage storage as well. The first step is to assess your storage needs and determine the size and type of cupboards that will work best for you.
Consider the items you need to store in your garage, their sizes, and how frequently you use them. This will help you decide on the size of cupboards as well as the number of shelves and compartments needed. Additionally, think about any future needs or possible changes that might occur in your storage requirements.
Once you have a clear idea of what you need, it’s time to gather the necessary materials and tools. The type of cupboards you want to build will determine the materials required, but some essential items include wood or plywood for the frame, screws, hinges, and handles. You will also need measuring tools, saws, drills, and other basic construction tools.
10 Methods How to Build Cupboards for Garage
1. Gather the Materials Needed
The first step in building cupboards for your garage is to gather the materials you will need. This includes wood, screws, nails, hinges, and any other hardware you may need. Make sure to measure the space in your garage where you plan on building the cupboards so that you can purchase enough material to complete the project.
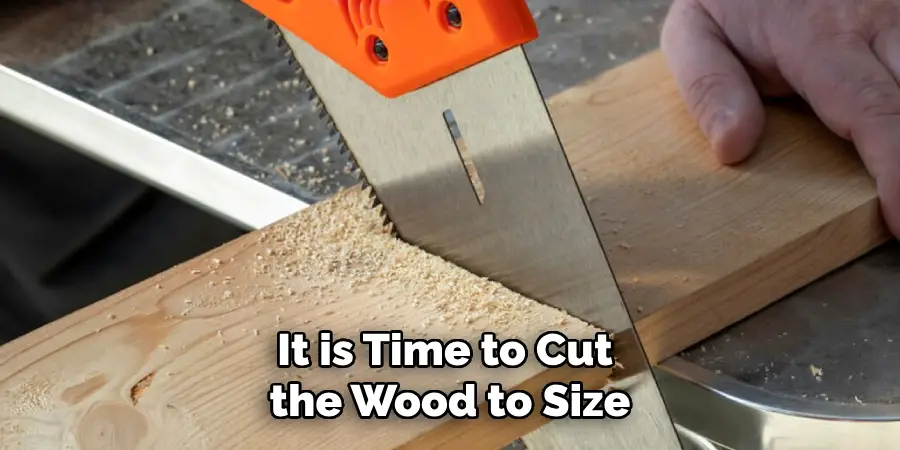
2. Cut the Wood to Size
Once you have all of your materials, it is time to cut the wood to size. You will want to measure twice and cut once in order to ensure that all of your pieces are the correct size before assembly. If you are using pre-cut boards, make sure they are the right length for your project before moving on to the next step.
3. Assemble the Frame
Once all of your pieces are cut, it is time to assemble the frame for your cupboard. Start by attaching two vertical pieces of wood together with screws or nails and then attach a horizontal piece across them at one end. Repeat this process until you have created a box shape with four sides and a top and bottom piece attached securely together.
4. Install Hinges
Once your frame is assembled, it is time to install hinges so that you can open and close your cupboard doors easily. Measure where you would like the hinges installed and then screw them into place on both sides of each door panel. Make sure they are secure before moving on to the next step.
5. Attach Doors
Now it is time to attach your doors to the frame of your cupboard with screws or nails. Make sure that they fit snugly into place and that they open and close easily before continuing on to the next step in this process.
6. Add Shelves
Now, you can add shelves inside of your cupboard if desired for extra storage space or organization options within your garage space. Measure where each shelf will go inside of your cupboard and then use screws or nails to secure them in place from both sides of each shelf board for added stability when storing items inside of them later on down the road.
7. Add Drawers
If desired, drawers can also be added inside of a cupboard as an additional storage option within a garage space as well as providing easy access when needed without having to open up large cabinet doors every time something needs to be retrieved from within them..
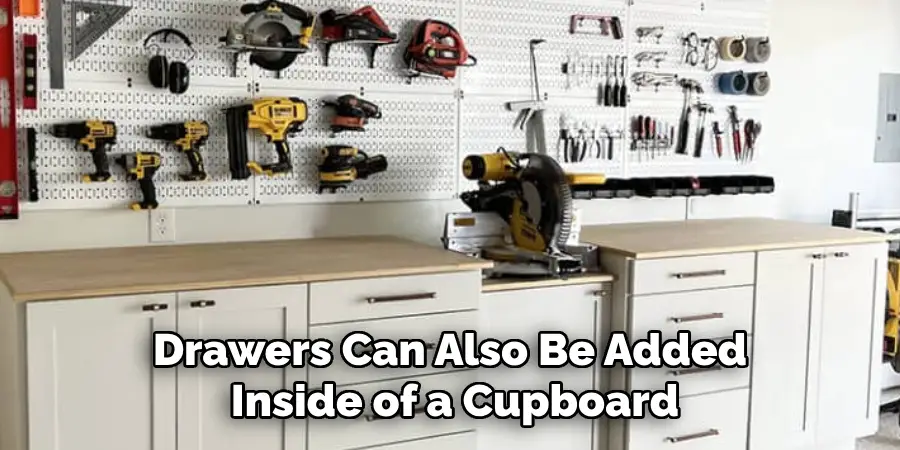
To do this, measure out where each drawer will go inside of a cabinet frame and then build out small boxes with sides made from plywood or another sturdy material that can be secured into place after being measured correctly beforehand.
8. Paint or Stain Cupboards
At this point in construction, paint or stain can be applied onto finished cabinets depending on what type of look one wishes their cabinets have when completed.
For those who want a more natural look than painted cabinets offer, staining is an excellent option while painting offers more versatility when wanting different colors throughout a space, such as blues for a nautical-themed area or bright reds for an area dedicated towards sports memorabilia.
9. Install Handles/Knobs
After painting or staining has been completed (or even prior if desired), handles/knobs should be installed onto each door panel so that they can be opened easily whenever needed.
These come in many different shapes/styles/sizes, so finding ones that match existing decor within an area should not be difficult. Just make sure that whichever ones chosen have been properly secured into place with screws so that they don’t become loose over time due to heavy usage over long periods.
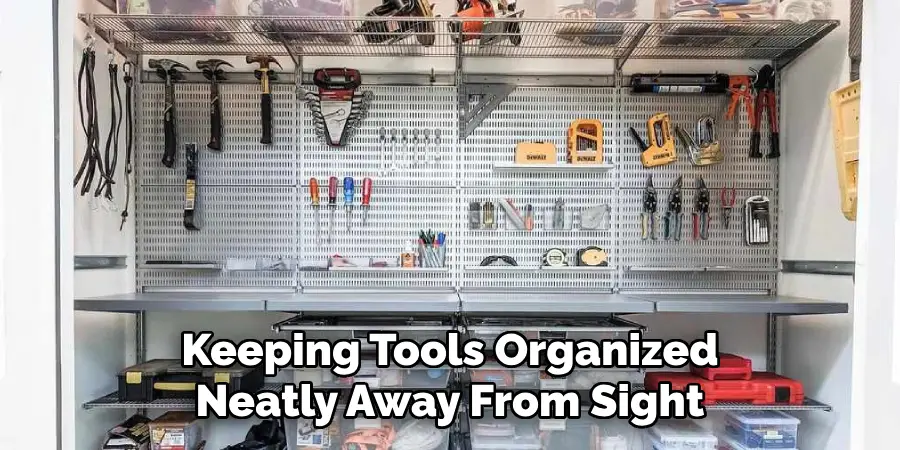
10. Enjoy Your New Garage Cupboards!
Now comes perhaps one’s favorite part – enjoying one’s newly built garage cupboards! Whether used for storage purposes, such as keeping tools organized neatly away from sight when not needed, or simply adding some extra color/style into an area through paint/stain choices – these new additions should definitely bring some life back into any existing garage setup!
Things to Consider When Building Cupboards for Garage
Cupboards are an essential part of any garage as they provide storage space for tools, equipment, and other miscellaneous items. However, building cupboards for the garage requires careful planning and consideration to ensure that they serve their purpose efficiently. Below are some key factors to consider when building cupboards for your garage:
Available Space
Before starting to build cupboards for your garage, it is crucial to assess the available space. This will help you determine the size and number of cupboards that can fit in the garage without making it feel cramped. Additionally, considering the layout of the garage and any existing fixtures will also help you plan accordingly.
Purpose
It is essential to have a clear idea of what you want to store in the cupboards. This will help you determine the type of cupboards you need and the design that will work best for your storage needs. For instance, if you plan on storing heavy tools or equipment, you may need sturdier shelves and doors.
Material
The material used to build the cupboards is crucial as it determines their durability and strength. For garage cupboards, it is best to use sturdy materials such as wood or metal that can withstand the weight of heavy items and also withstand the wear and tear of a garage environment.
Organization
Proper organization is key when building cupboards for your garage. Consider adding shelves, hooks, and other storage accessories to make it easier to keep things in order. You can also label shelves or use clear bins to help you find items quickly.
Conclusion
From painting to mounting your cupboards, you now have the skills and knowledge to start building cupboards for your garage! Setting up a baseboard before nailing in each board, ensuring proper gap spacing between wainscoting and wall panels, and utilising thicker boards will give you great results.
Don’t be intimidated by what seems like a difficult project; with good preparation, attention to detail, and reliable tools, even novice DIYers can make their own dream cupboards for the garage.
The next step? Take all that energy and effort you would have spent browsing and researching pre-made designs — and spend it instead on making your own beautiful pieces for your space! Forget buying; now you know how to build cupboards for garage from scratch!
I am Rick. I grew up helping my dad with his handyman service. I learned a lot from him about how to fix things, and also about how to work hard and take care of business. These days, I’m still into fixing things- only now, I’m doing it for a living.
I’m always looking for new ways to help people grow and develop. That’s why I have created this blog to share all my experience and knowledge so
that I can help people who are interested in DIY repair.